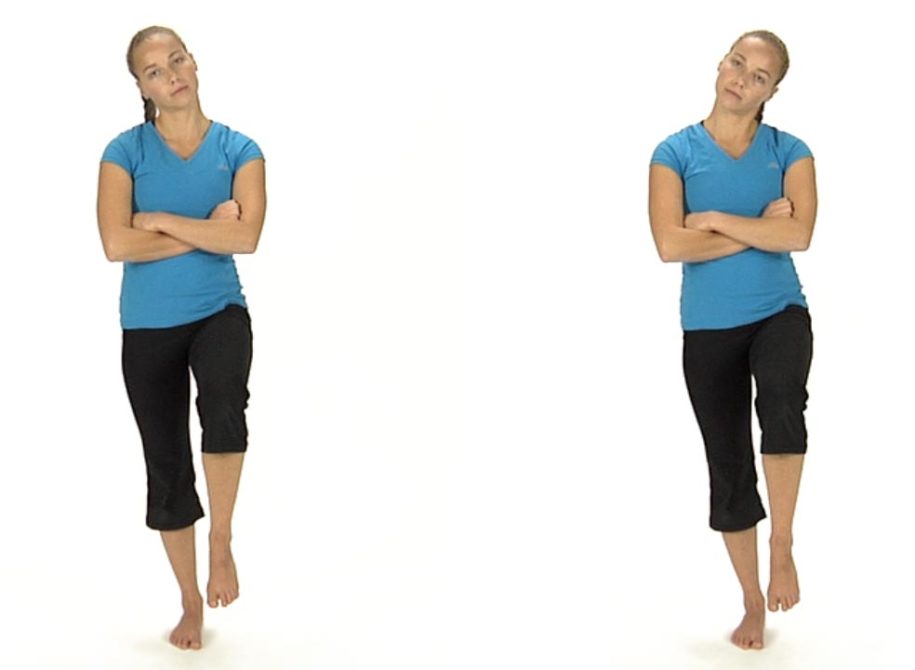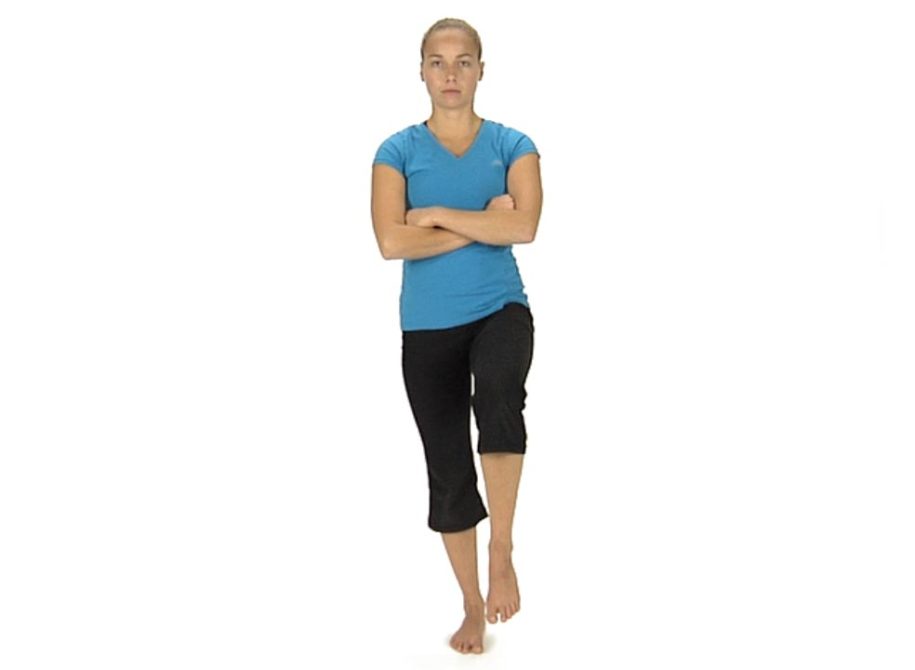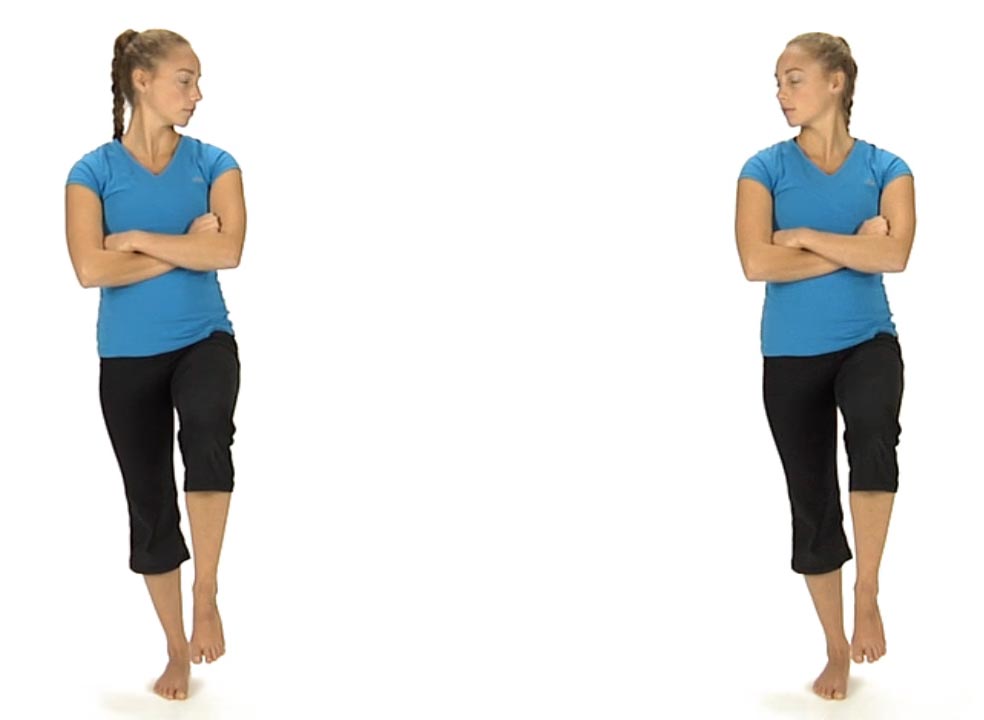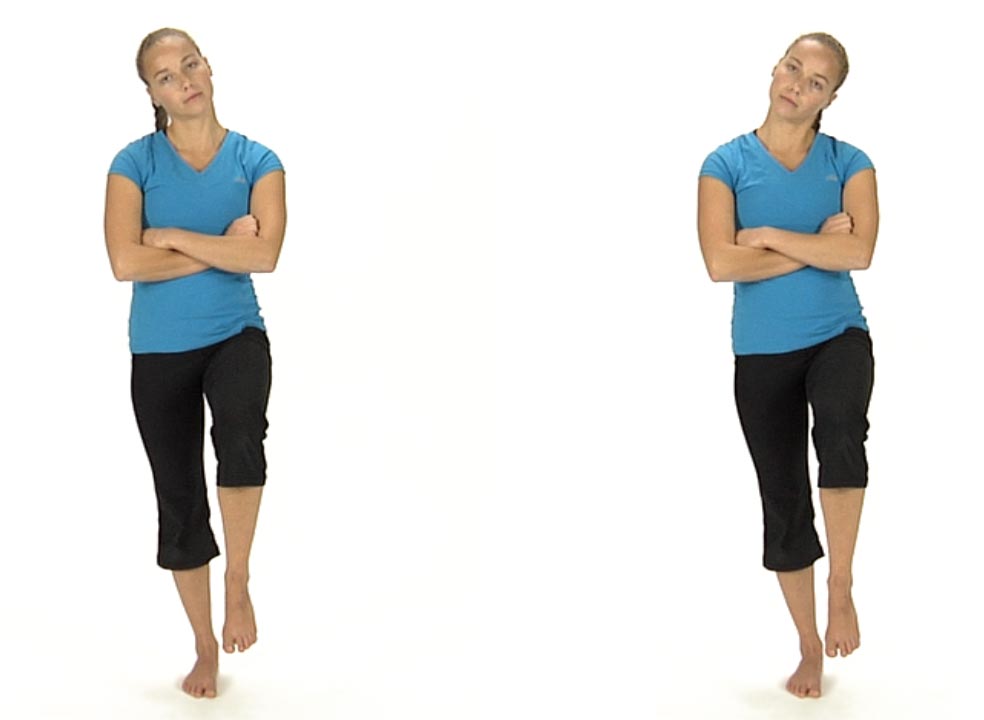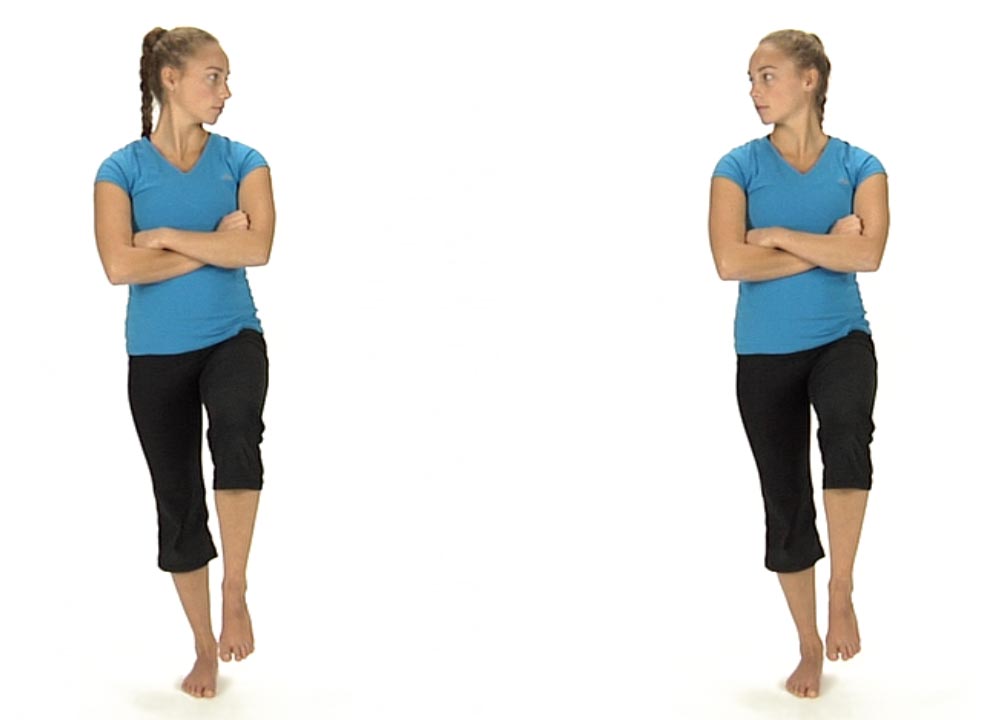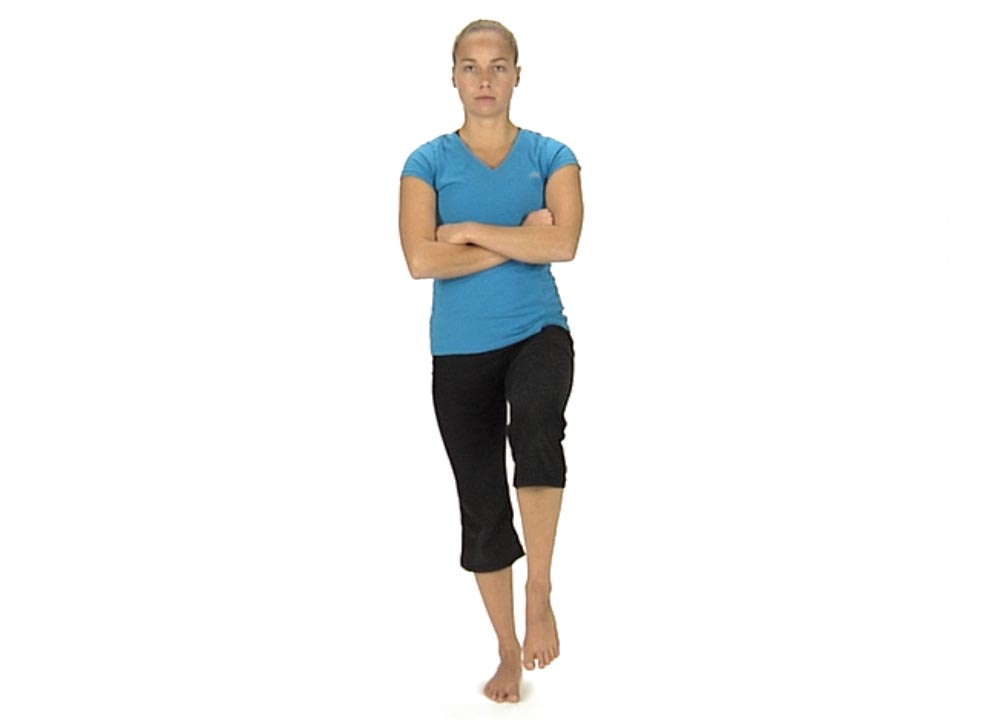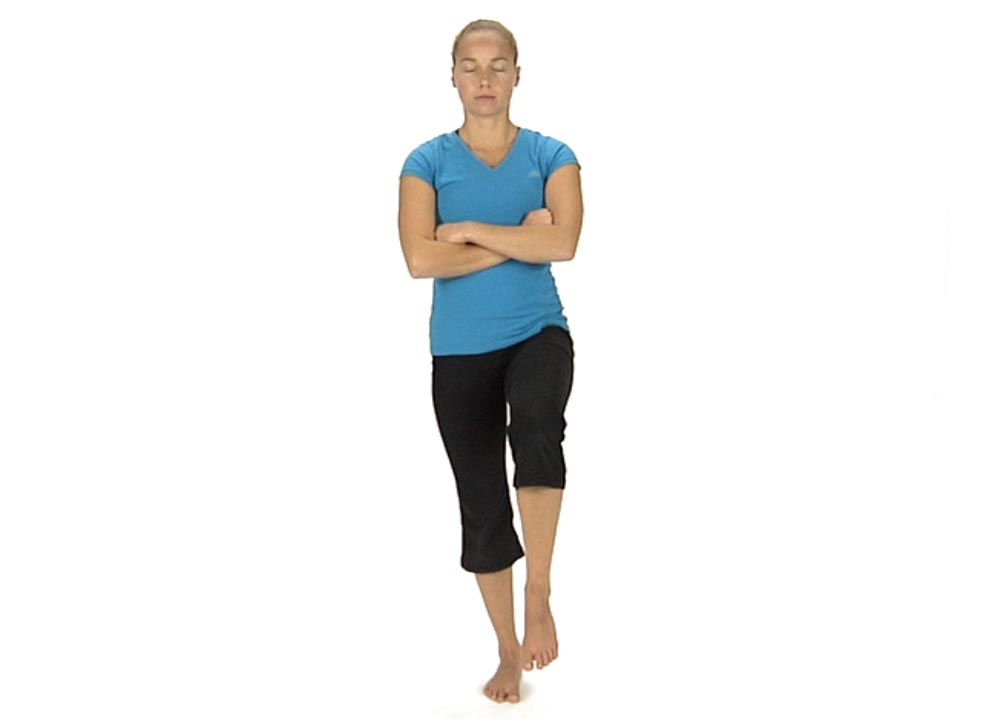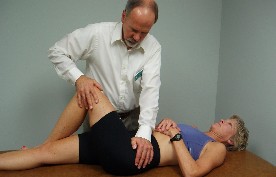
Active Trunk Rotation

Piriformis Stretch Below 90 Degrees of Hip Flexion

in 2 Movement Tests Lower Quarter, 4 Manual Therapy Strategies, Active Trunk Rotation, All Lower Quarter, All Manual Therapy, Manual Stretching, Muscle Energy, Rolling

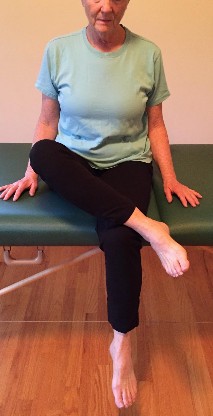
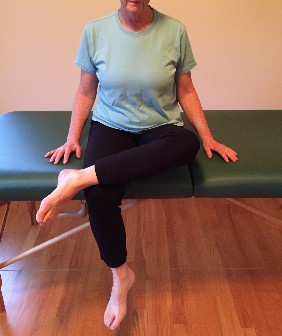
Piriformis Stretch Below 90 Degrees of Hip Flexion

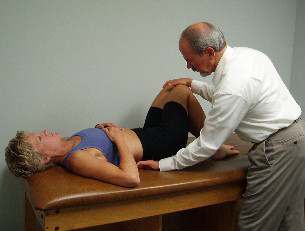
  • Therapist stands on the opposite side of the table and places the left hand on the L ASIS to stabilize
  • Patient’s left foot is placed outside of the right knee
  • Therapist adducts the leg to the barrier
  • Patient attempts to abduct the leg for 5 -7 seconds then relaxes
  • Repeat 3 to 4 times

Muscle Energy Technique for a FRS Right in R Side Lying

in 2 Movement Tests Lower Quarter, 4 Manual Therapy Strategies, Active Trunk Rotation, All Lower Quarter, All Manual Therapy, Hip ABD Firing Pattern, Hip EXT Firing Pattern, Muscle Energy, Pelvic Clocks, Rolling

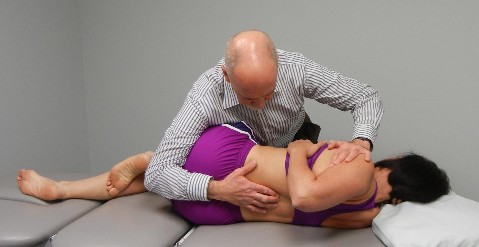
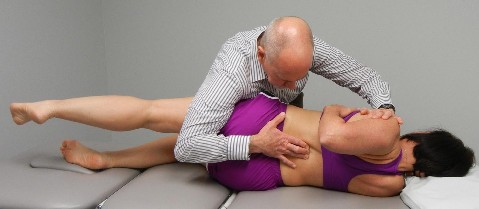
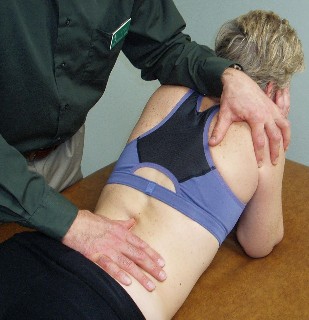
Muscle Energy Technique for a FRS Right in R Side Lying

  • Extension is introduced from above down and from below up to the barrier
  • Rotation is then introduced from above down to the feather edge of the barrier
  • The segment to be treated must remain perpendicular to the table
  • Using the R forearm the therapist introduces L side bending thru the pelvis by pushing up in an anterior and superior direction
  • Patient is instructed to push the pelvis caudally to activate the R side benders
  • Upon relaxation the therapist takes up the slack thru the pelvis
  • Repeat 3 to 4 times
  • To finish the patient is asked to extend the top leg (L) back while the therapist maintains the correction

Passive Mobility Testing in Extension with Translation of the Shoulders from Right to Left to Detect FRS R Dysfunctions

in 2 Movement Tests Lower Quarter, Active Trunk Rotation, All Lower Quarter, Hip ABD Firing Pattern

Passive Mobility Testing in Extension with Translation of the Shoulders from Right to Left to Detect FRS R Dysfunctions

  • Patient is prone propped on elbows with their elbows together and hands under their chin.
  • Place your right thumb on the left side of the SP and rest your left forearm over the patient’s shoulders.
  • Translate the patient’s shoulders from right to left as you block the SP and assess for tightness. Repeat from T10 to L3
  • With an FRS R dysfunction you’ll feel a blockage when attempting to draw the spine over your stabilizing L thumb
  • FRS dysfunctions are commonly found with this test anywhere from T11- L2 resulting in a positive FADIR test that is perceived as a tight posterior hip capsule

Dysfunctional Trunk Rotation and/or Dysfunctional Hip Abduction Functional Movement Tests

in 2 Movement Tests Lower Quarter, Active Trunk Rotation, All Lower Quarter, Hip ABD Firing Pattern

Dysfunctional Trunk Rotation and/or Dysfunctional Hip Abduction Functional Movement Tests

These dysfunctional movement tests can be best addressed by mobilizing any spinal dysfunctions that are found at the thoracolumbar junction and/or by stretching the quadratus lumborum and piriformis muscles. It is also sometimes helpful to mobilize the inferiomedial hip capsule and stretch the hip adductors as covered in 4b. These sources of inhibition should be addressed before attempting retraining.

Anatomy and Biomechanical Considerations:

Quadratus Lumborum, Piriformis and Posterior Hip Capsule

Observations:

  1. Hypertonicity in the quadratus lumborum on one side is associated with a FRS dysfunction at the TL junction on that side, i.e., hypertonic right QL found with an FRS R at T12-L1.
  2. Pinching in the anterior groin with FADIR test or when attempting to stretch the piriformis is related to a tight posterior hip capsule. “Groin pain is posterior hip capsule tightness until proven otherwise”, Dr. Philip Greenman.
  3. An apparent tightness in the posterior hip capsule dissipates, often times dramatically, after mobilizing the upper lumbar spine for FRS dysfunctions on the same side, ie., tight R posterior hip capsule, FRS R at L1,2 or L2,3 will be present.
  4. Therefore, before we treat the quadratus lumborum, piriformis and posterior hip capsule we need to first identify and treat any FRS dysfunctions found between T12-L2.
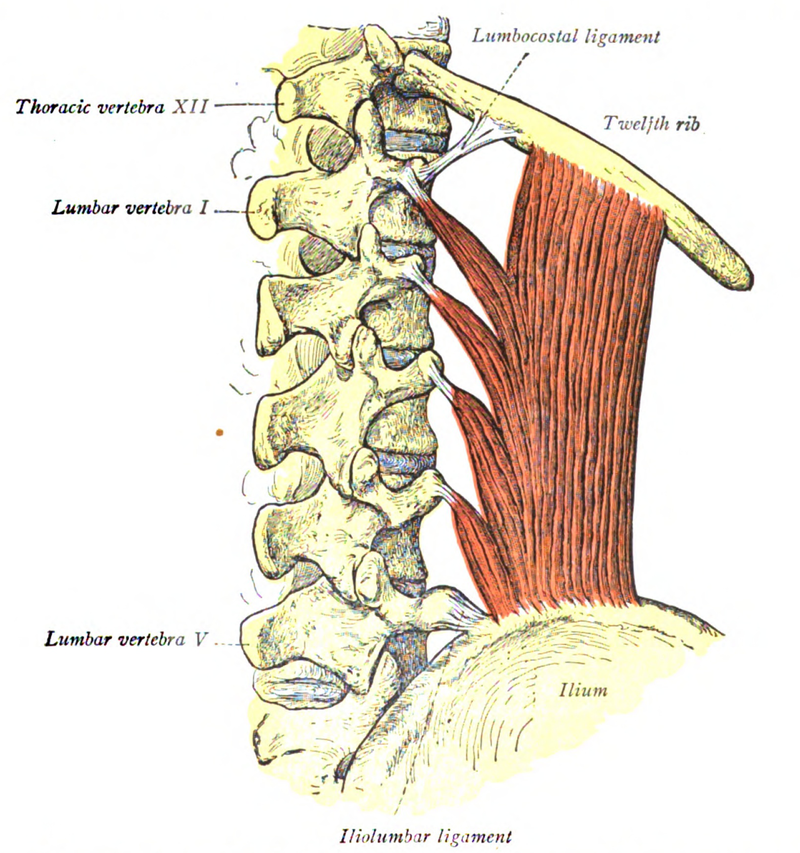
Quadratus Lumborum
  • Three distinct divisions:
    • Lateral (global mobilizer)
    • Iliolumbar
    • Lumbocostal
  • Function – stabilizer of the lumbar supine, a lateral flexor of the lumbar spine and a hip hiker
  • Innervation – thoraco-lumbar spinal nerves
  • Most frequent muscular cause of back pain (Travell and Simons, 1992)

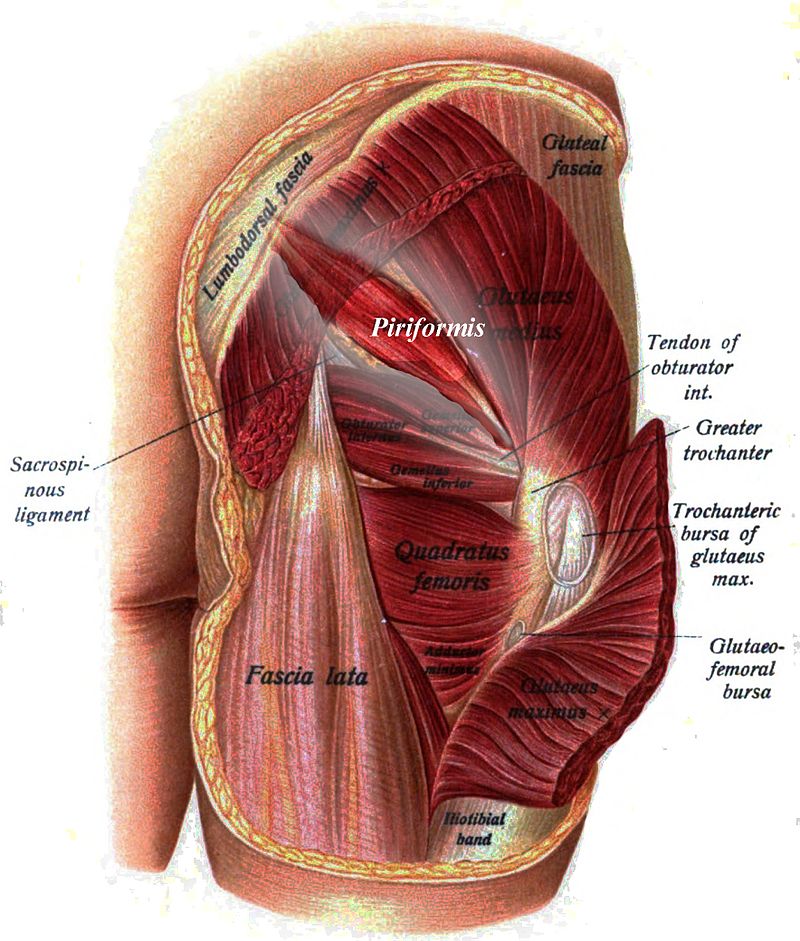
PIRIFORMIS: Origin at S 2-4, exits to insert at greater trochanter.

It crosses the SI joint and hypothetically influences the oblique axis of the sacrum during coupled motion.

  • Attaches to the anterior surface of S2, 3, 4 and
    inserts into the greater trochanter
  • Below 90º of hip flexion it abducts and ER the hip
  • Above 90º of hip flexion it abducts and IR the hip
  • Innervation – S1 and 2

FIVE EXTERNAL ROTATORS OF HIP
Obturator internus
Obturator externus
Gemellus superior
Gemellus inferior
Quadratus femoris

(These muscles are intimately attached to the posterior hip capsule.)

Muscle Energy Technique: ERS Dysfunction in the Lower Thoracic Spine

in 2 Movement Tests Lower Quarter, 4 Manual Therapy Strategies, Active Trunk Rotation, All Lower Quarter, All Manual Therapy, Hip ABD Firing Pattern, Muscle Energy, Rolling, Supine Curl Up, Supine Heel slide, Supine Hip ABD and ER

Muscle Energy Technique: ERS Dysfunction in the Lower Thoracic Spine

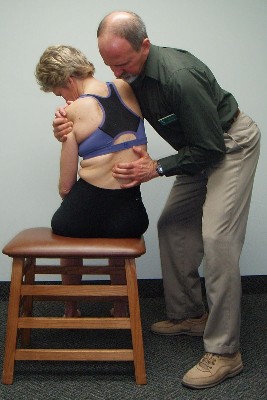
  • The therapist places their L index and middle fingers on the L side of the spinous processes and translates the spine towards him looking for any restriction in L to R translation (L side bending). If the restriction is worse in flexion and improves in extension the diagnosis is an ERS R.
  • To treat the ERS R the therapist has the patient sit up tall initially, then introduces flexion from above down and below up creating an apex for flexion at the palpated segment. L side bending is then introduced by translating the patient’s shoulders from L to R to the feather edge of the L side bending barrier.
    The patient is instructed to gently side bend to the R for 5-7 seconds and then relax.
  • The therapist takes up the slack by further translating the shoulders to the R. This is repeated 3-4 times.

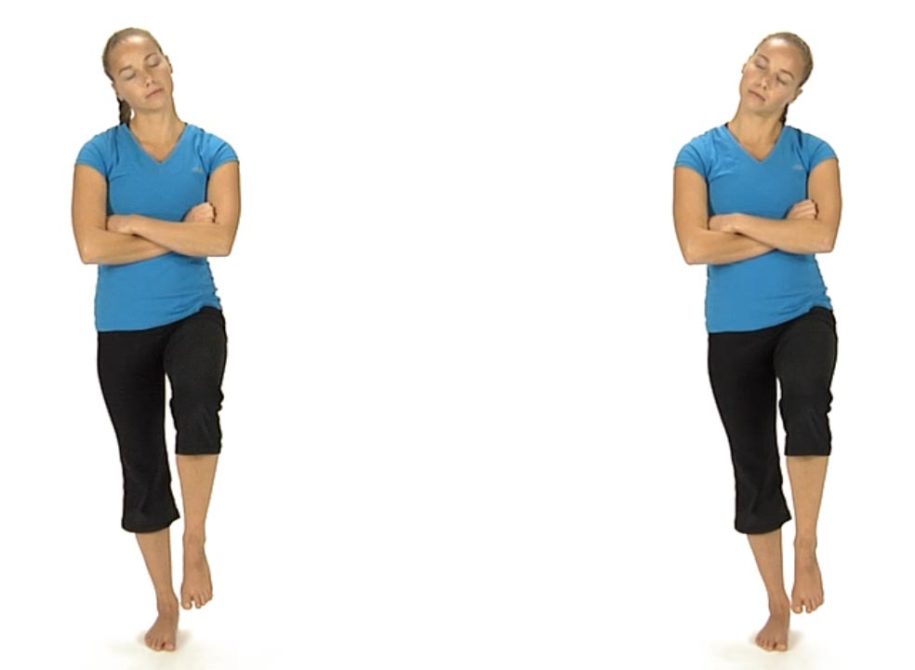
Active Trunk Rotation Test
in 2 Movement Tests Lower Quarter, Active Trunk Rotation, All Lower Quarter

Active Trunk Rotation Test

How to Perform

The patient is in the standard supine position with arms resting on the stomach. The knees are dropped to the left to allow the examiner to place the palpating fingers of the left hand on the right side of the subject’s spine. The palpating fingers are in the spinal gutter medial to the erector spinae muscles. The examiner localizes the rotation to his/her palpating fingers and asks the patient to contract or press back into the fingers at each segmental level of the spine examining from approximately T12 to L5. This tests the ability of the subject to contract the multifidi on the right side of the spine which should contract to assist in rotating the spine back to the left.