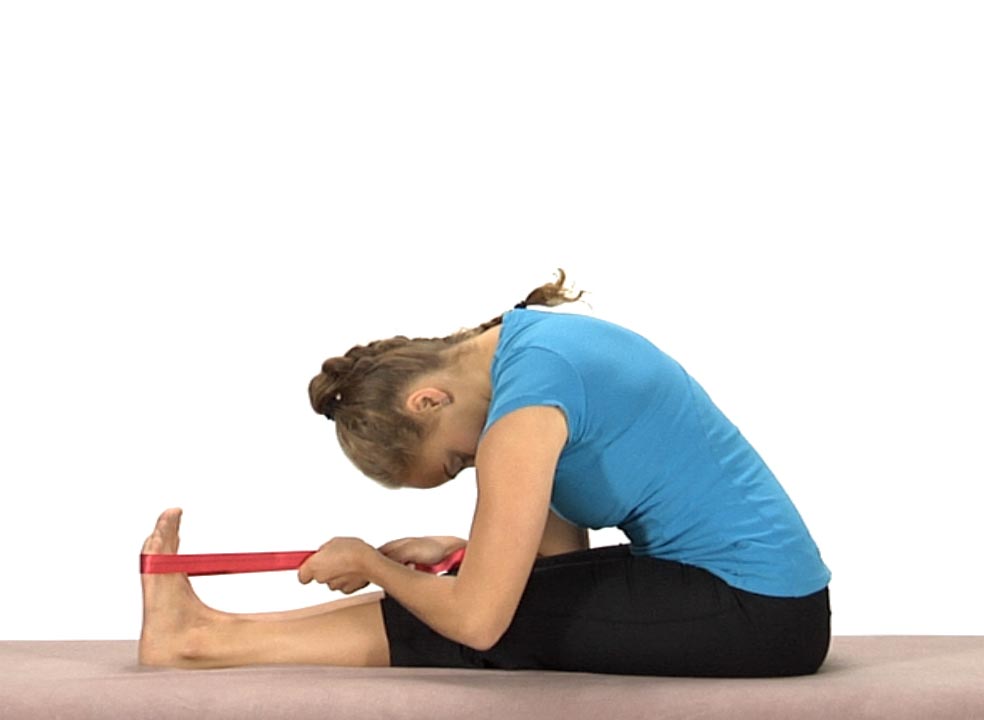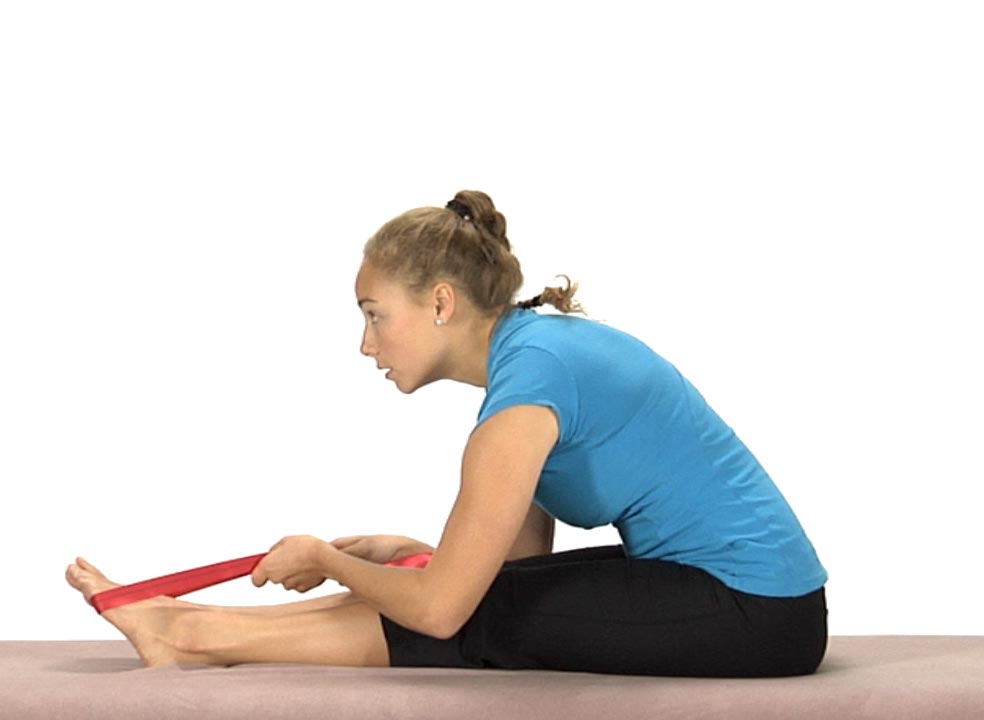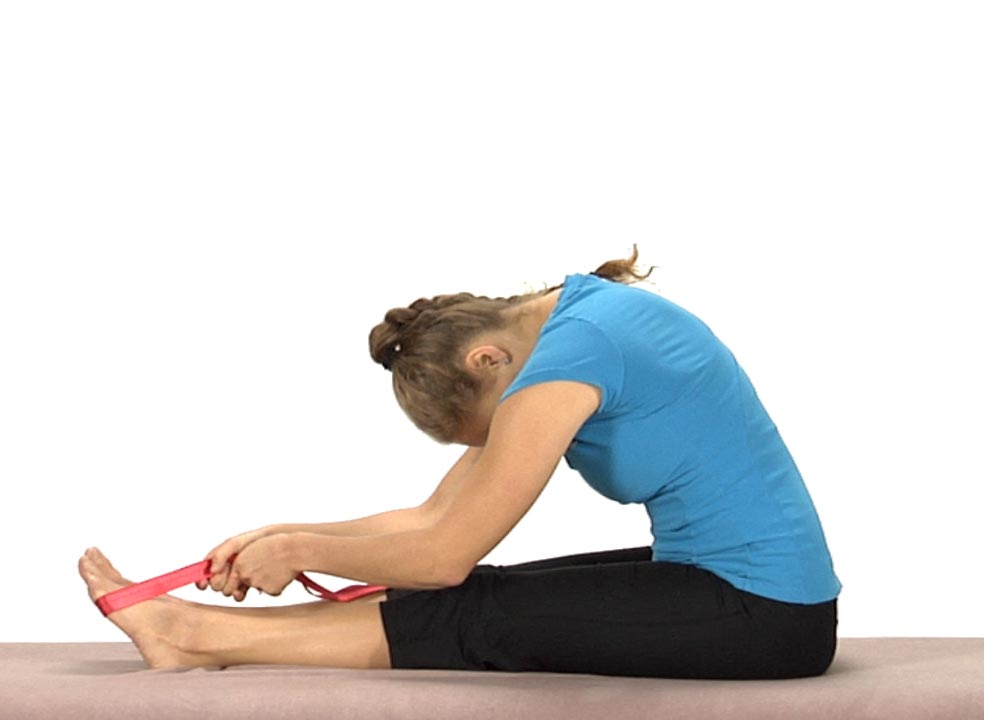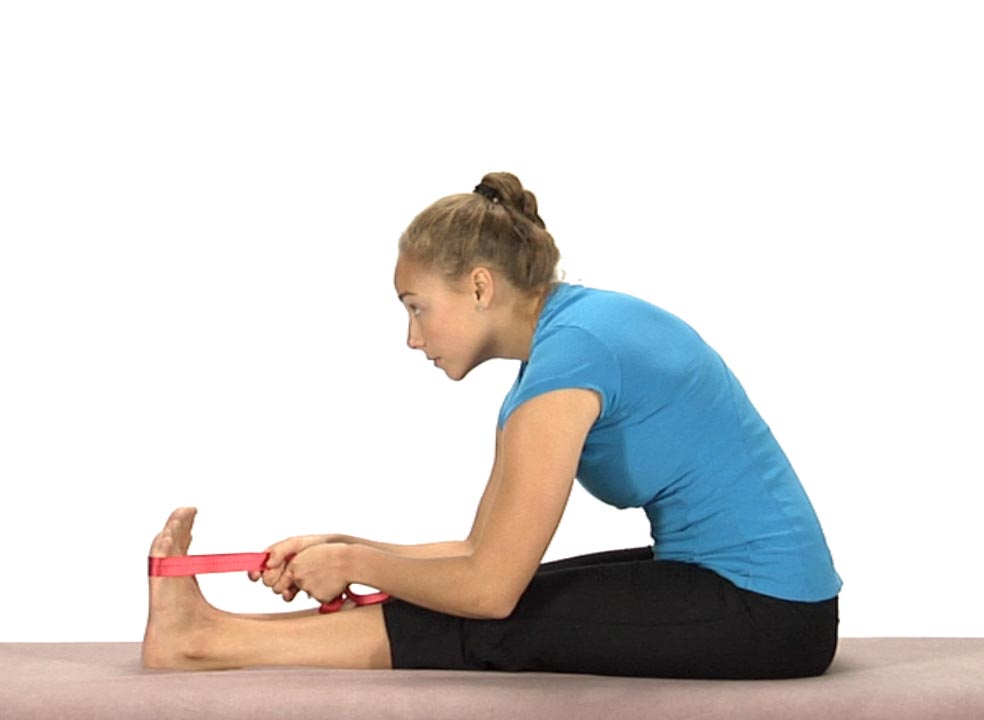

Dysfunctional Pelvic Clock Functional Movement Test
Dysfunctional Pelvic Clock Functional Movement Test
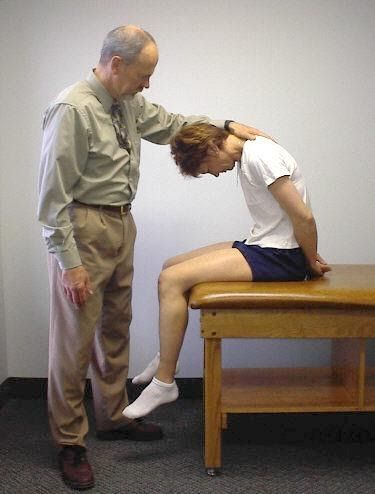
The pelvic clock gives the therapist a three dimensional assessment of the mobility as well as the neuromotor control of the lumbar spine and pelvis. It can be used to diagnose lumbar spine non-neutral as well as sacroiliac dysfunctions. The first goal for treatment and retraining is for the patient to be able to move the pelvis from 12 to 6 and from 6 to 12 symmetrically which can be observed and palpated by monitoring the position of the ASISs in the frontal plane. Once this is accomplished the next goal is for the patient to be able to rotate the pelvis from 3 to 9 and 9 to 3 with the ASISs remaining level in the frontal plane moving without effort and through symmetrical range of motion.
Anatomy and Biomechanical Considerations:
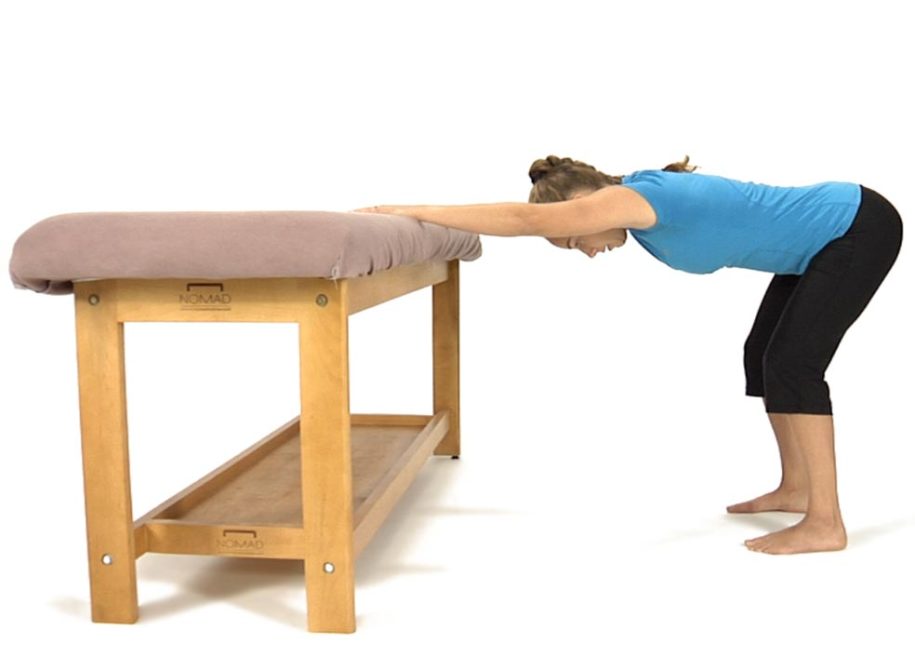
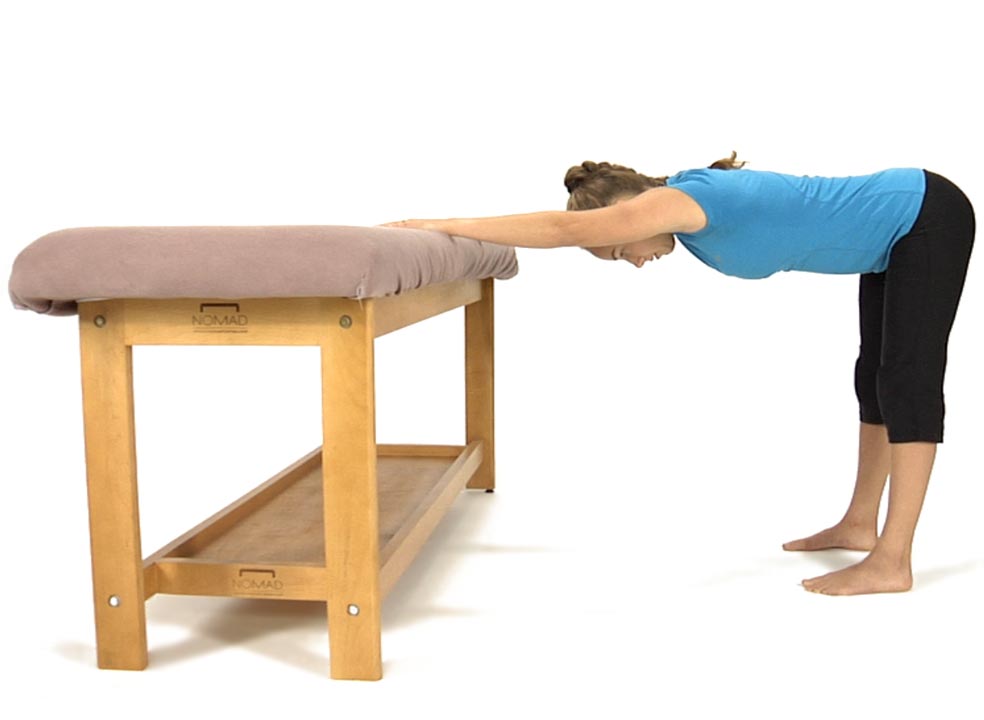
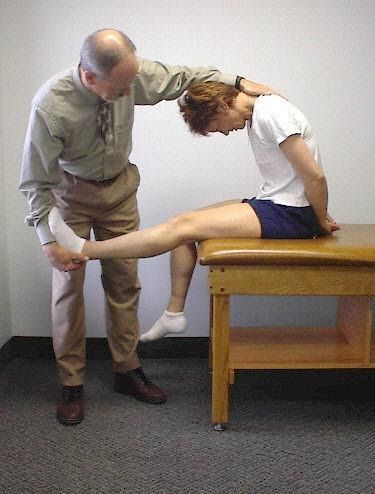
Sagittal plane range of motion in the lumbo-pelvic spine is observed when palpating the ASISs and asking the patient to roll the pelvis from 12 to 6 and 6 to 12 o’clock. When rolling the pelvis from 12 to 6 the lumbar spine facet joints need to be able to symmetrically move into extension, the sacral base needs to symmetrically anteriorly nutate and the innominates need to symmetrically anteriorly rotate in order for the ASISs to remain symmetrical throughout this movement. Rolling the pelvis from 6 to 12 requires the opposite symmetrical movements to occur.
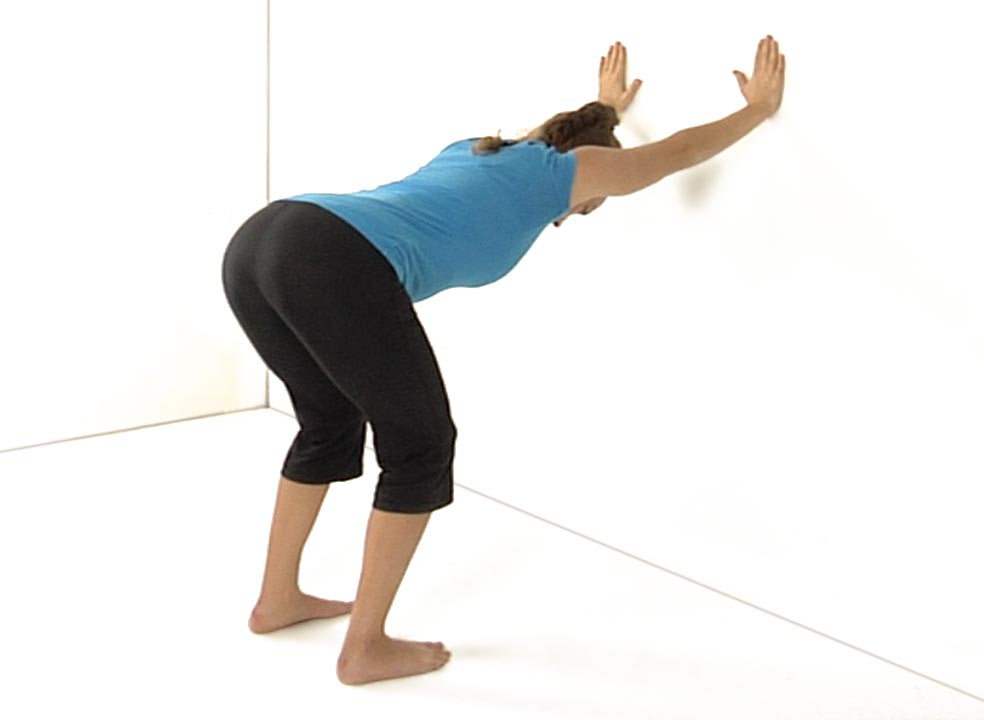
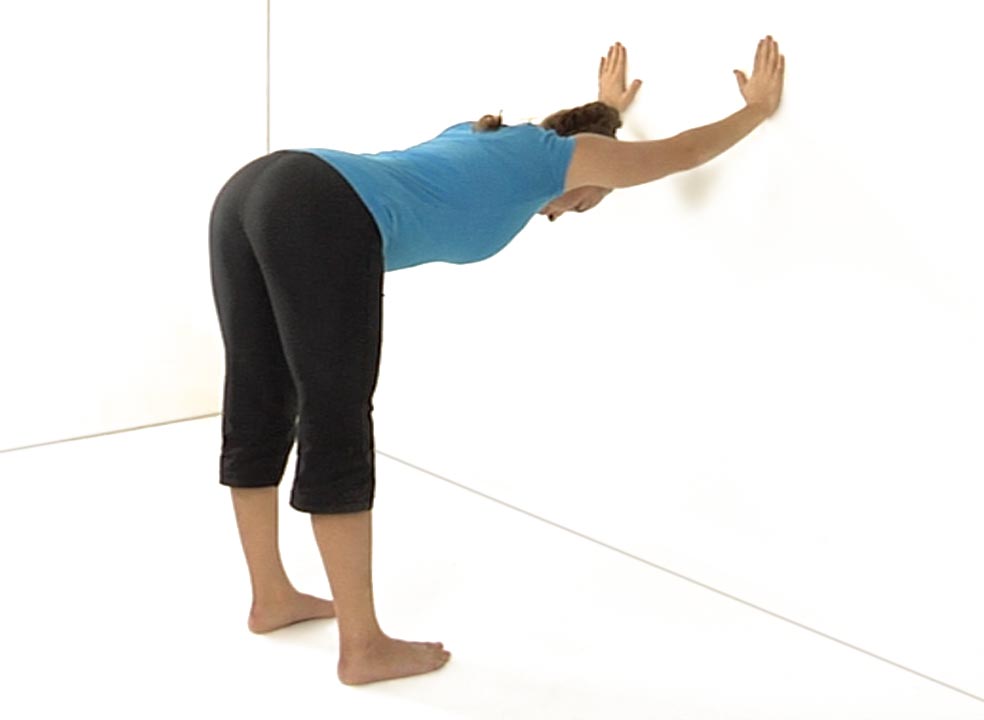
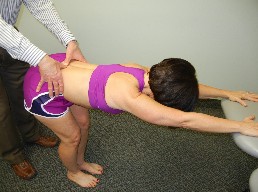
Assessment of transverse plane motion and motor control can be observed by palpating the ASISs and asking the patient to roll the pelvis from 3 to 9 and from 9 to 3 o’clock. In order for the ASISs to remain level in the frontal plane there must be coordinated control of the abdominal obliques with the erector spinae and quadratus lumborum muscles.
Substitution Patterns to watch out for during retraining:
When retraining the patient for symmetrical sagittal plane movement towards 6 o’clock the most common dysfunctional pattern is for the patient to drive the R ASIS further inferiorly than the L due to hypertonicity of the R erector spinae and inhibition of the abdominals on the R side.
When retraining the patient for symmetrical sagittal plane movement towards 12 o’clock the most common substitution pattern is for the patient to pull the L ASIS further superiorly than the R for the same reasons as described above, ie hypertonic R erector spinae and inhibited R abdominals.
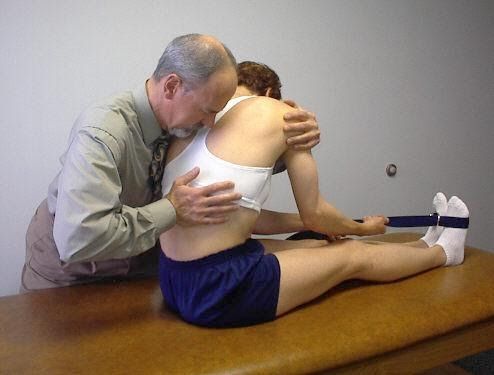
When retraining the patient for the transverse plane movements of 3 and 9 o’clock patients will most often substitute for a loss of transverse plane rotation by moving the pelvis in either the sagittal or frontal planes resulting in a palpable and observable deviation of the ASISs in the frontal plane. Initially the therapist should monitor the movement and give the patient verbal cues and sometimes manually assist the patient by gently lifting the pelvis on the side the patient is having difficulty lifting to insure the proper performance of this movement. Following the 3 and 9 o’clock movements with the hands also gives the therapist tactile feedback about how hard the patient is working to perform the movement. The patient then attempts to replicate this exercise at home by replacing the therapist’s manual contacts with their own thumbs or fingers at the ASISs.
Patients more often report pain in the back when attempting to perform the 9 to 3 and 3 to 9 o’clock movements than when moving from 12 to 6 because transverse plane rotation is more physically demanding and also results in compression of the spine.