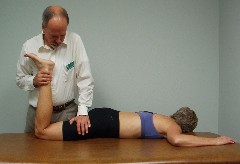
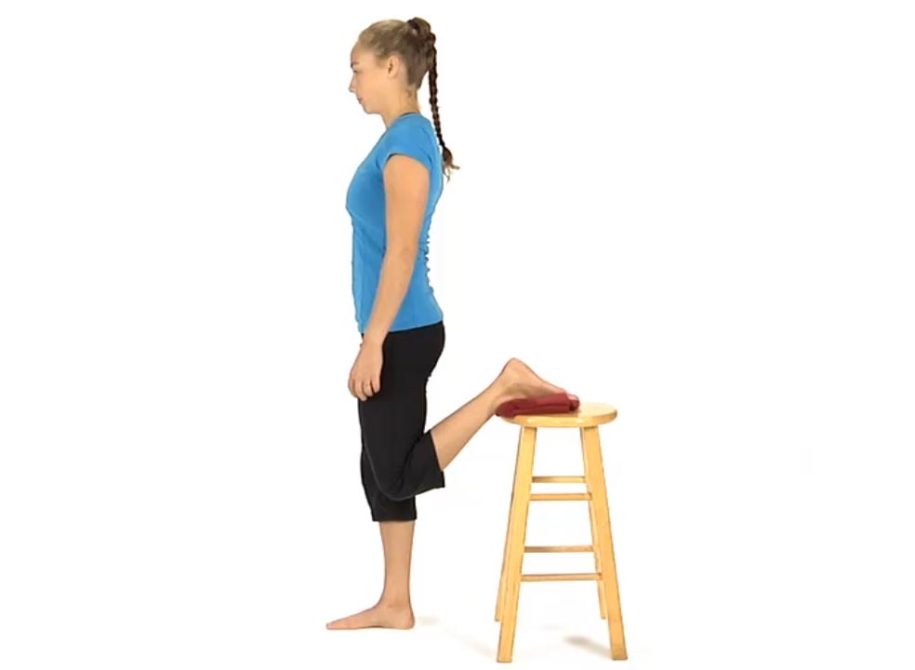
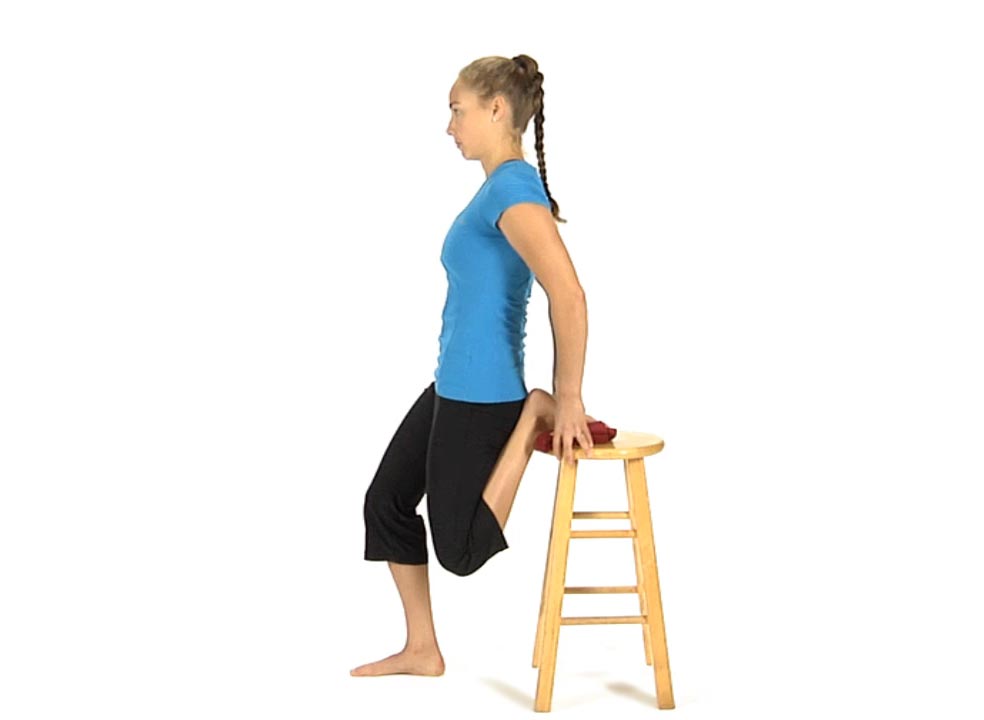
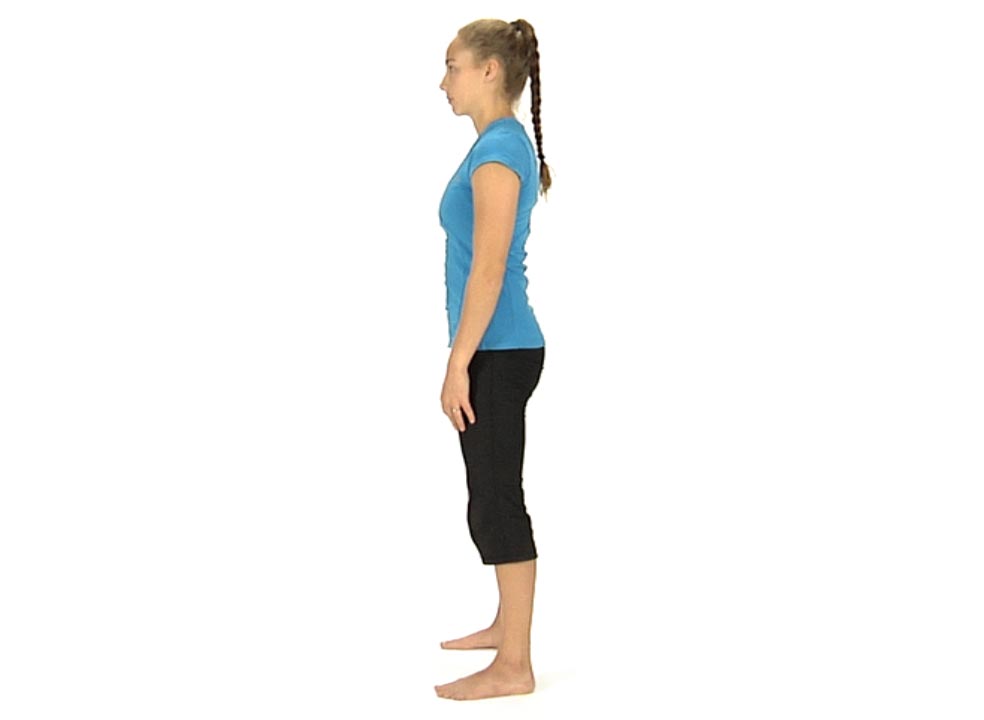
The patient is standing in front of a table or back of a chair/sofa.
The patient places the left foot behind them on the chair/sofa and attempts to sit back on their left heel to initiate knee flexion.
Then they are instructed to draw the belly in and attempt to point the left knee straight down toward the floor to increase hip extension.
The patient is instructed to bend the right knee to assist in pointing the left knee down and increasing the stretch felt in the left thigh.
The stretch can be held for 30 seconds and repeated 2-3 times or an on/off stretch can be applied by bending and straightening the right knee 8-10 times.
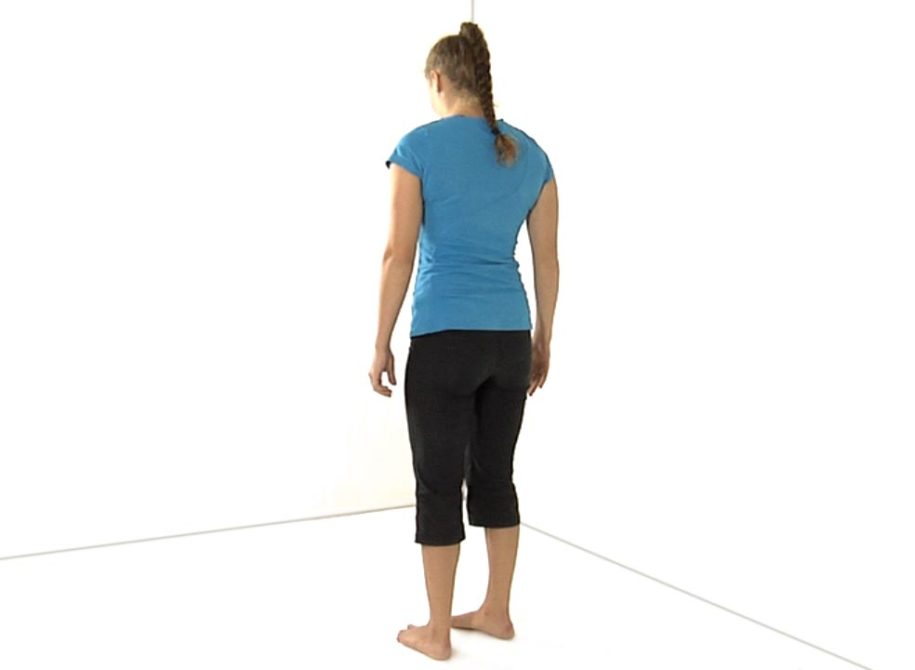
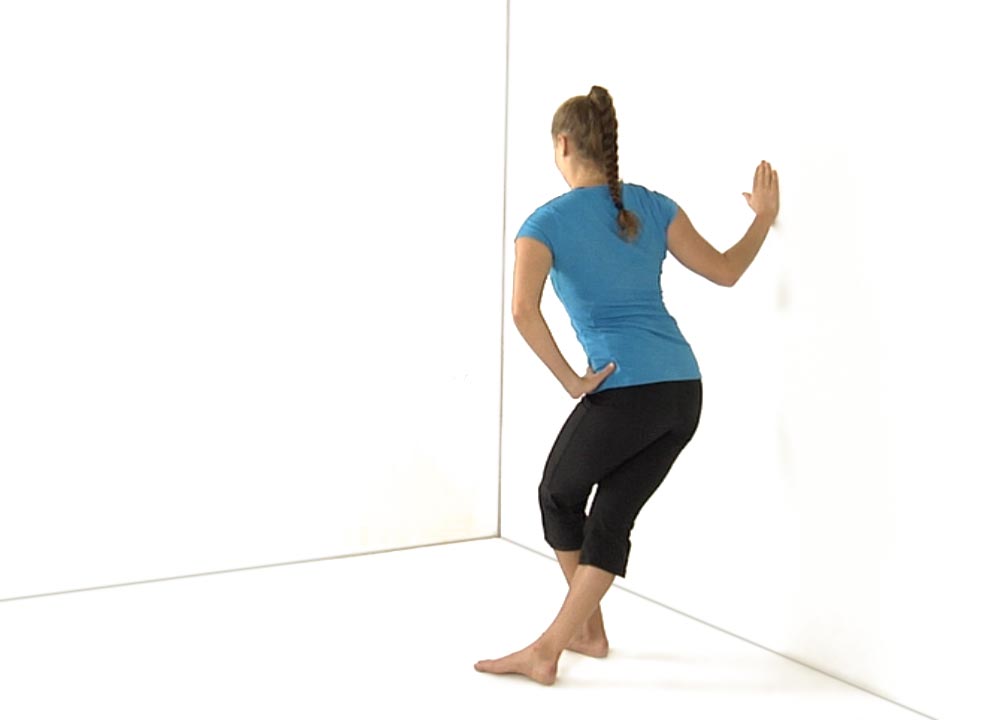
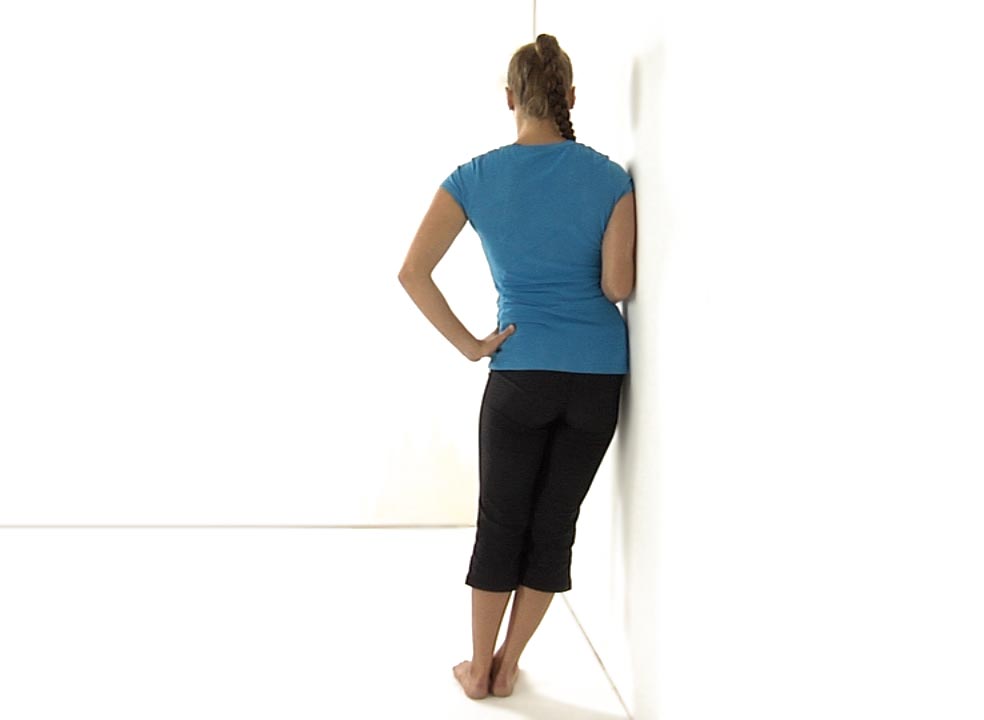
The patient is instructed to place the right leg toed in (internally rotated) while keeping the hips square. Then they step over the right leg with the left leg.
Keeping the right foot flat on the floor the patient is instructed to shift the hips towards the wall as far as possible and attempt to rotate the pelvis to the right to externally rotate the right hip while maintaining internal rotation of the right tibia.
The patient should report feeling a stretch along the outside or lateral portion of the right hip/thigh.
They maintain the stretch for 30 seconds and repeat 2-3 times.
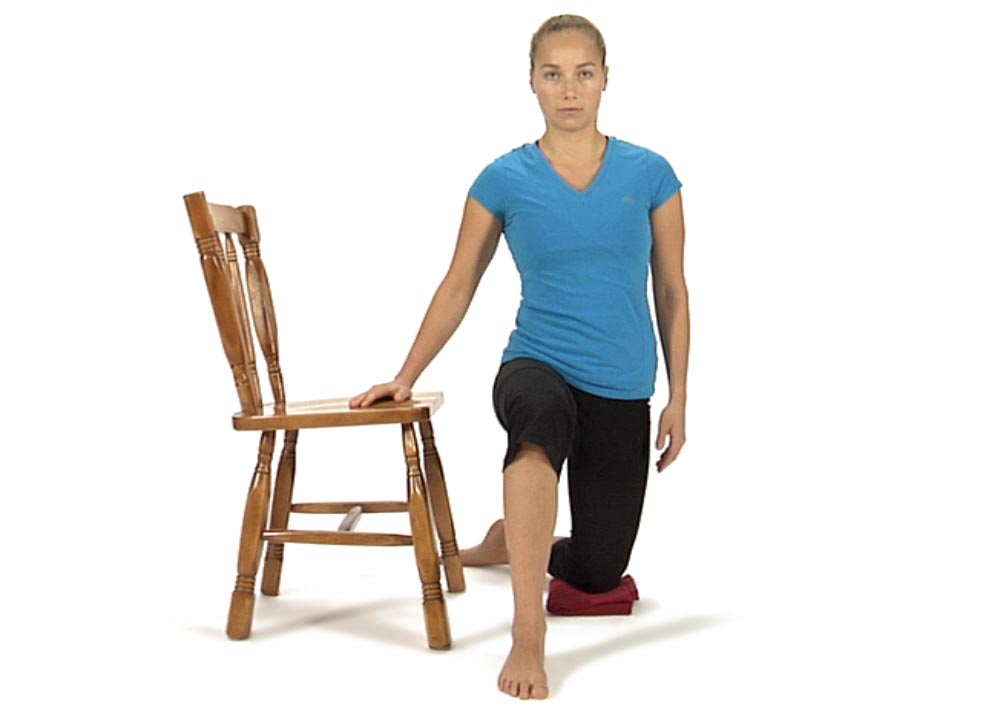
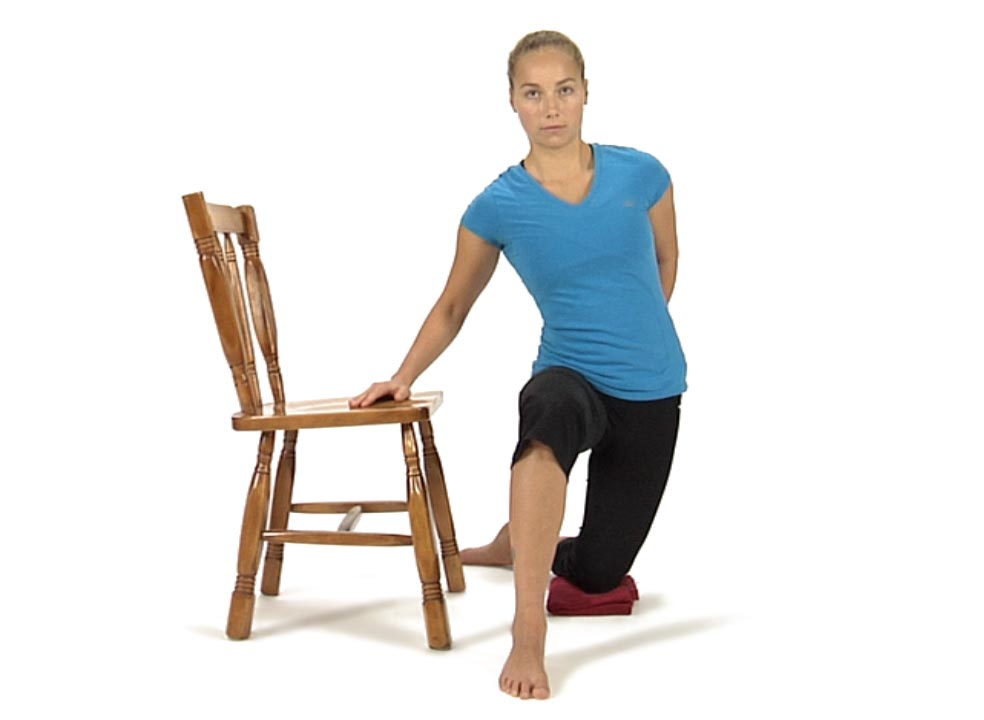
The patient starts in half kneeling with a pillow or towel under the left knee and the hip externally rotated (foot turned in). Their right hand may be placed on a chair or against the wall for balance.
Have them place their left hand on their left buttocks. They are instructed to tighten the left buttocks muscle and tuck the hips under (12:00). They draw the belly button in and keep the shoulders centered over the hips so that they don’t arch the back.
Instruct the patient to translate their hips to the left while maintaining a strong buttocks contraction and posterior pelvic tilt.
The patient should report feeling a stretch on the outside or lateral portion of the left thigh.
They hold the stretch for 30 seconds 2-3 times or use a series of isometric contract/relax stretches repeated several times.
Then instruct the patient to switch sides and repeat on the right side.
To mobilize the left sacral base for anterior nutation:
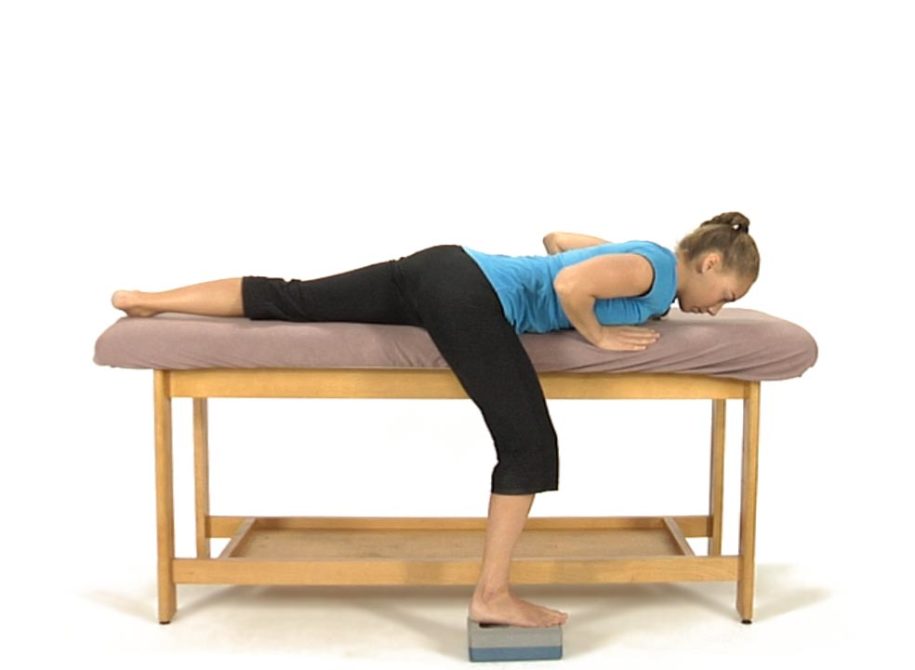
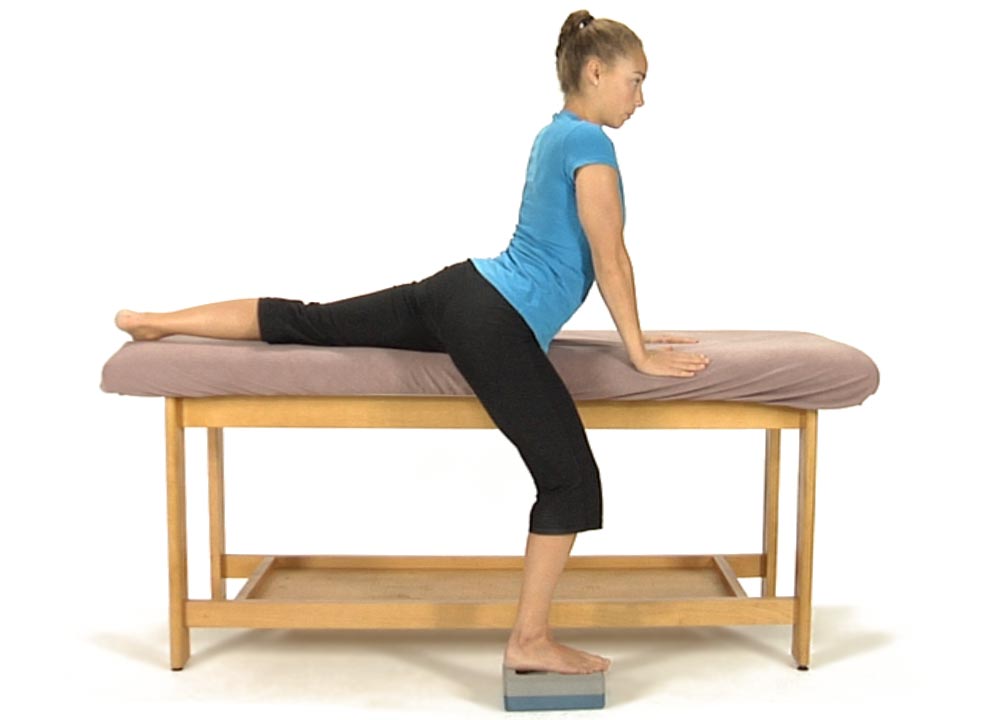
The patient is lying on their stomach with their right leg off the side placing their right foot flat on the floor.
Their left leg is turned out (externally rotated) so that the inside of their left foot is resting on the table.
With their hands placed under the shoulders they try to straighten their elbows and press up as far as possible.
Instruct them to hold this position momentarily and repeat 8 to 10 times.
For Restricted Anterior Nutation of the R Sacral Base limiting Pelvic Rotation towards 3 o’clock the patient performs the above exercise with the L foot on the floor and the R leg on the table and externally rotated.
For Restricted Anterior Nutation of the L Sacral Base limiting Pelvic Rotation towards 9 o’clock
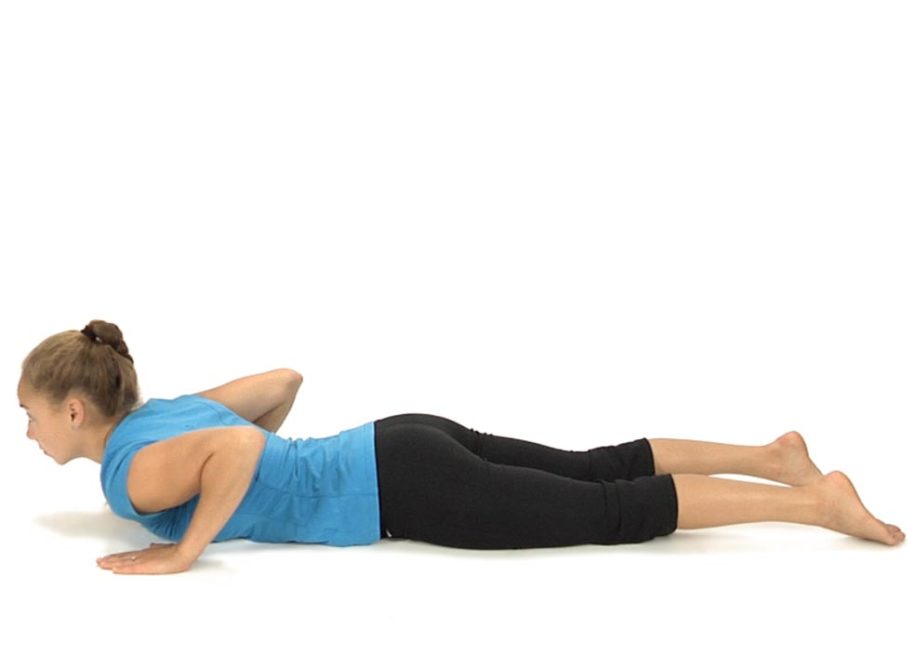
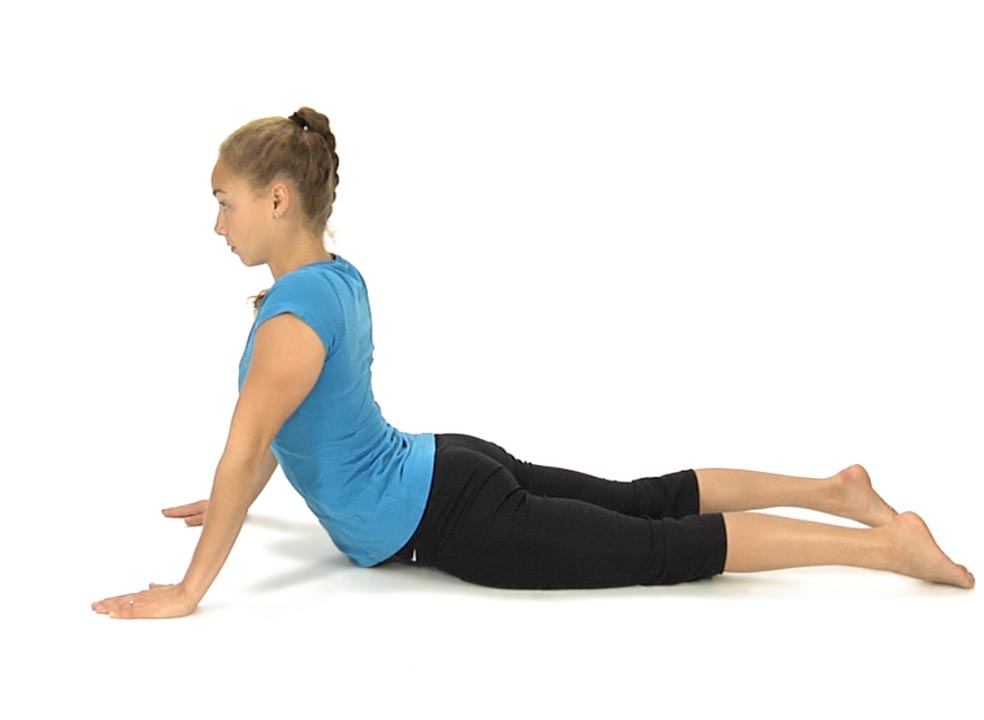
To mobilize an FRS dysfunction and increase lumbar extension:
The patient is lying on their stomach with their hands placed under their shoulders. The patient is instructed to attempt to press up using only their arms and not their back muscles.
They try to keep their hips resting on the table as they straighten their elbows as far as possible. Instruct them to bring their shoulders down and back as they press up.
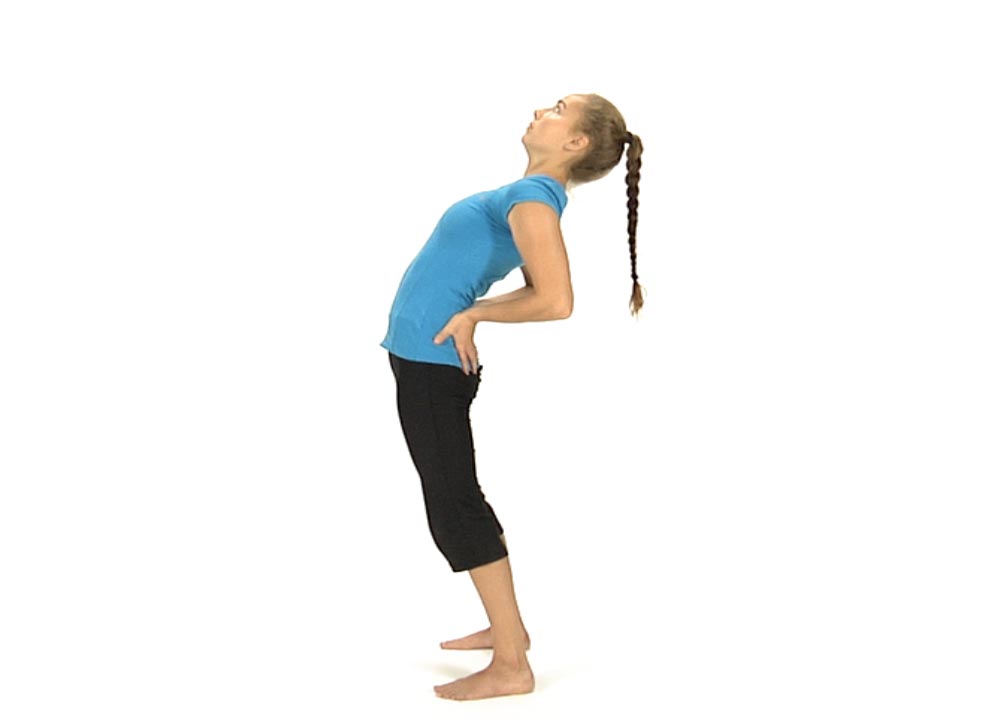
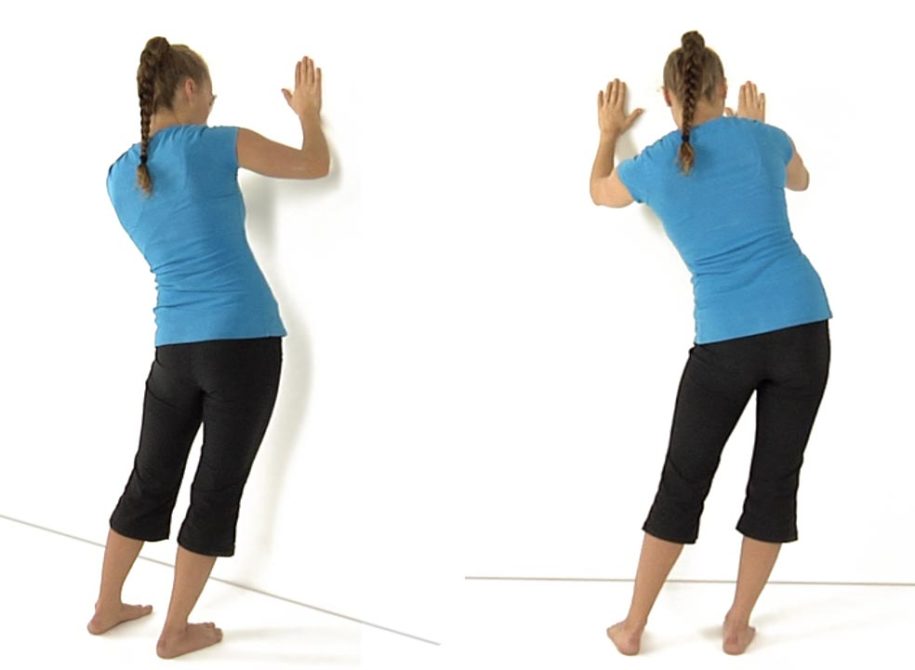
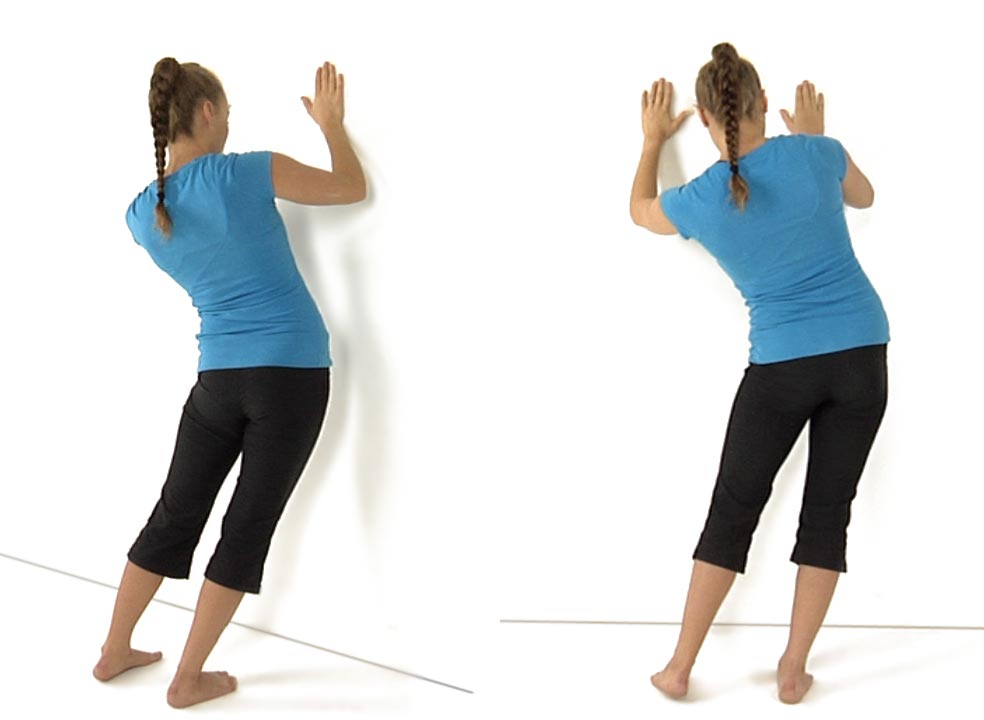
The patient is standing facing the wall with the feet approximately three feet away from the wall. Instruct the patient to shift their hips to the right and hold this shift as they drop their hips straight forward towards the wall on and off 10 times.
Make sure that the patient introduces the side shift first before extending their spine and that they maintain this shift throughout the exercise.
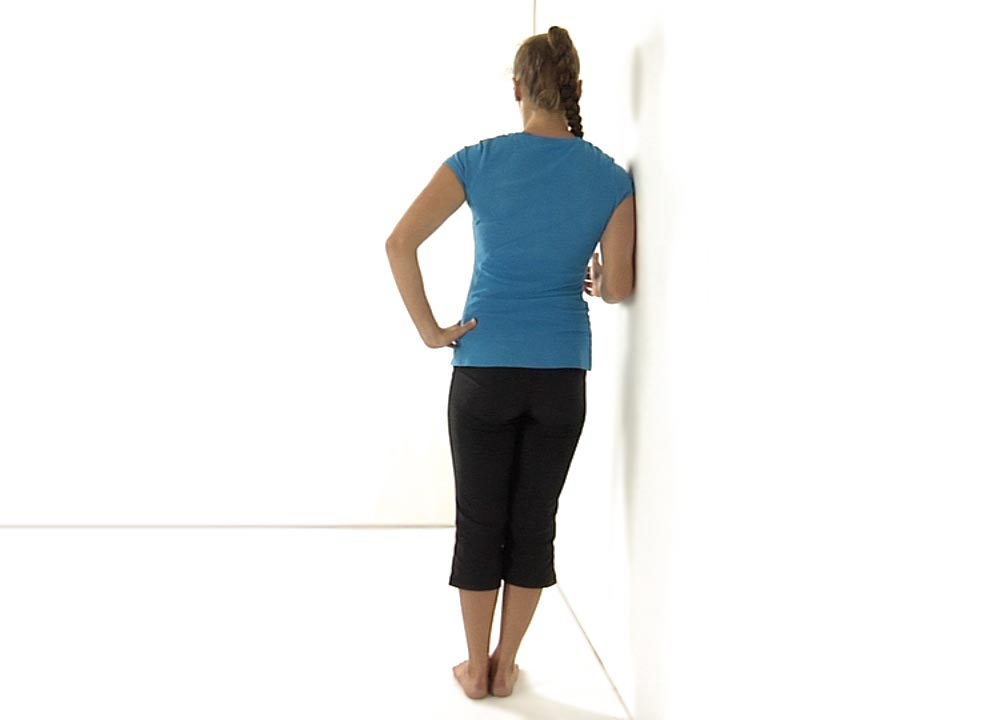
Have the patient place their feet 2 to 3 feet away from the wall with their right shoulder and forearm resting against the wall. Make sure that their forearm blocks the rib cage.
Instruct them to place their left hand on their left hip and push their hips towards the wall as far as they can. Have them hold for 5 seconds then release.