All Lower Quarter

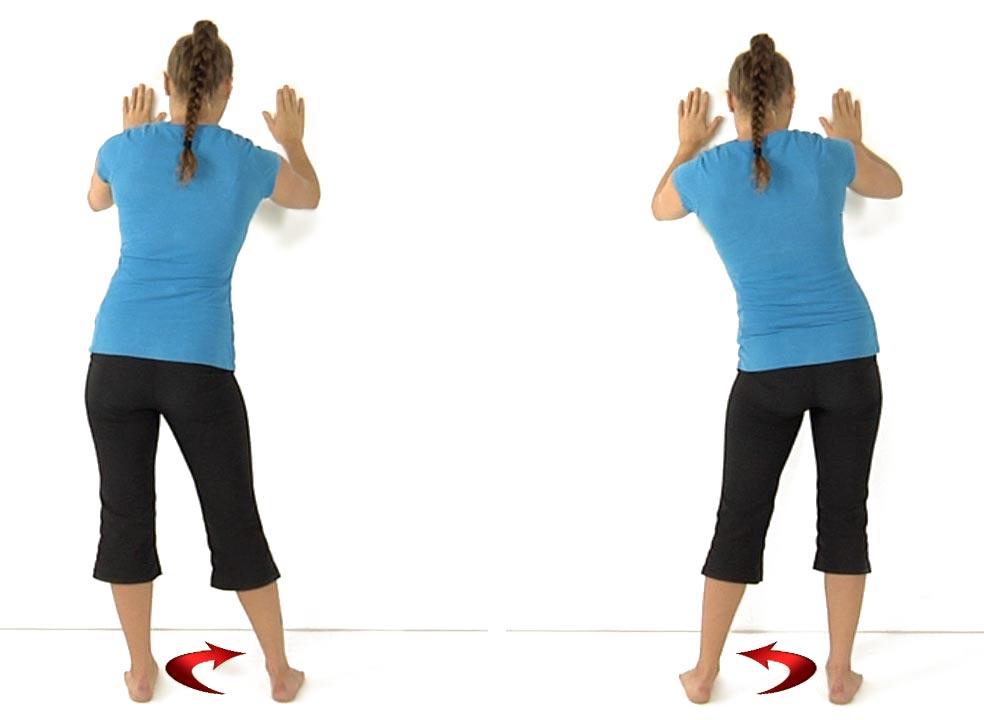


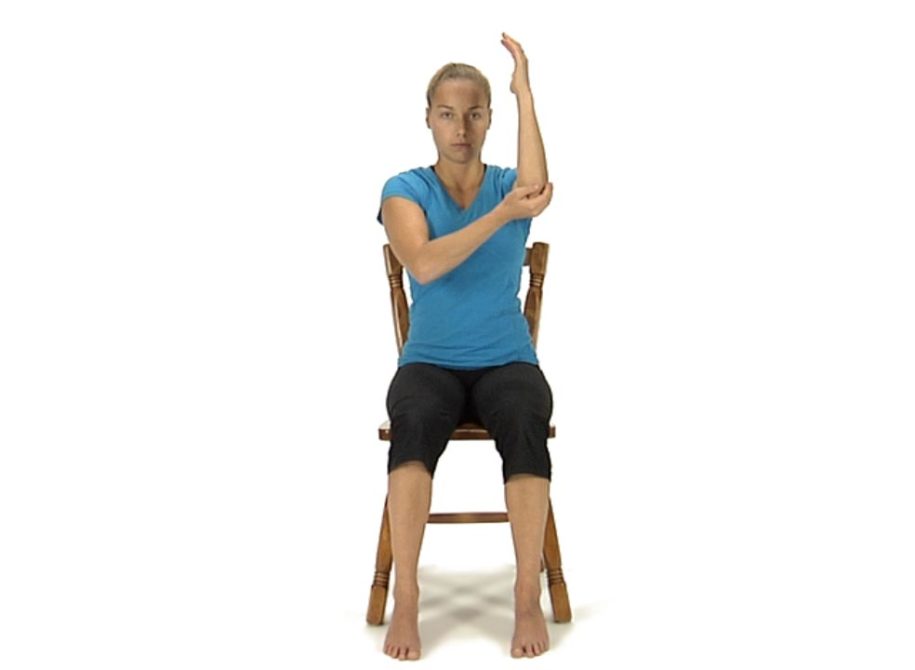
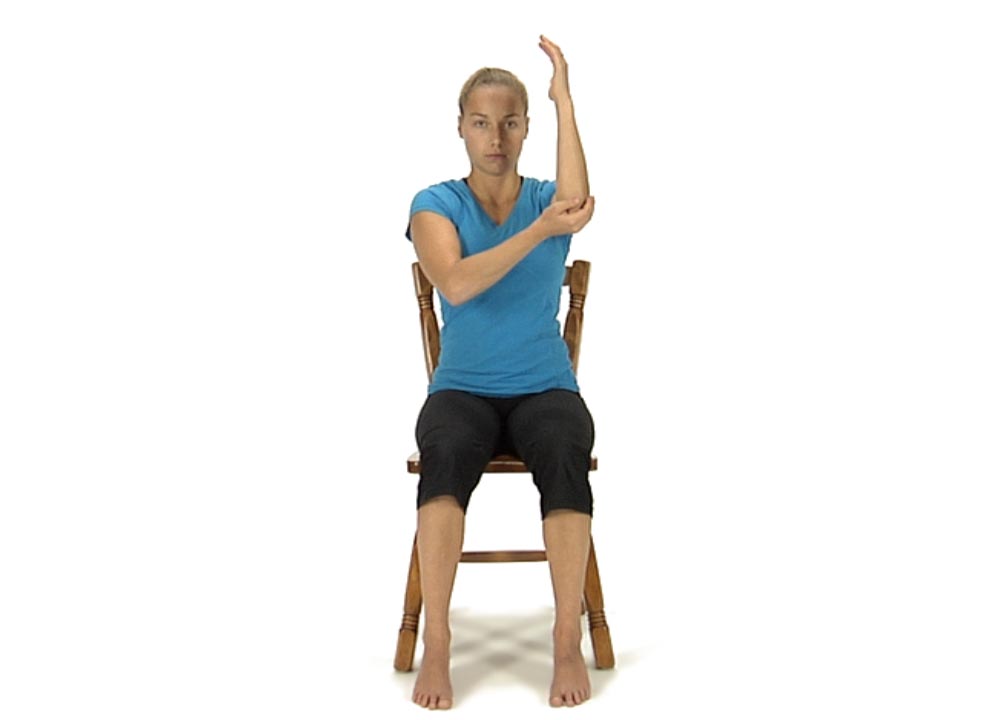
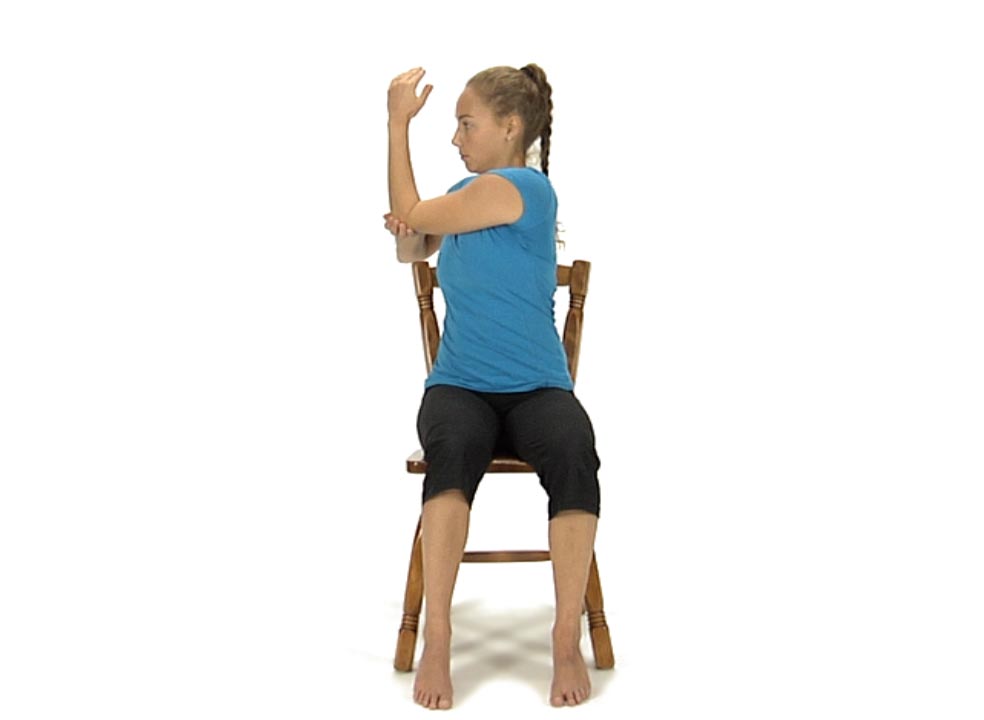
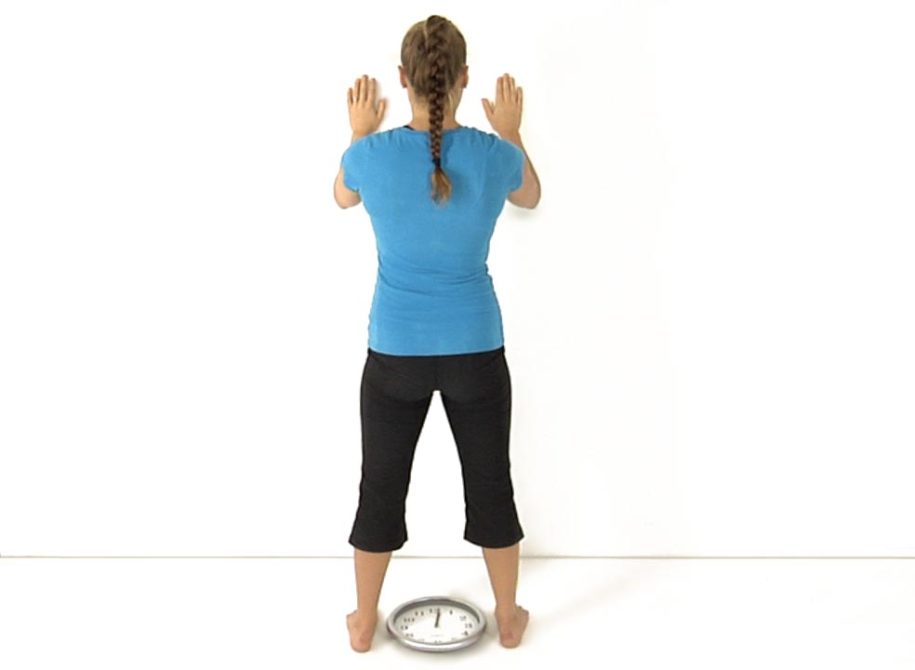
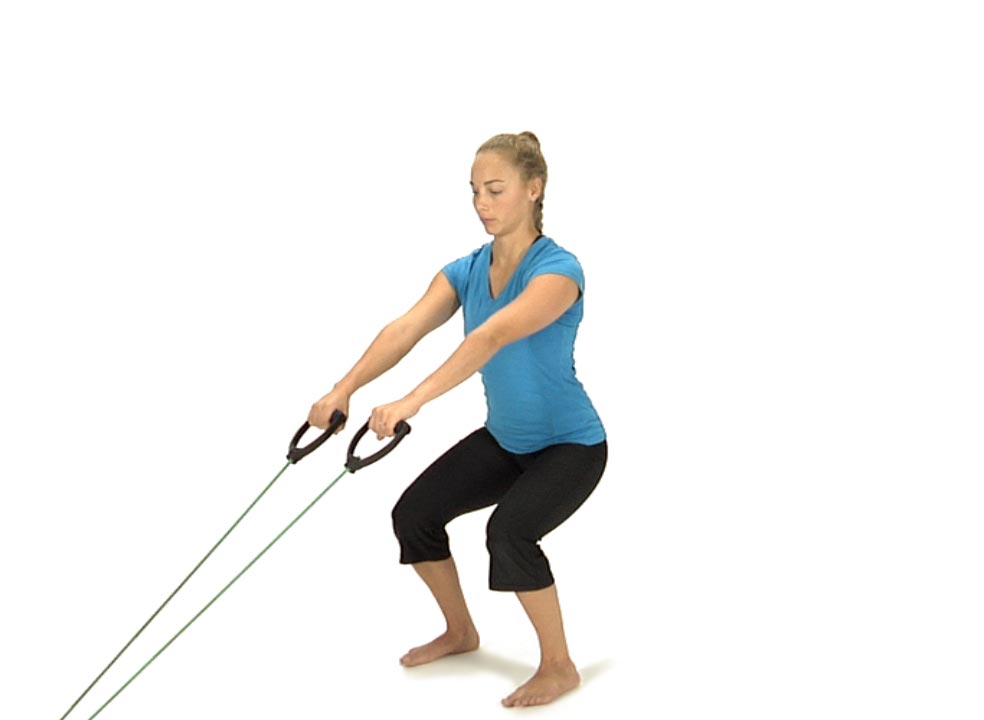
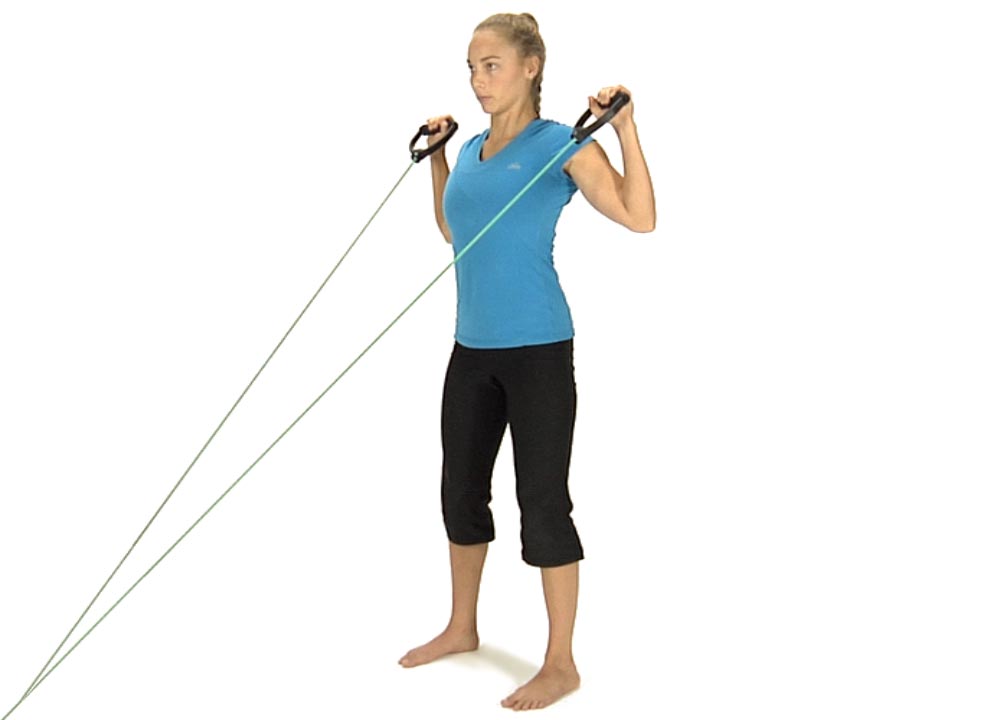
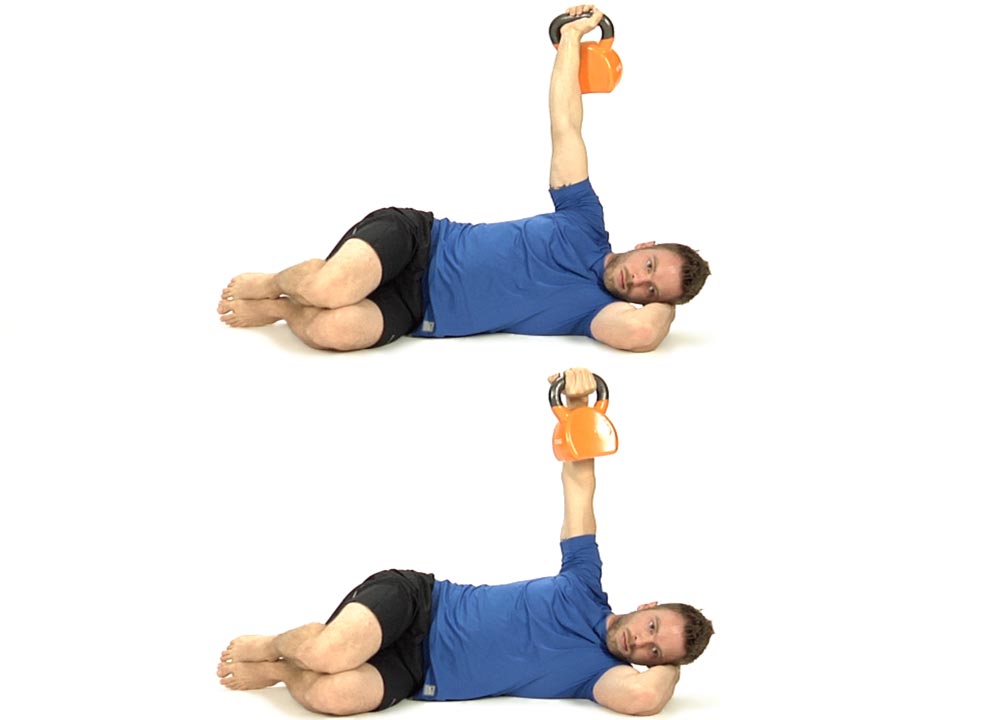
Robbery with or without Resistance Bands
in 2 Movement Tests Lower Quarter, 3 Movement Tests Upper Quarter, 5 Home Exercise Strategy, All Home Exercises, All Lower Quarter, All Upper Quarter, Functional Integration, Hip EXT Firing Pattern, Scapular Depression, Scapular Stabilization, Shoulder Abduction, Supine Hip ABD and ER

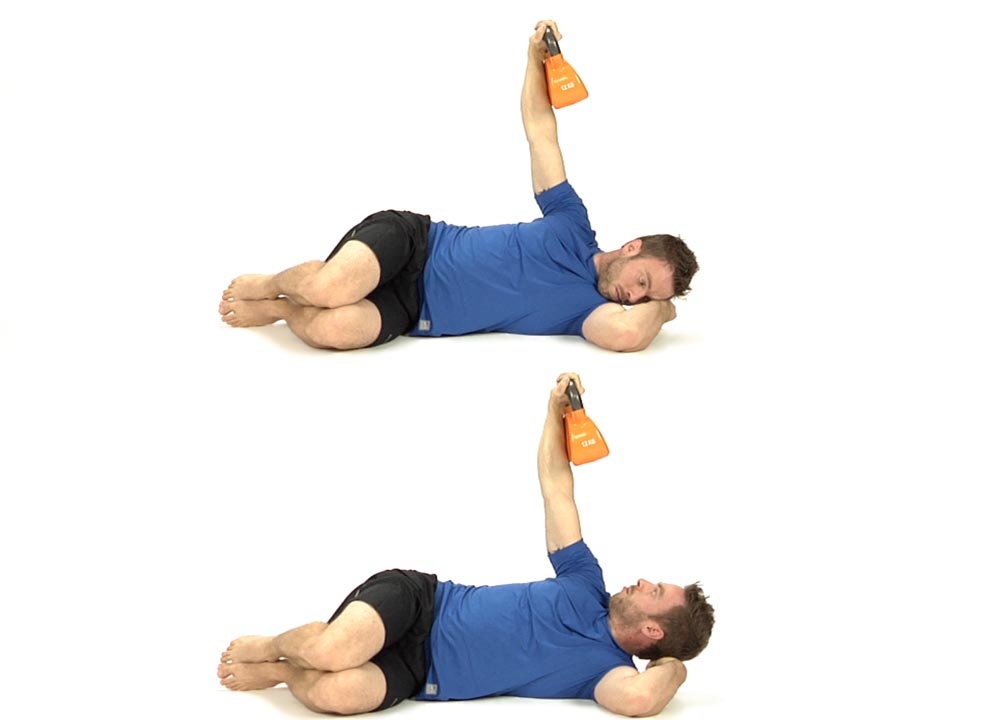

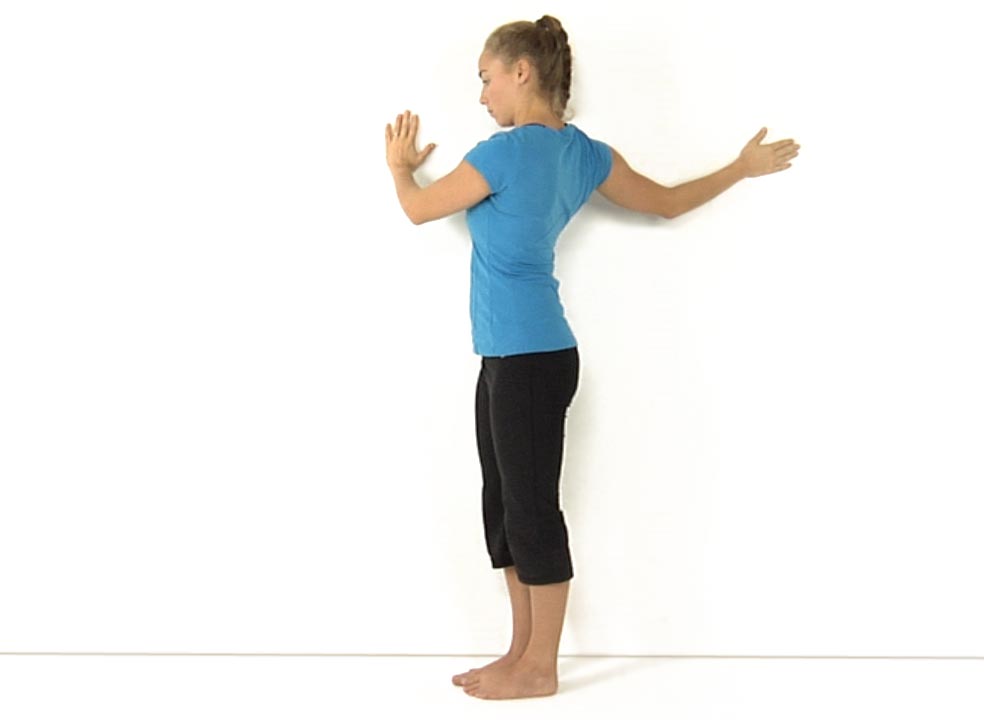
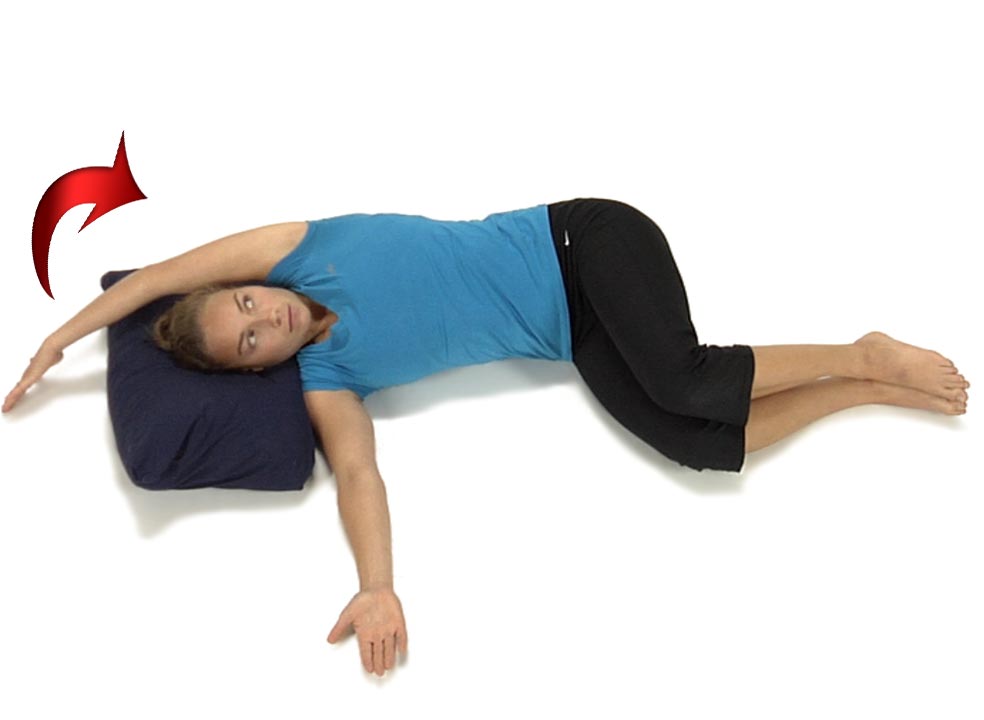
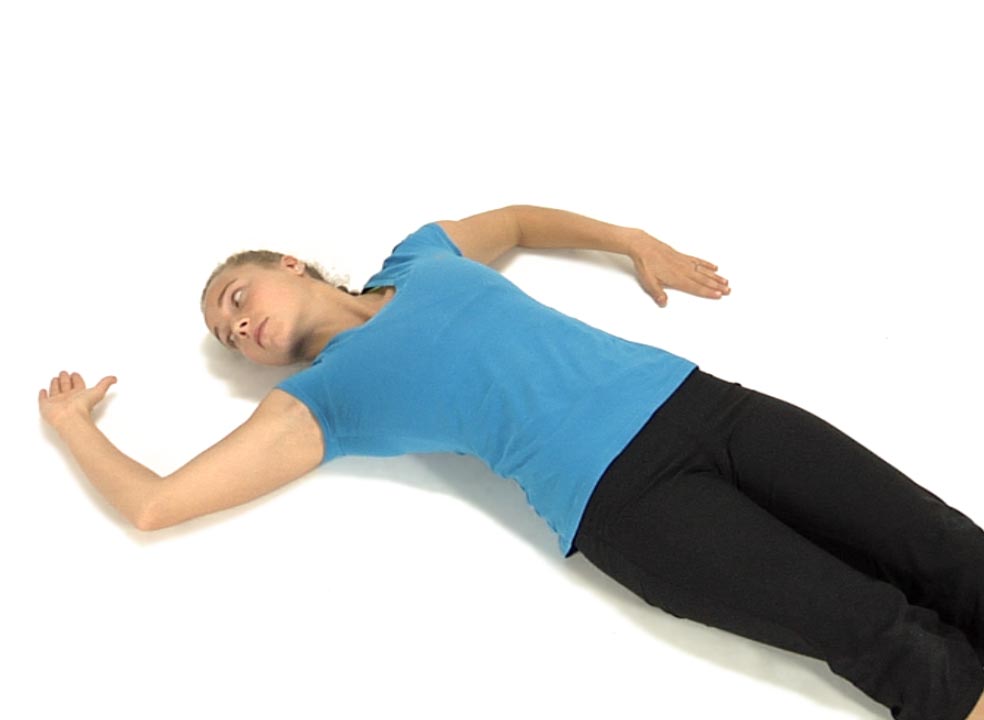
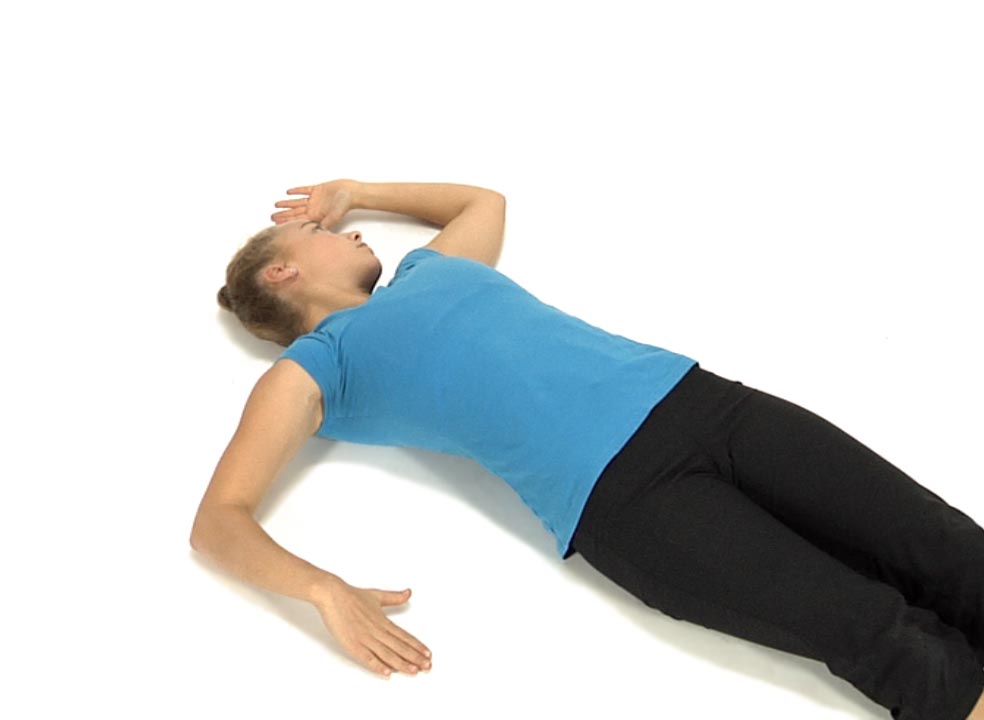
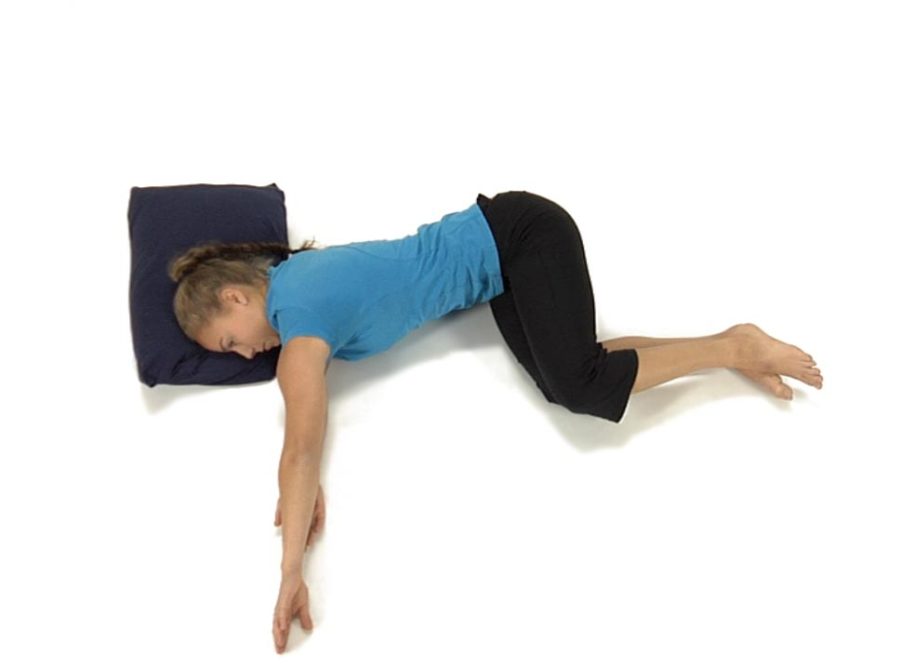
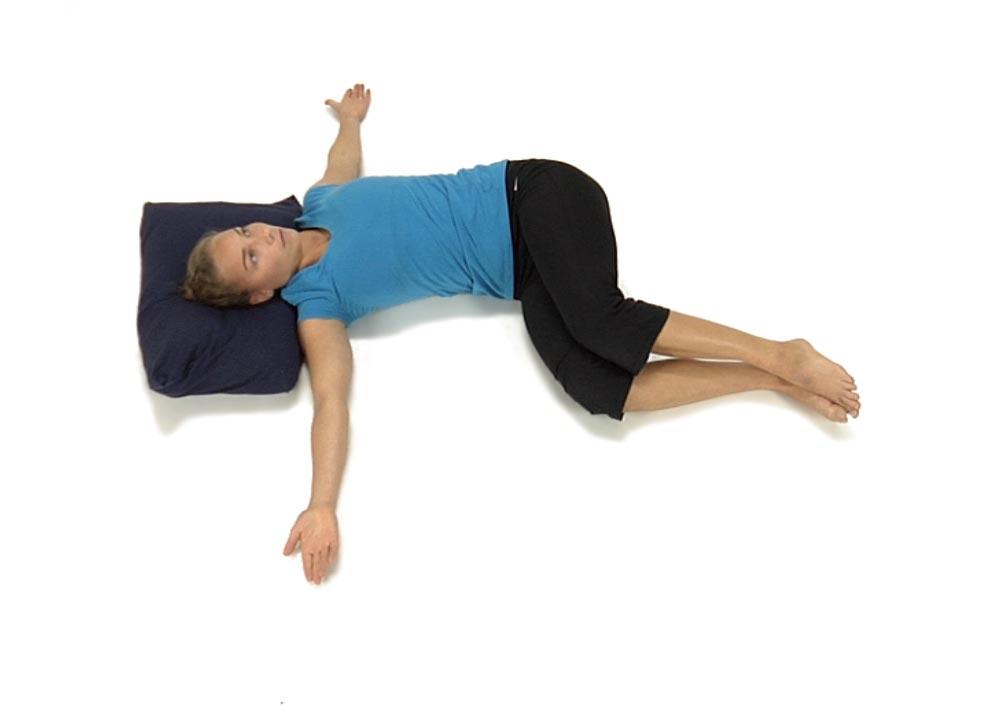
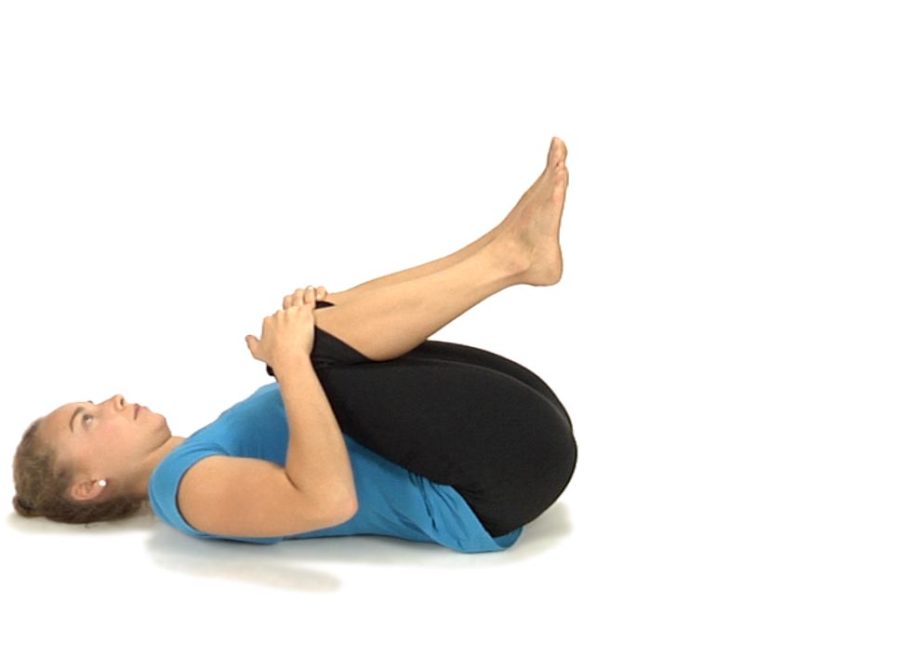
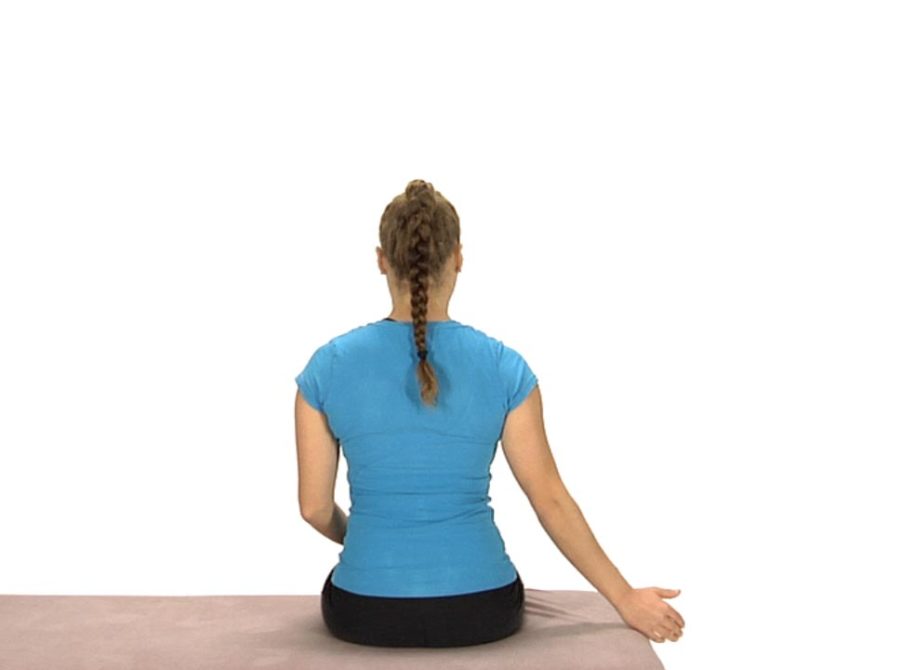
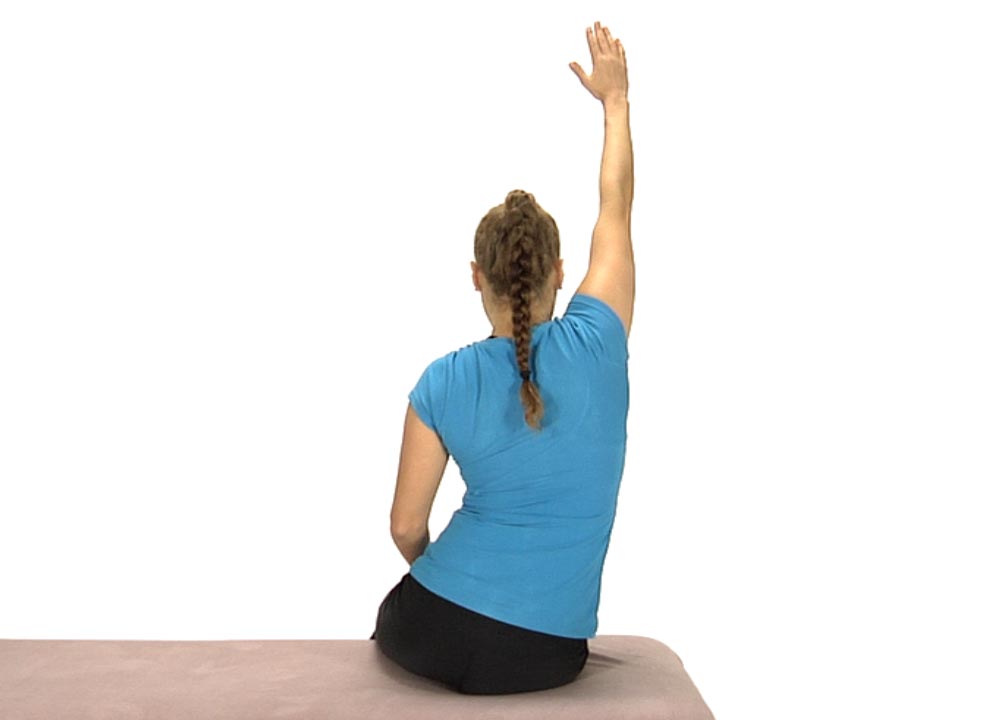
Self-Stretch of the Pectorals
in 2 Movement Tests Lower Quarter, 3 Movement Tests Upper Quarter, 5 Home Exercise Strategy, All Home Exercises, All Lower Quarter, All Upper Quarter, Pectoralis Minor/Posterior Capsule, Scapular Depression, Scapular Stabilization, Self Stretch, Shoulder Abduction, Shoulder Circle, Supine Shoulder Flexion