
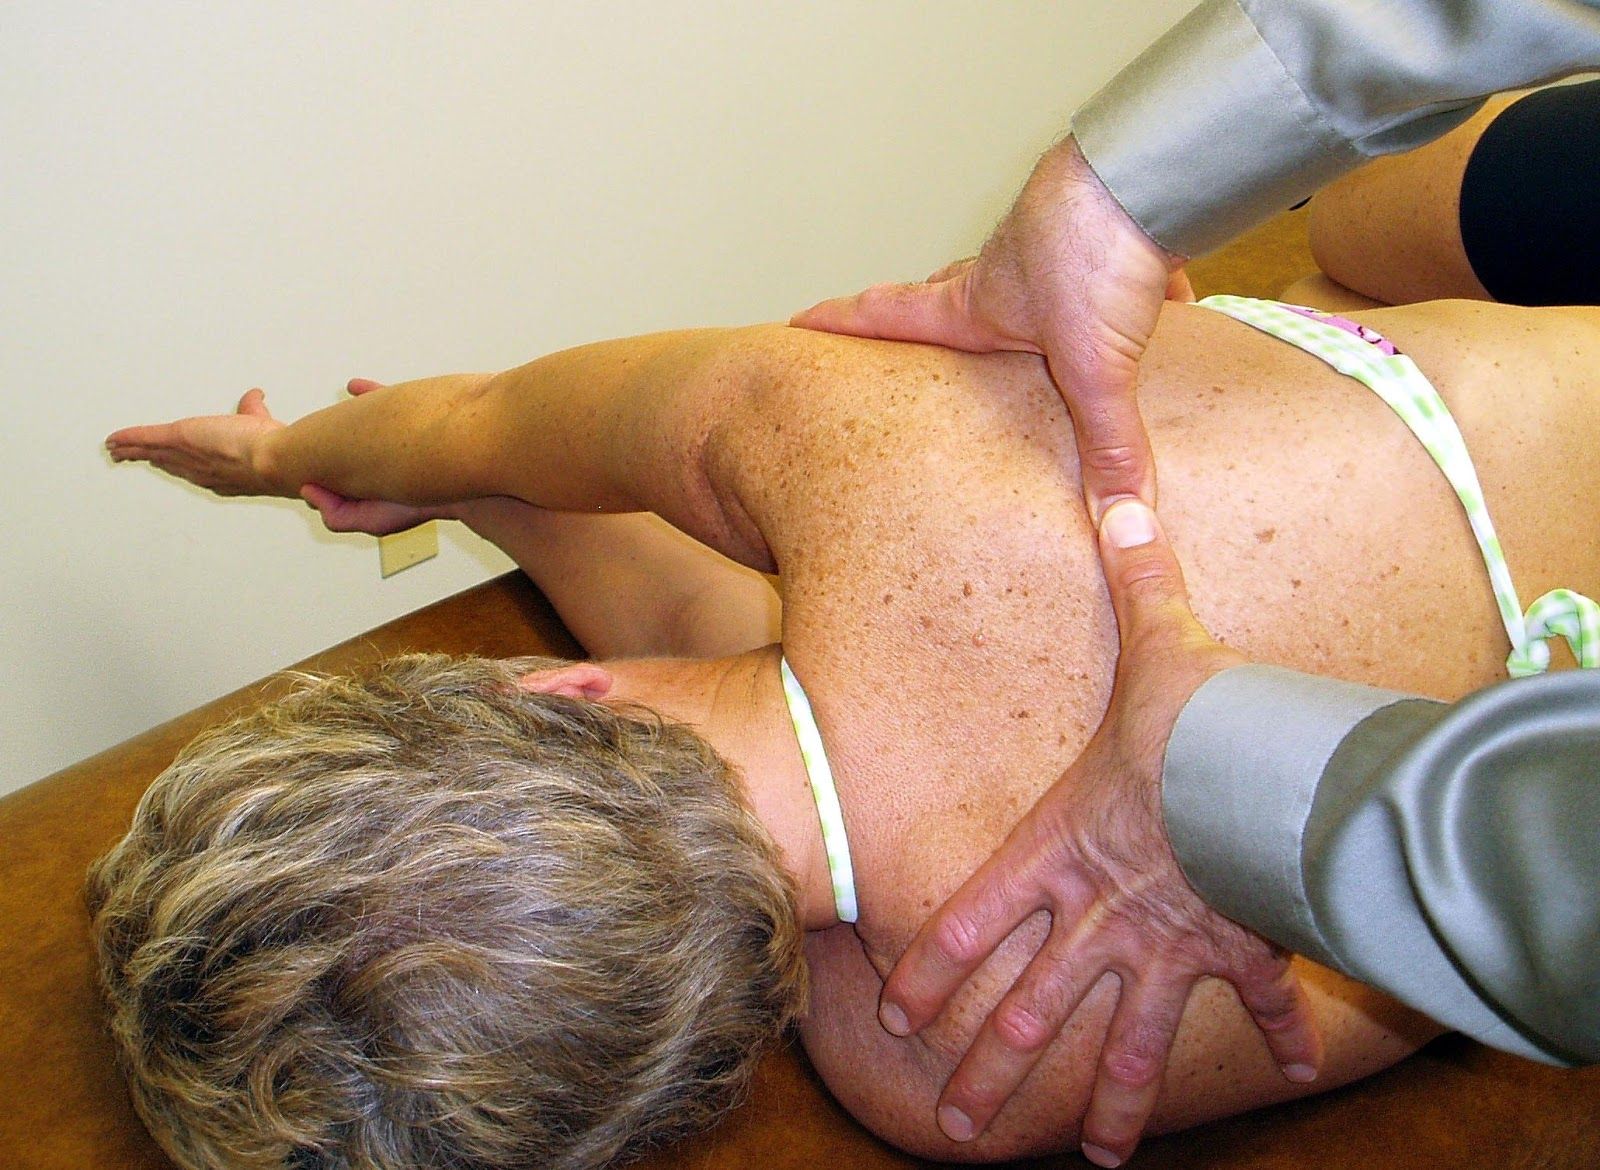
All Manual Therapy


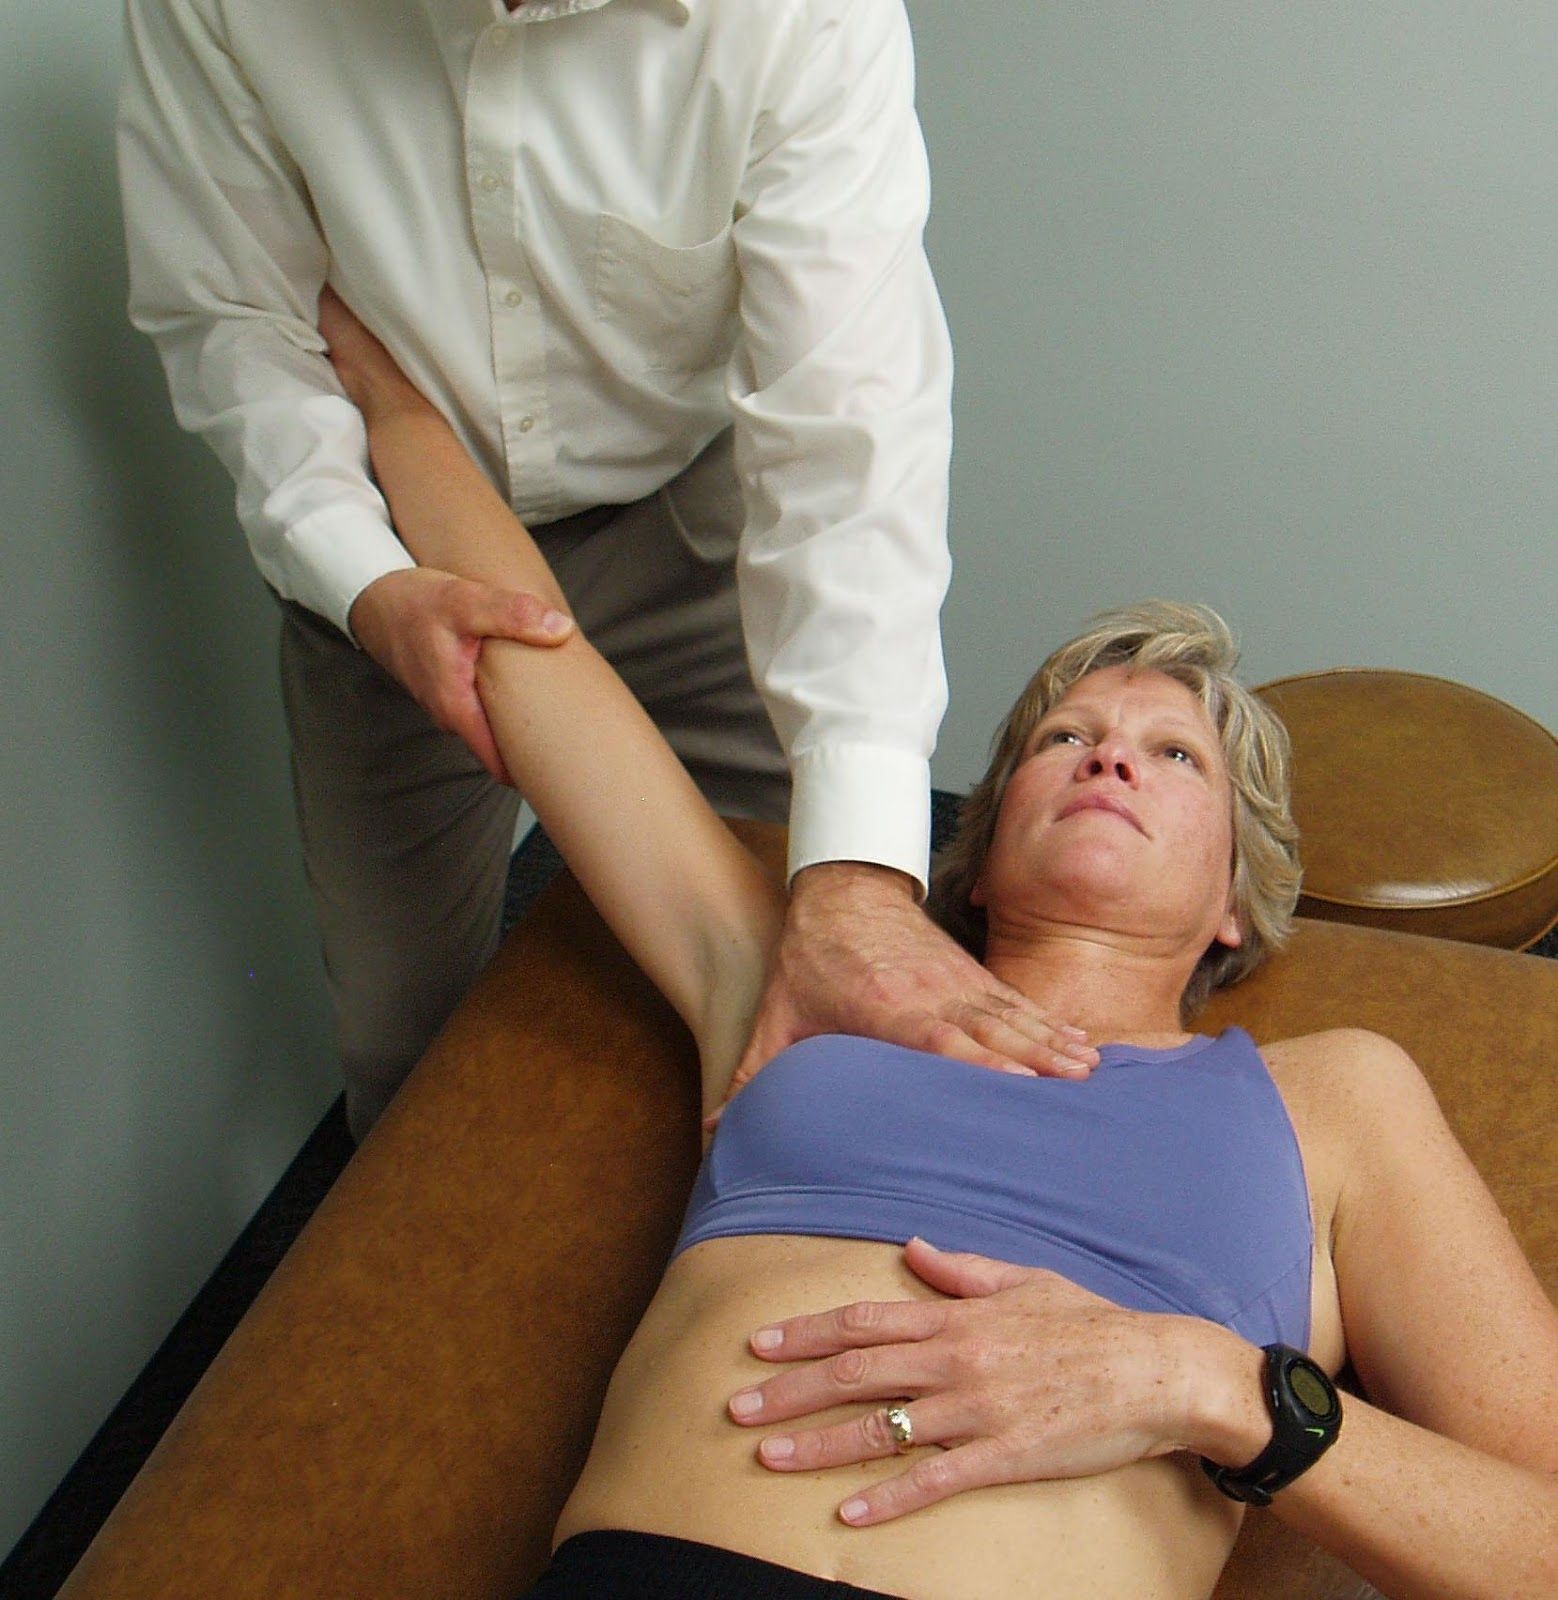
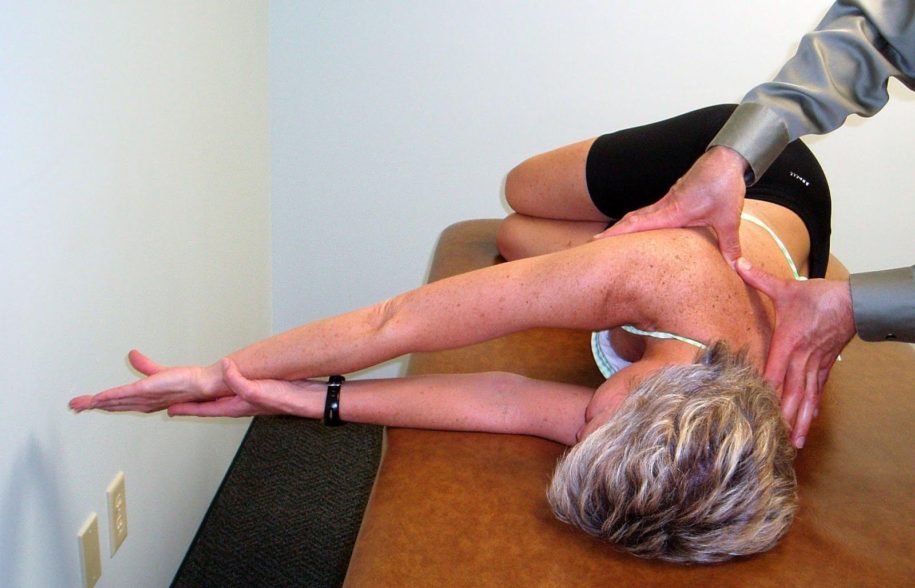

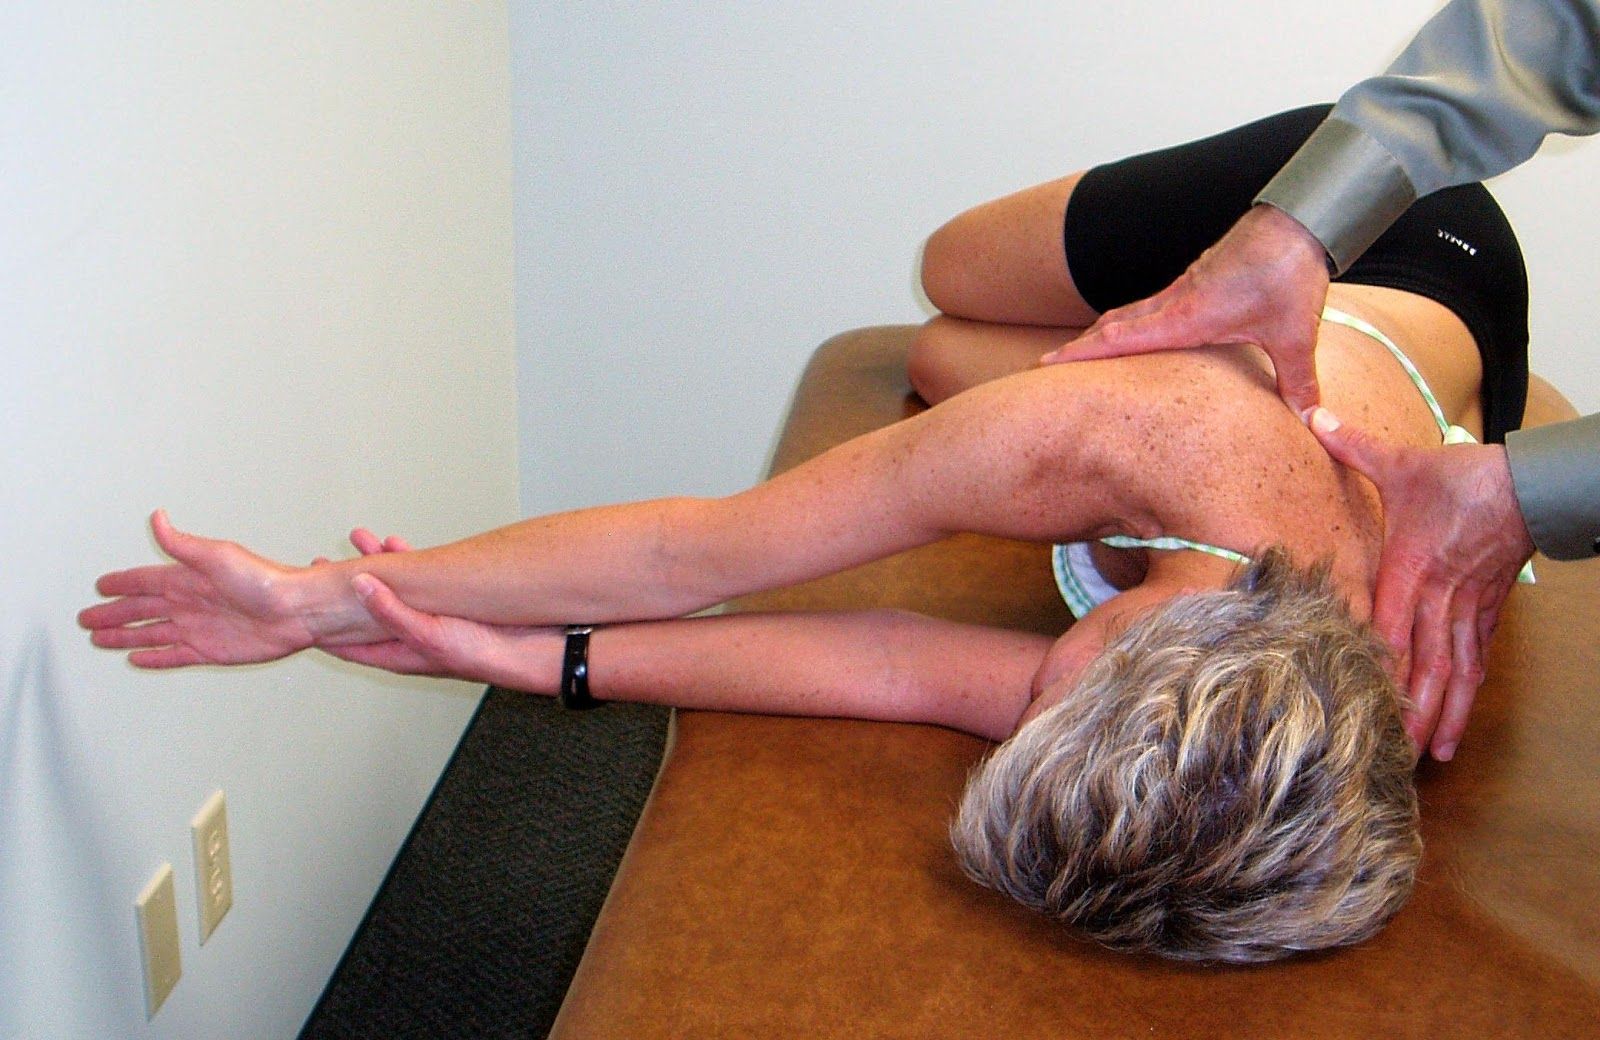
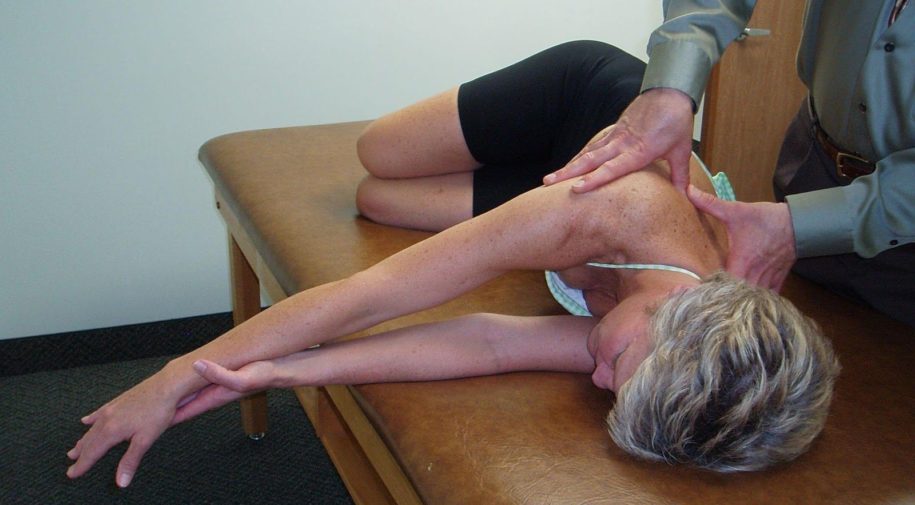
PA Mobilization to the Rib Angles to Increase Thoracic Rotation to the Left
in 2 Movement Tests Lower Quarter, 3 Movement Tests Upper Quarter, 4 Manual Therapy Strategies, All Lower Quarter, All Manual Therapy, All Upper Quarter, Mobilization, Pectoralis Minor/Posterior Capsule, Scapular Depression, Scapular Stabilization, Shoulder Circle


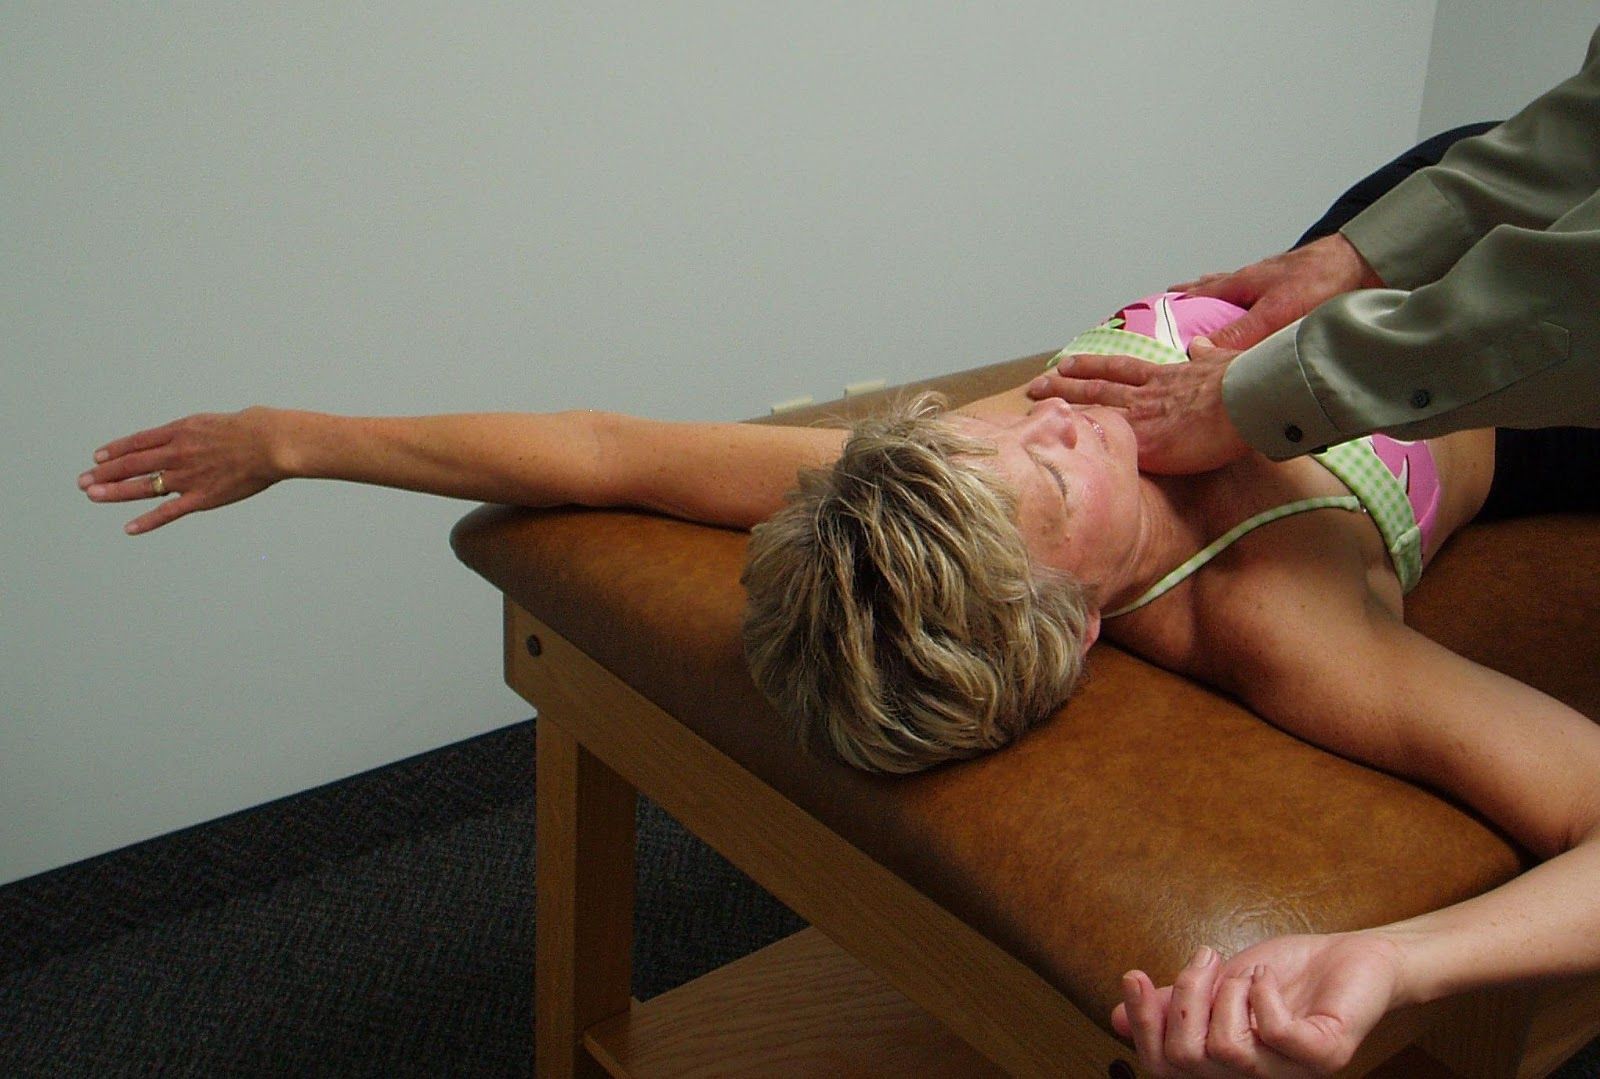
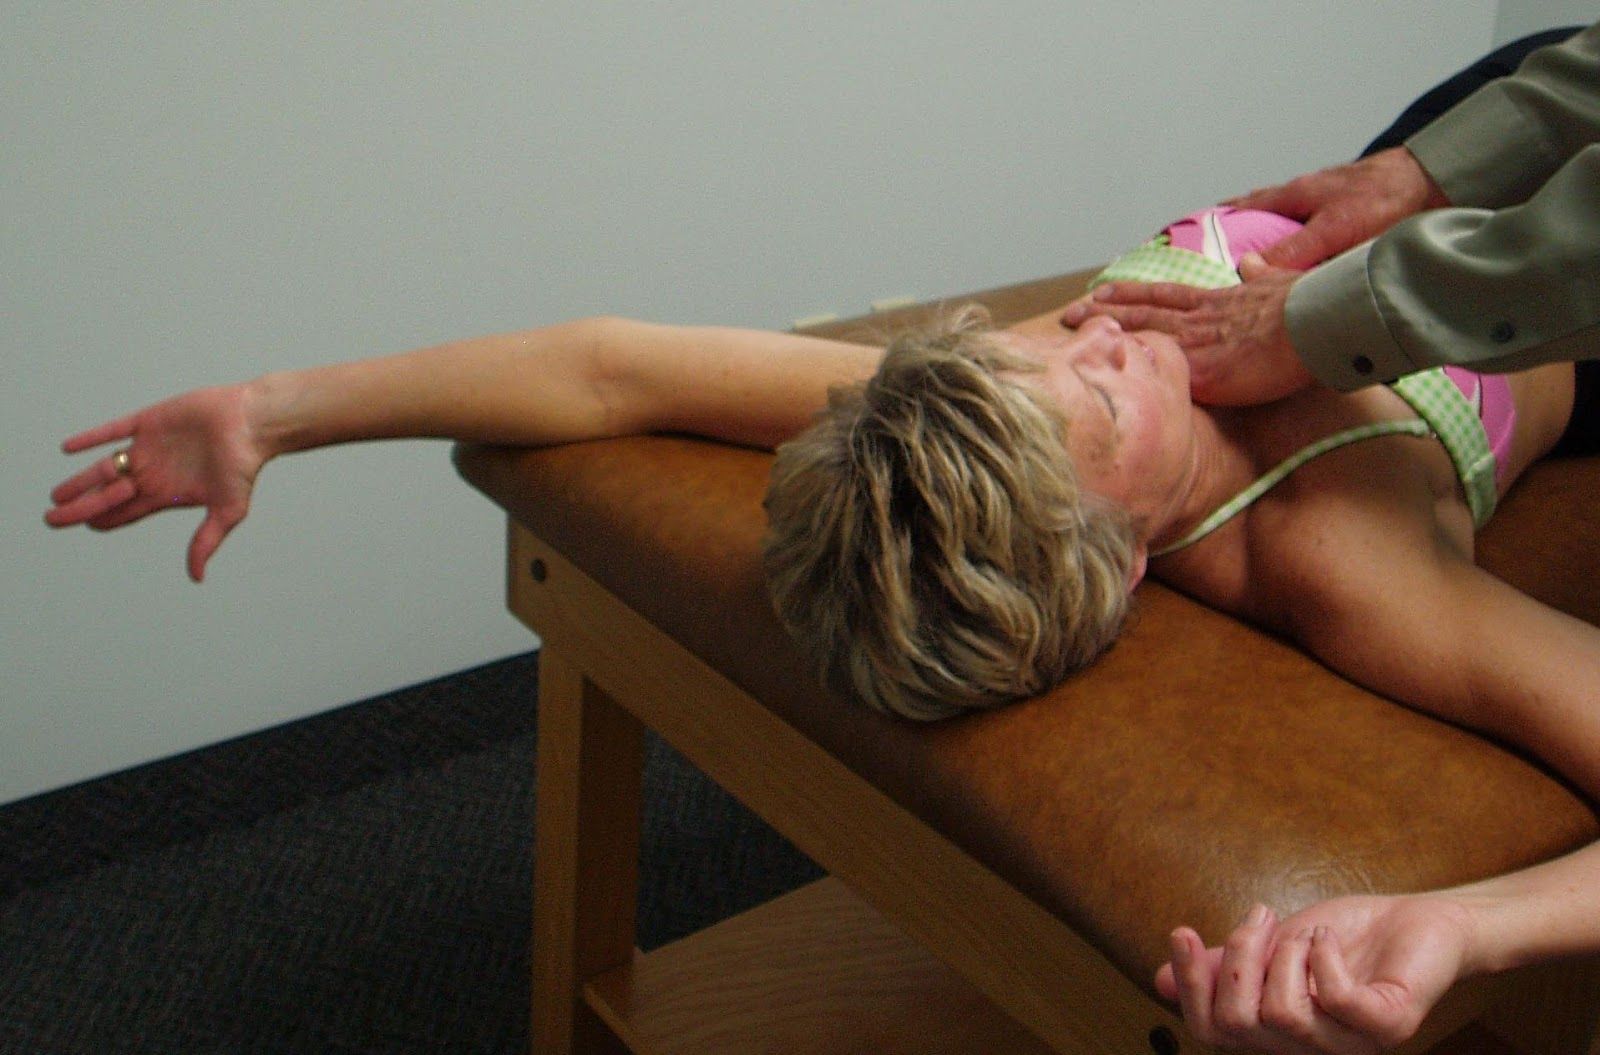
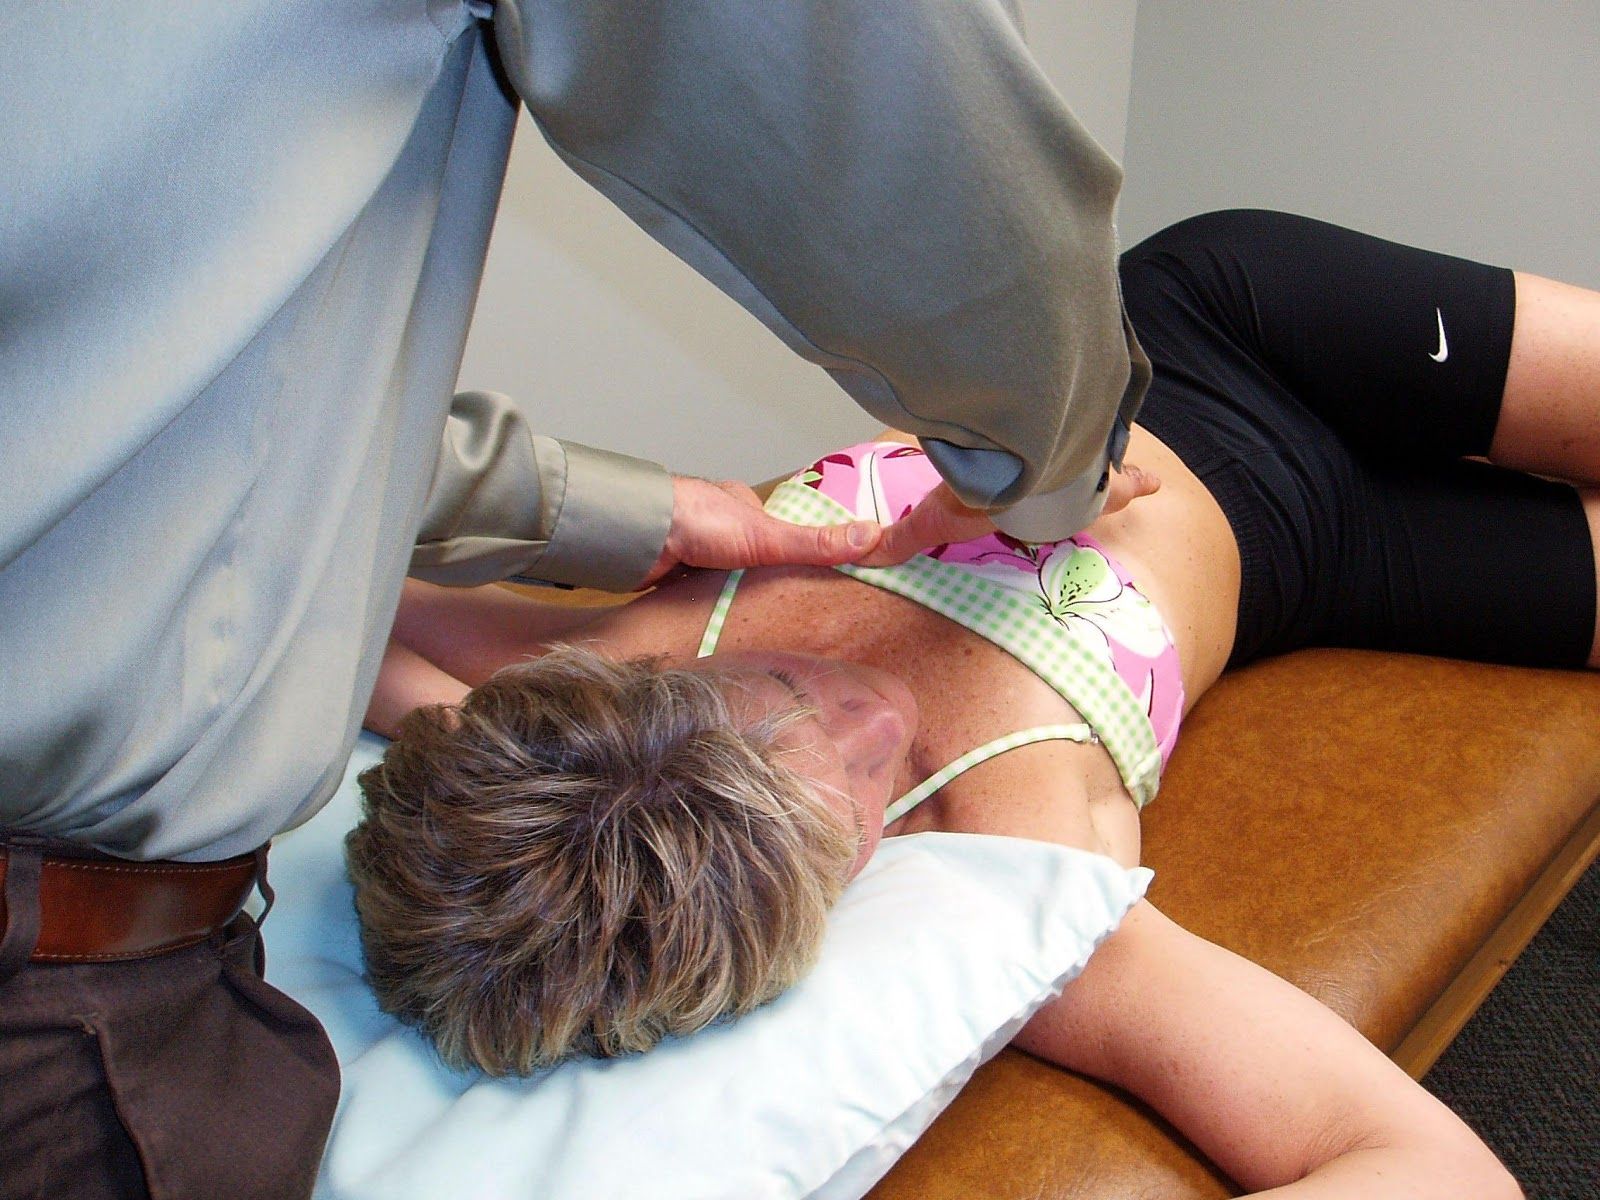
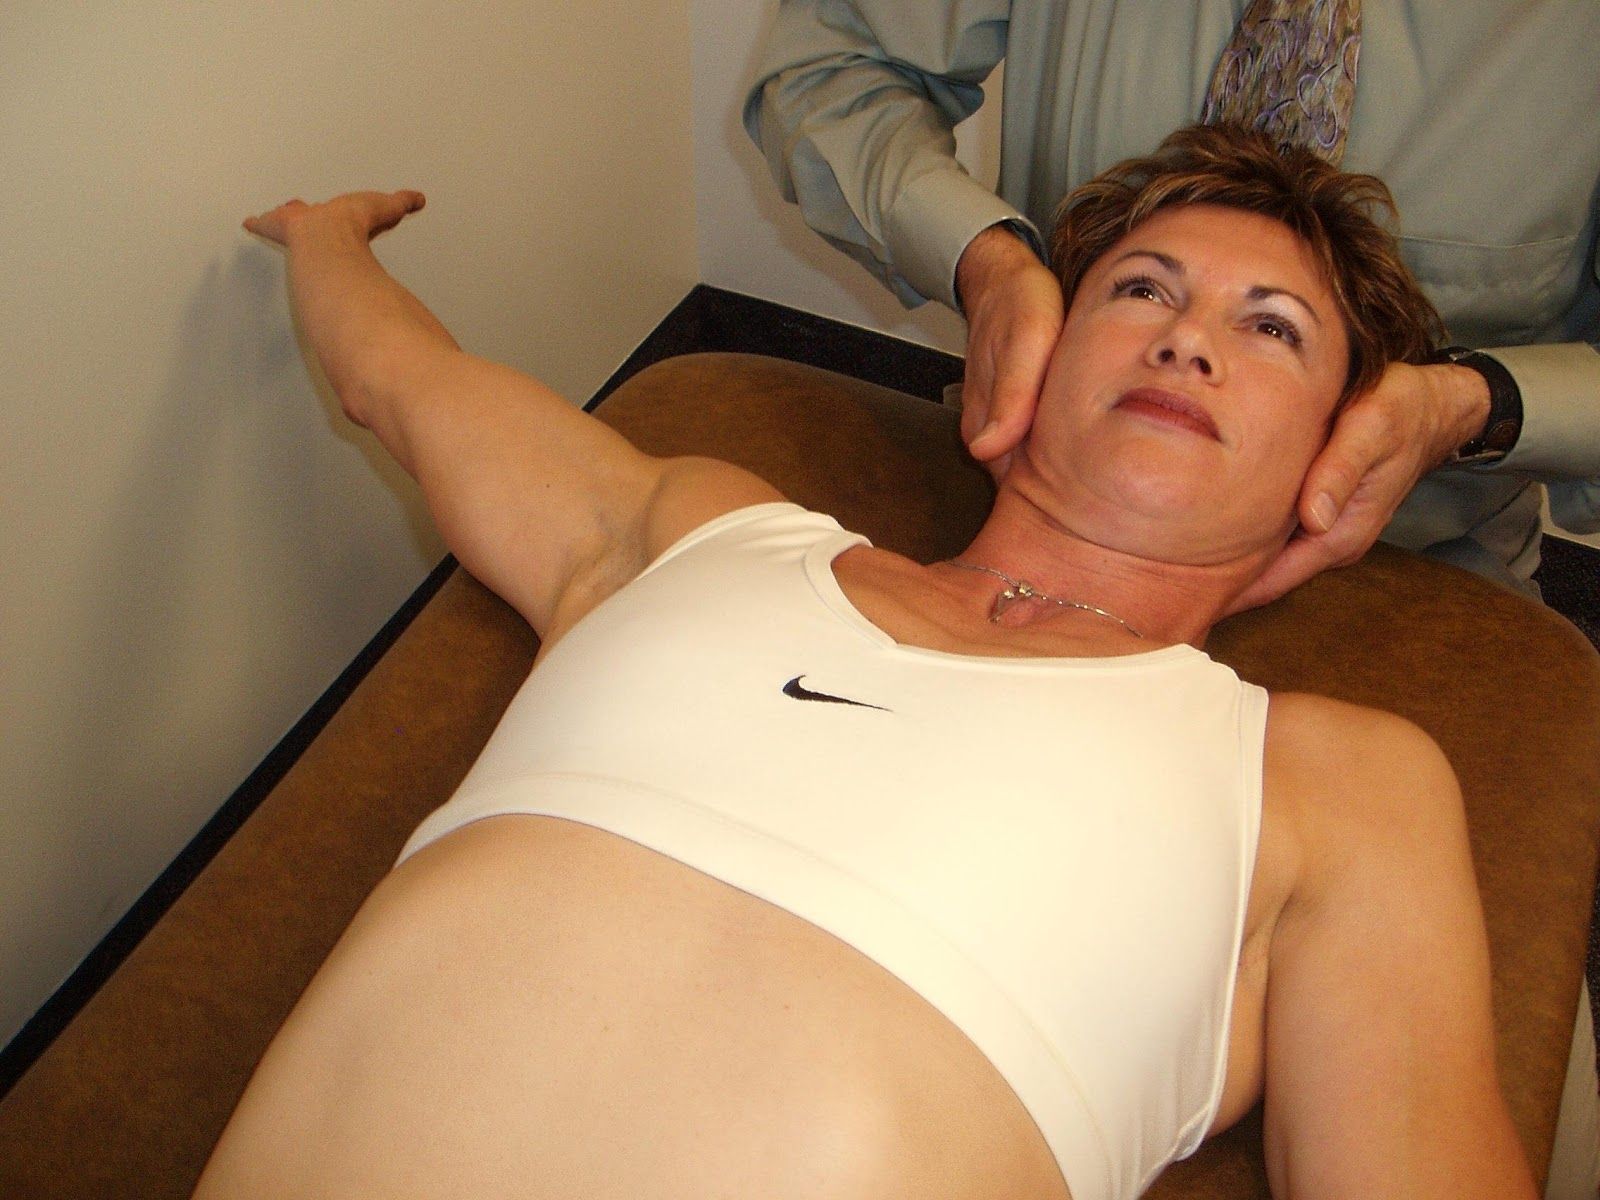
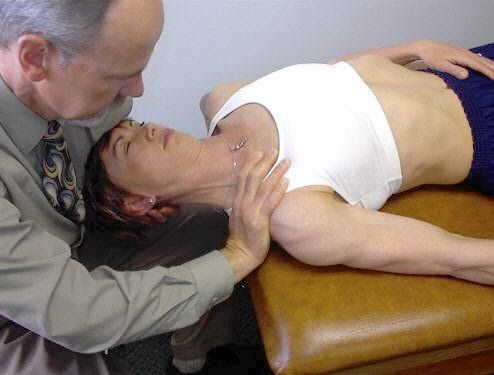
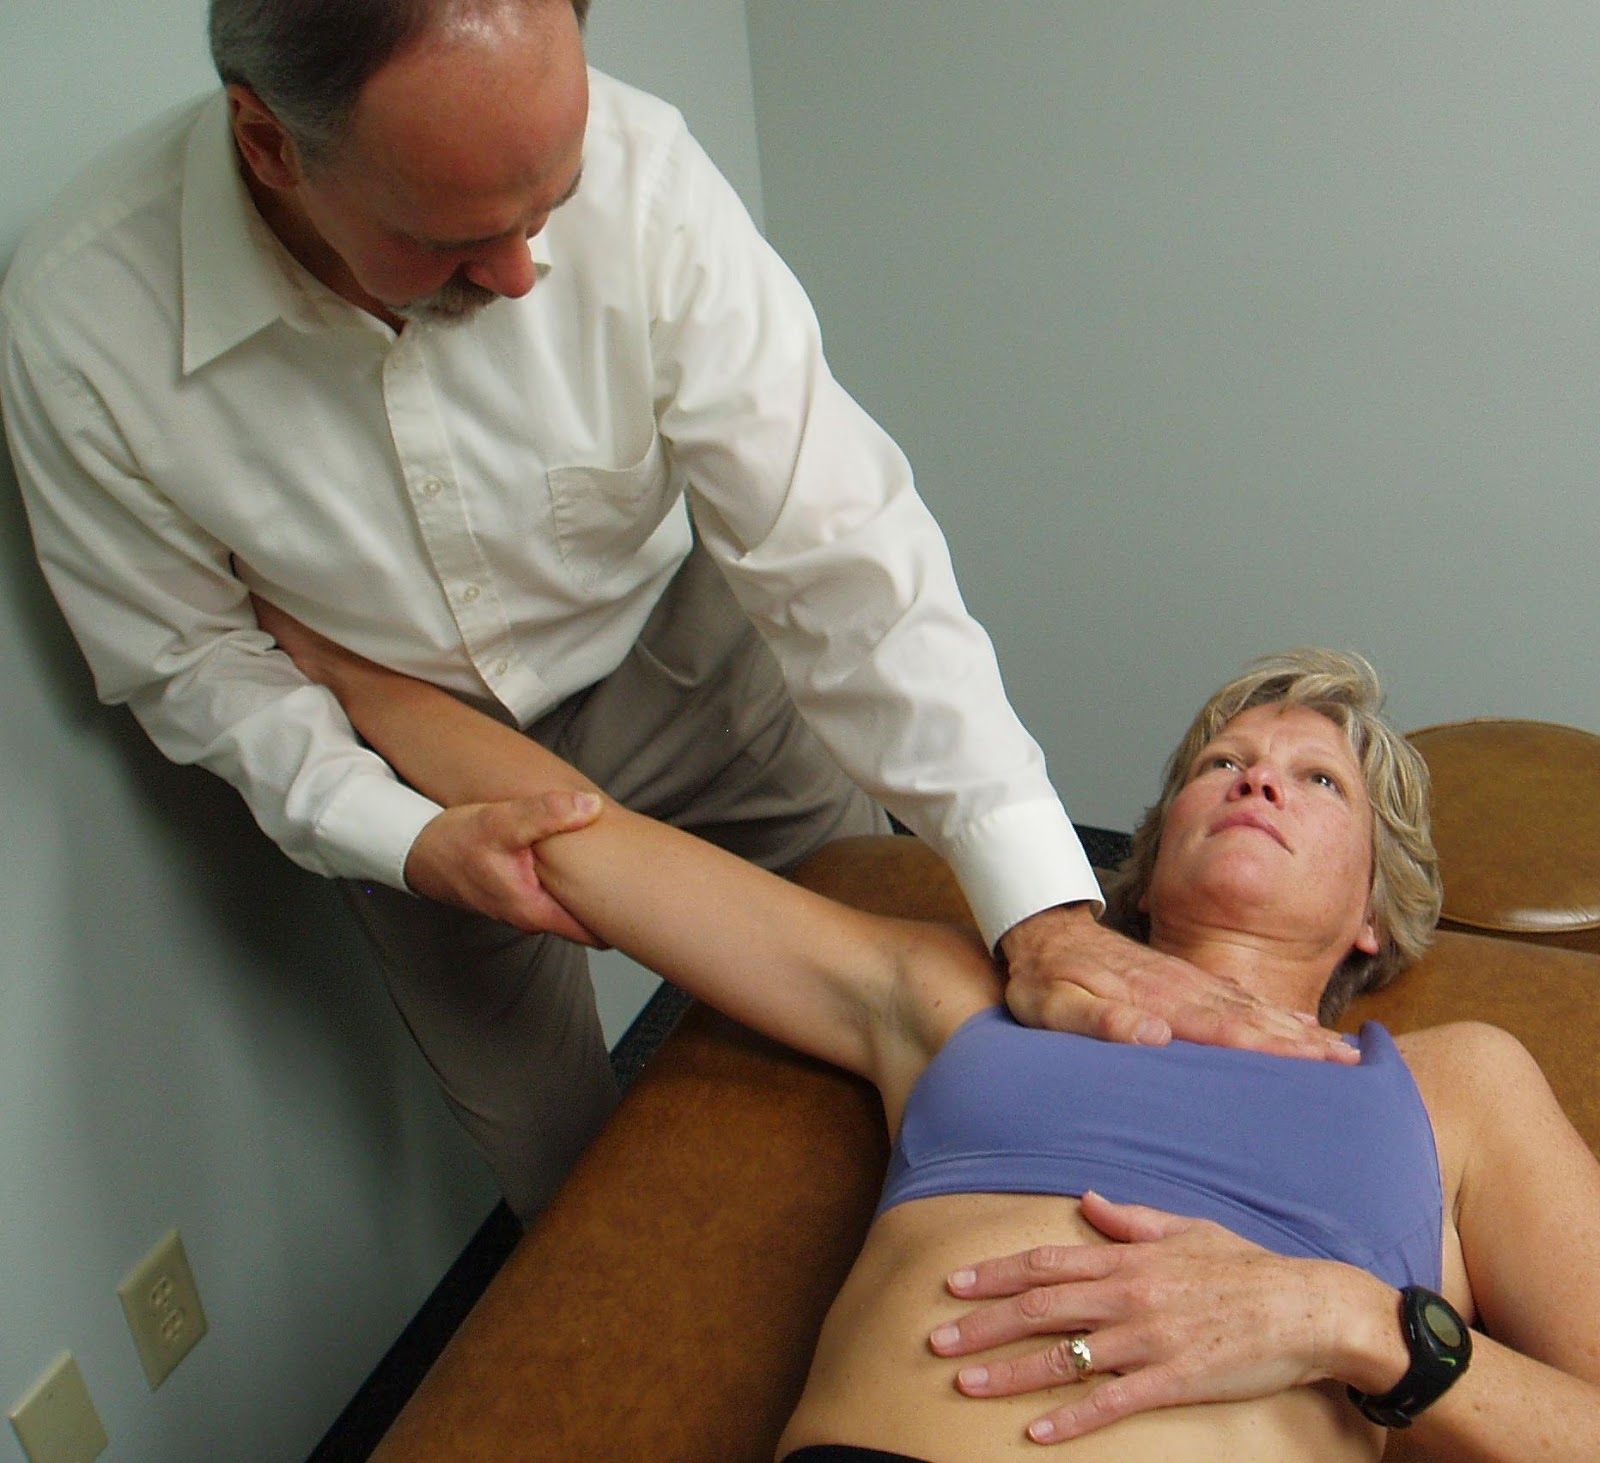
AP Mobilization to the L Sternochondral Joints to Increase Thoracic Rotation to the Left
in 3 Movement Tests Upper Quarter, 4 Manual Therapy Strategies, All Manual Therapy, All Upper Quarter, Mobilization, Pectoralis Minor/Posterior Capsule, Scapular Depression, Shoulder Circle, Supine Shoulder Flexion