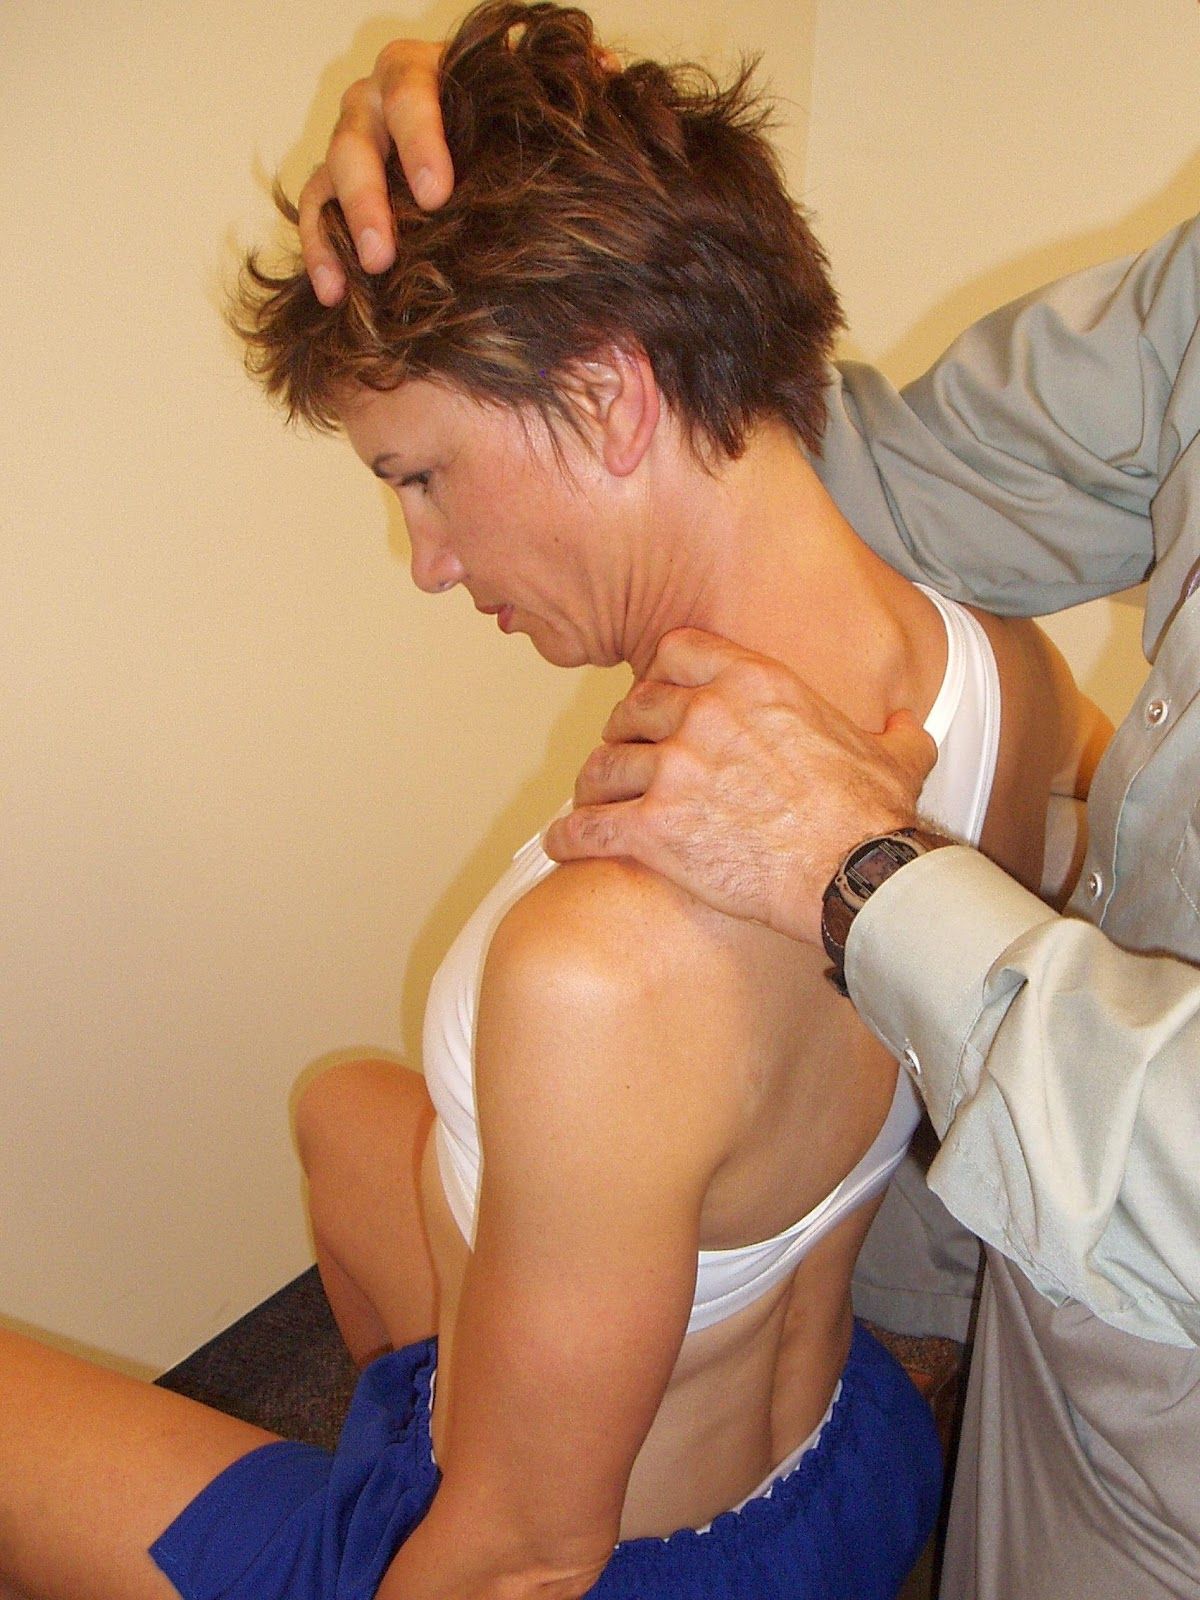
Muscle Energy
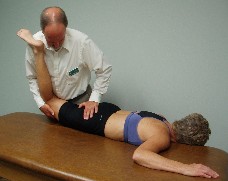
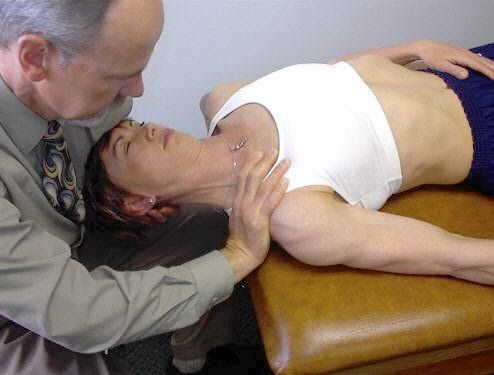

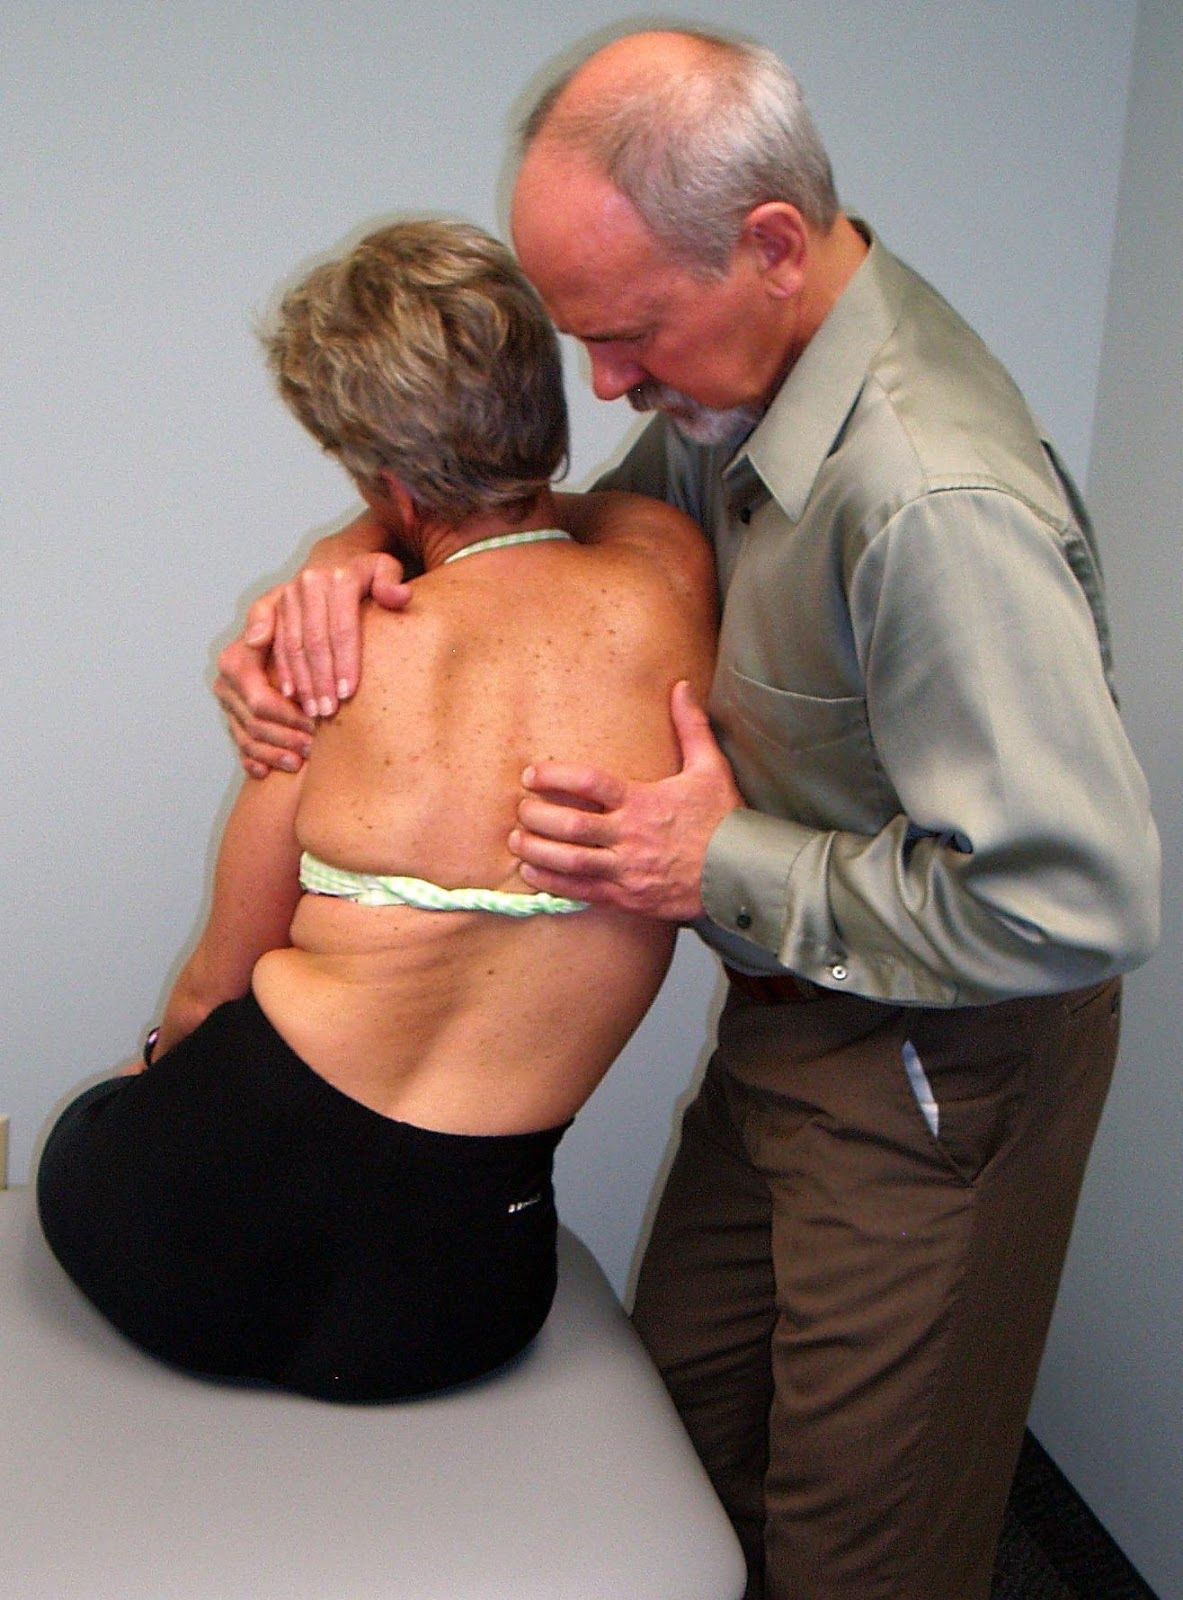

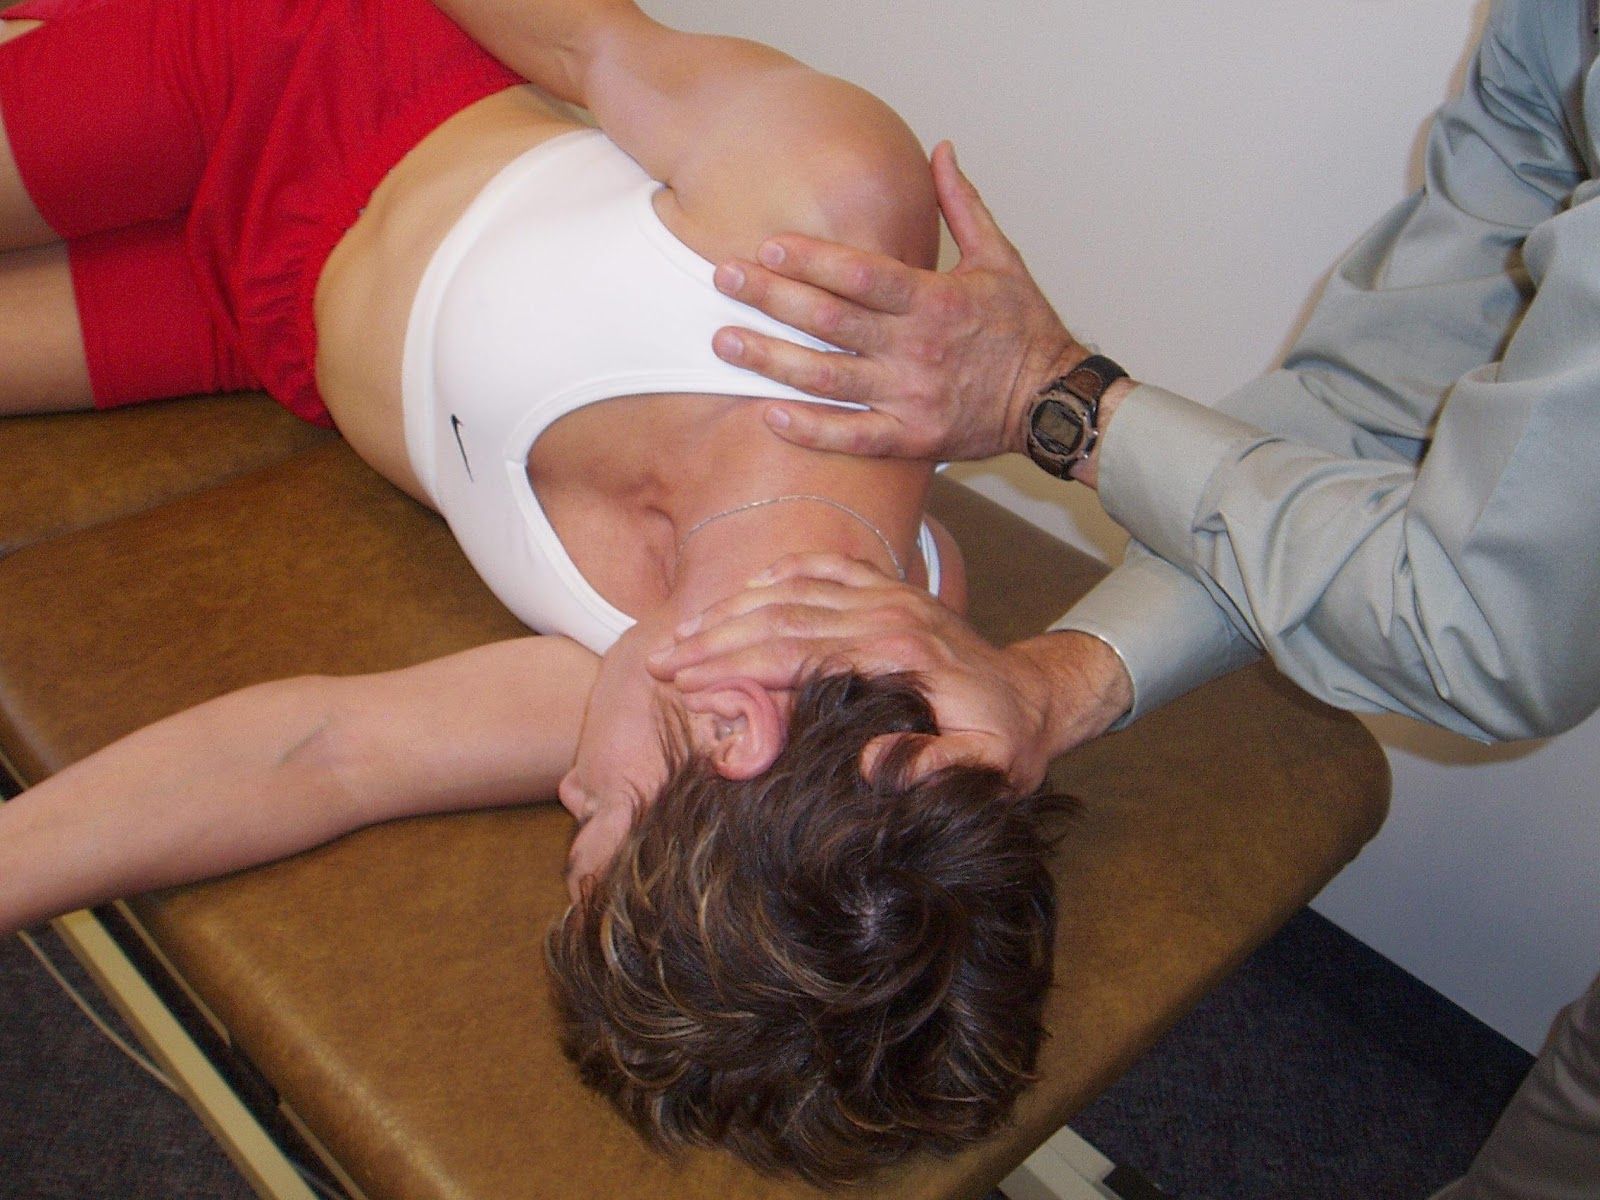
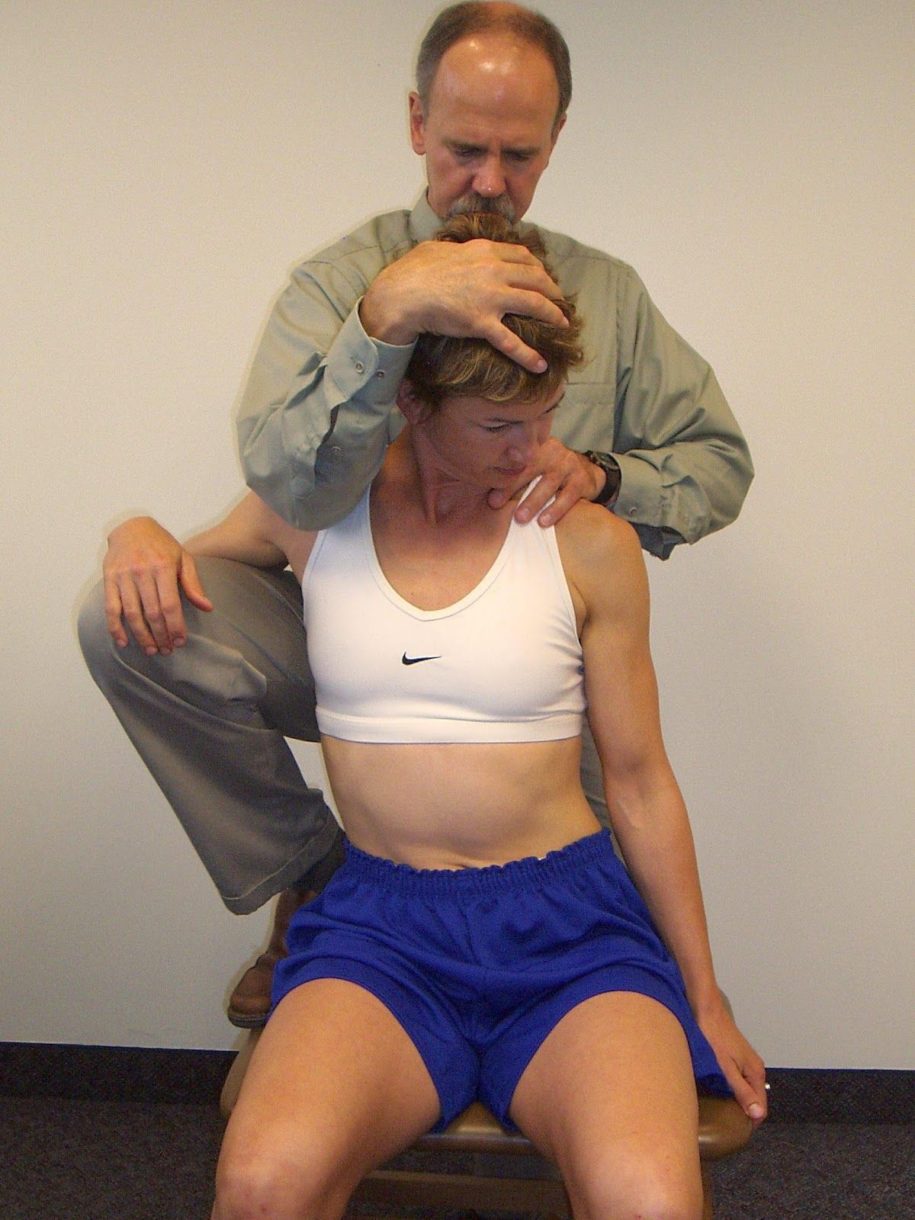
Muscle Energy Technique for ERS Dysfunctions of the Upper Thoracic Spine
in 2 Movement Tests Lower Quarter, 3 Movement Tests Upper Quarter, 4 Manual Therapy Strategies, All Lower Quarter, All Manual Therapy, All Upper Quarter, Cervical Flexion Mobility, Manual Stretching, Muscle Energy, Pelvic Clocks, Shoulder Abduction, Shoulder Circle