All Home Exercises


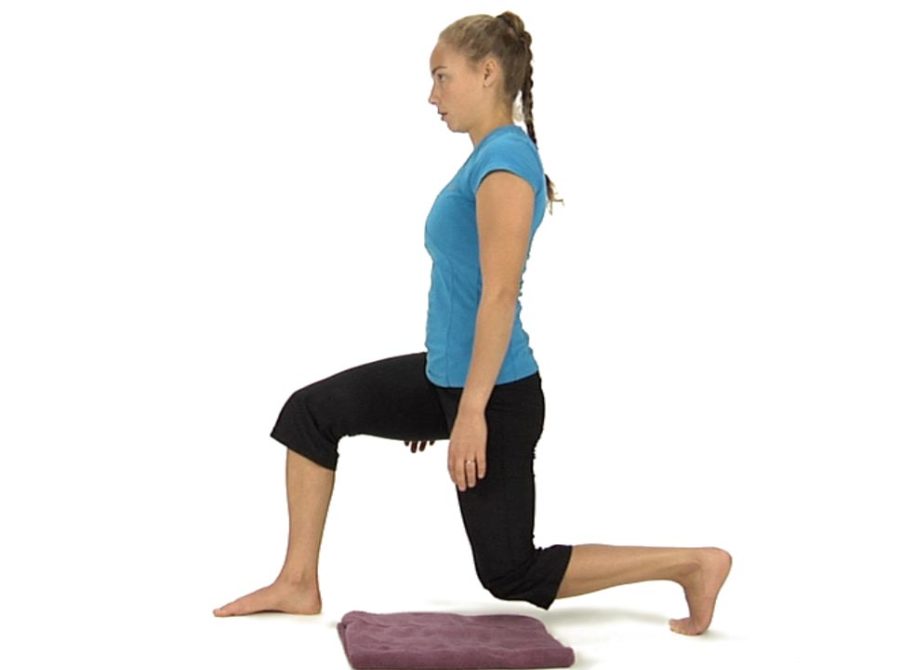

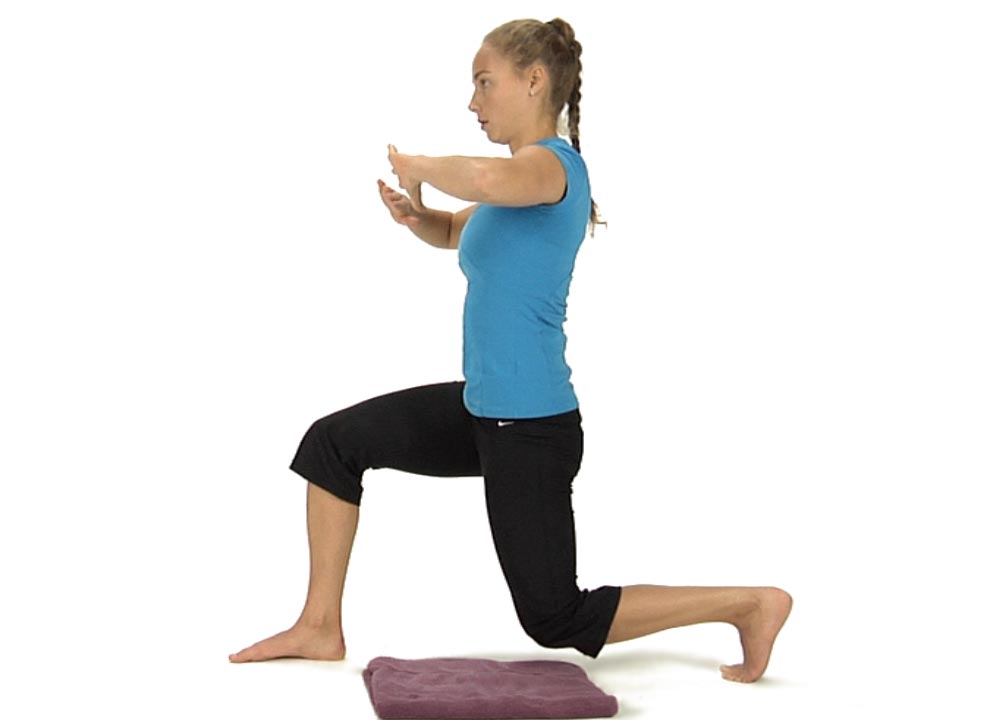

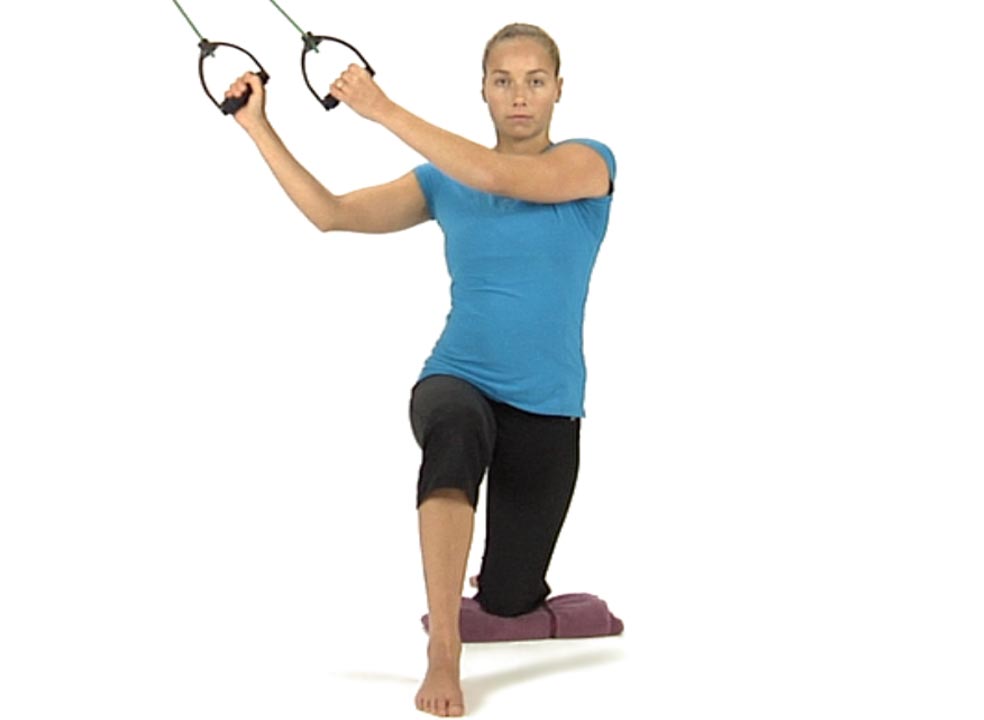
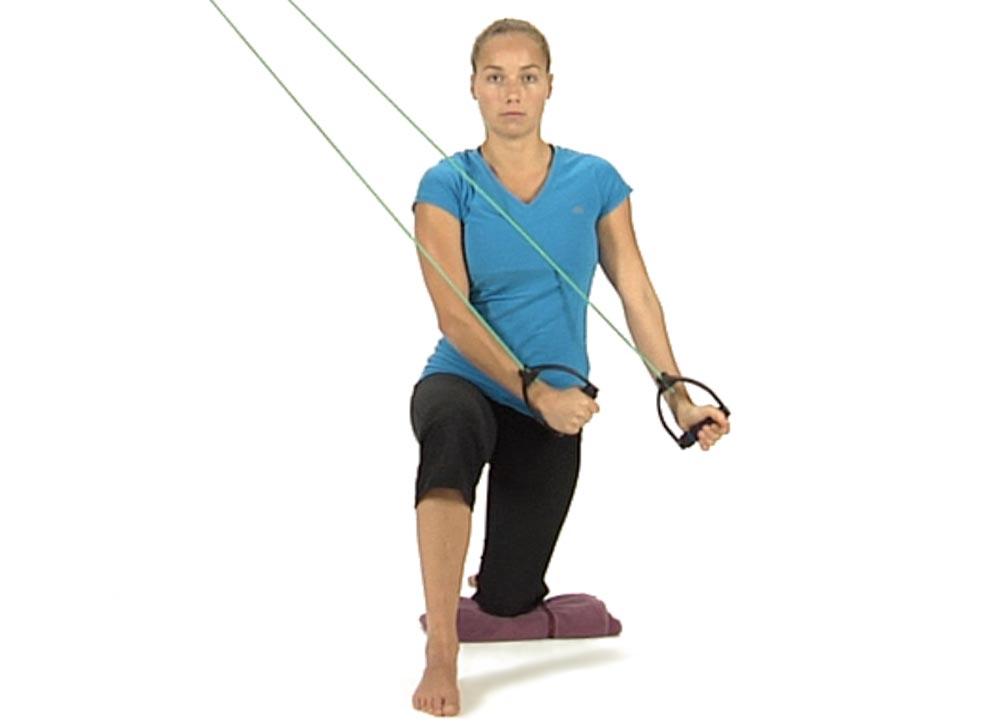
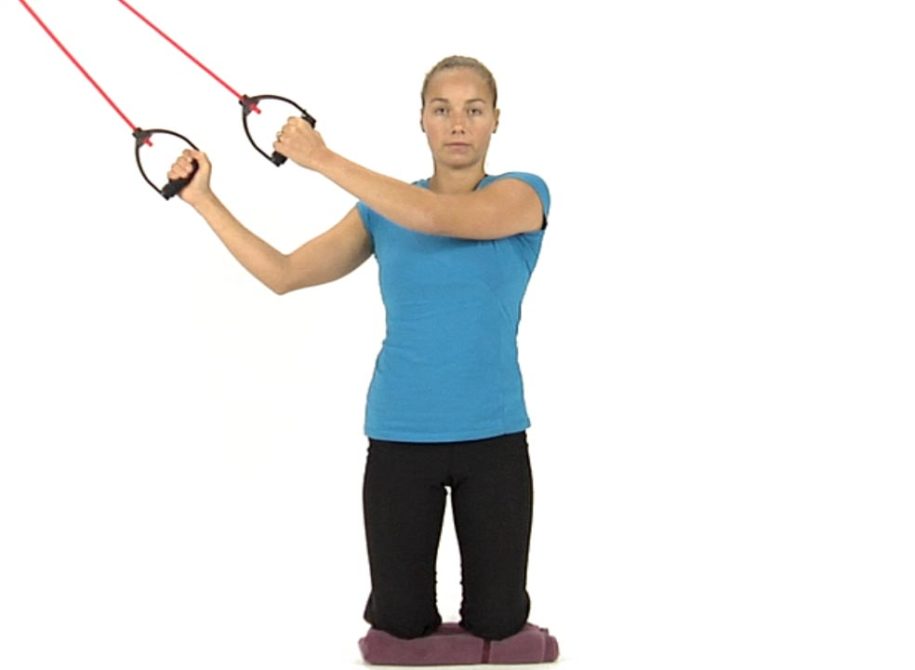

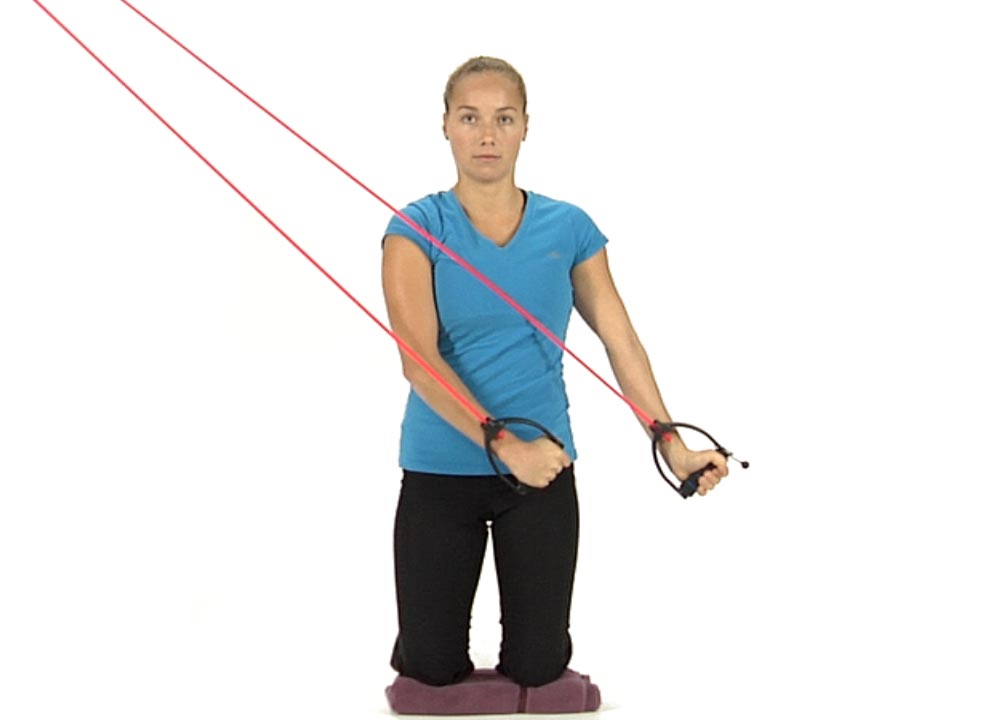
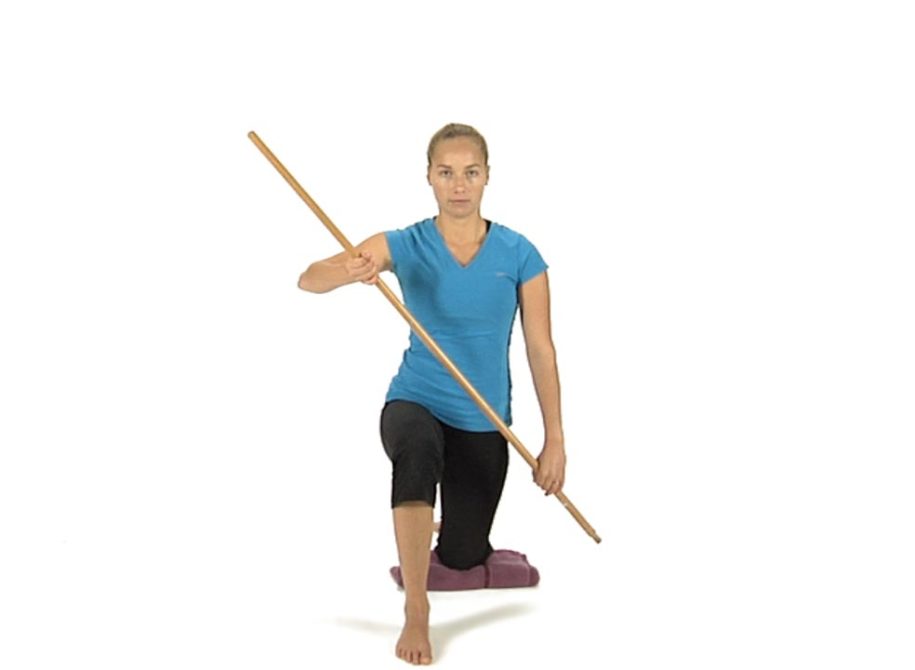
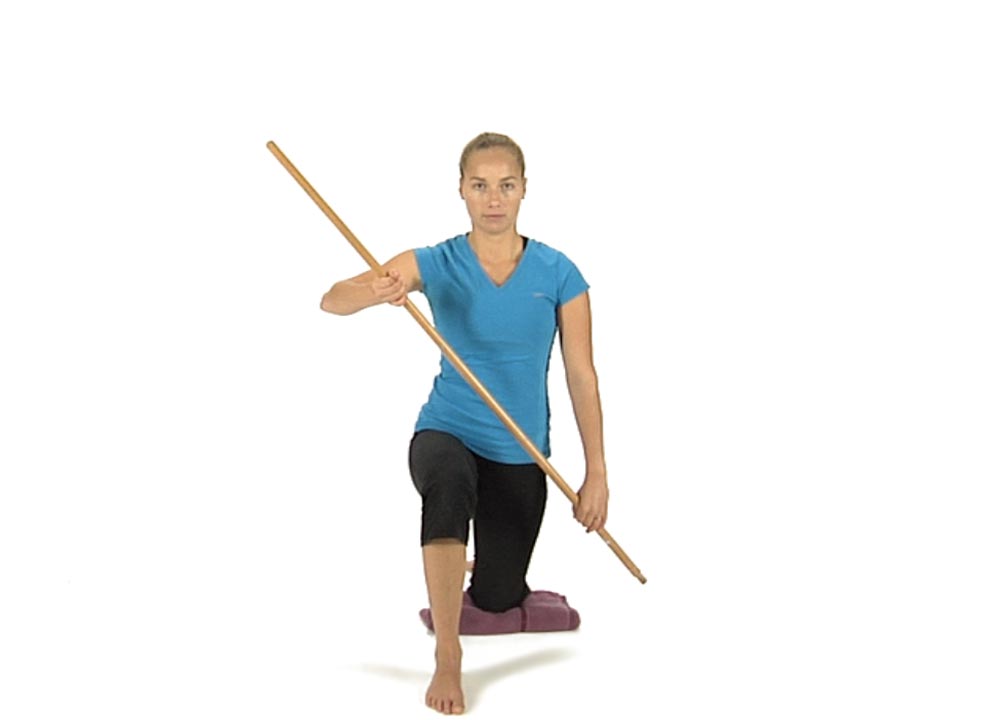
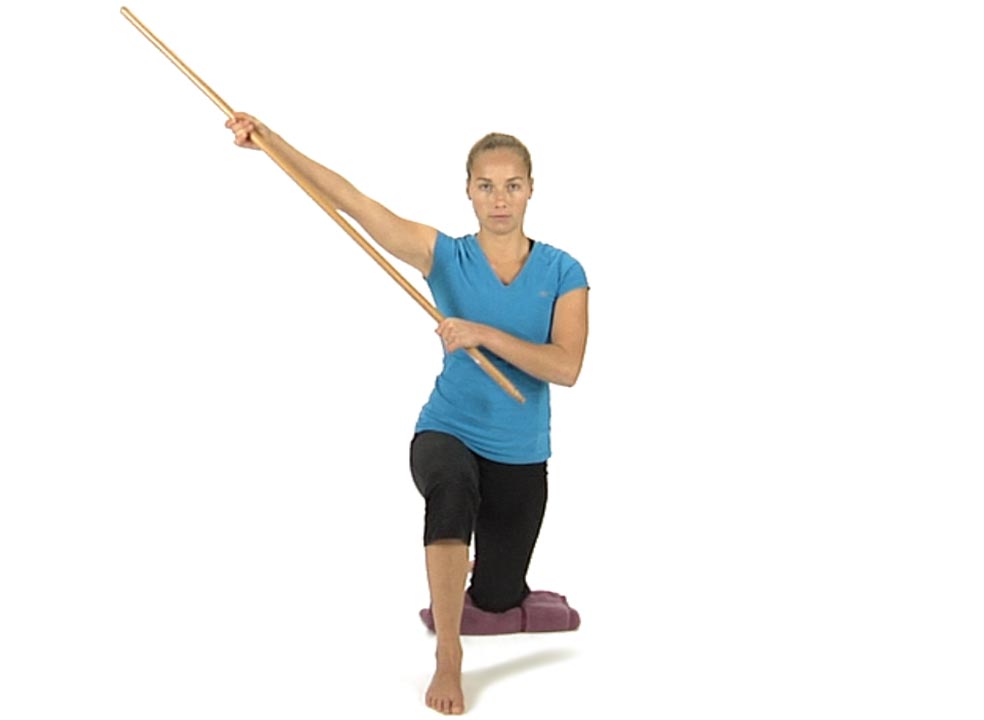
Half Kneeling Chops and Lifts
in 2 Movement Tests Lower Quarter, 3 Movement Tests Upper Quarter, 5 Home Exercise Strategy, All Home Exercises, All Lower Quarter, All Upper Quarter, Functional Integration, Hip ABD Firing Pattern, Hip EXT Firing Pattern, Scapular Stabilization, Shoulder Abduction, Supine Heel slide, Supine Hip ABD and ER, Supine Shoulder Flexion