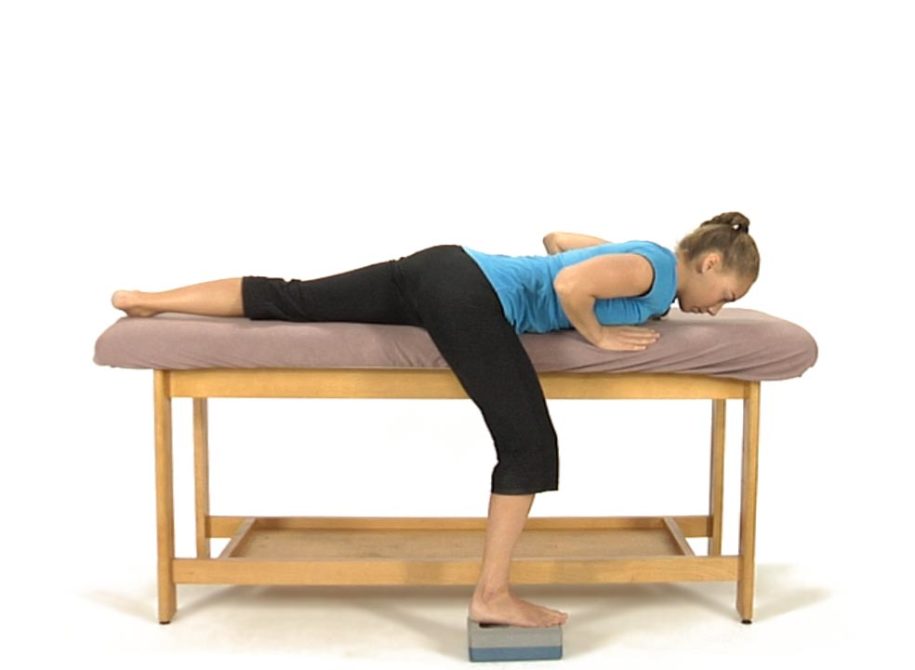
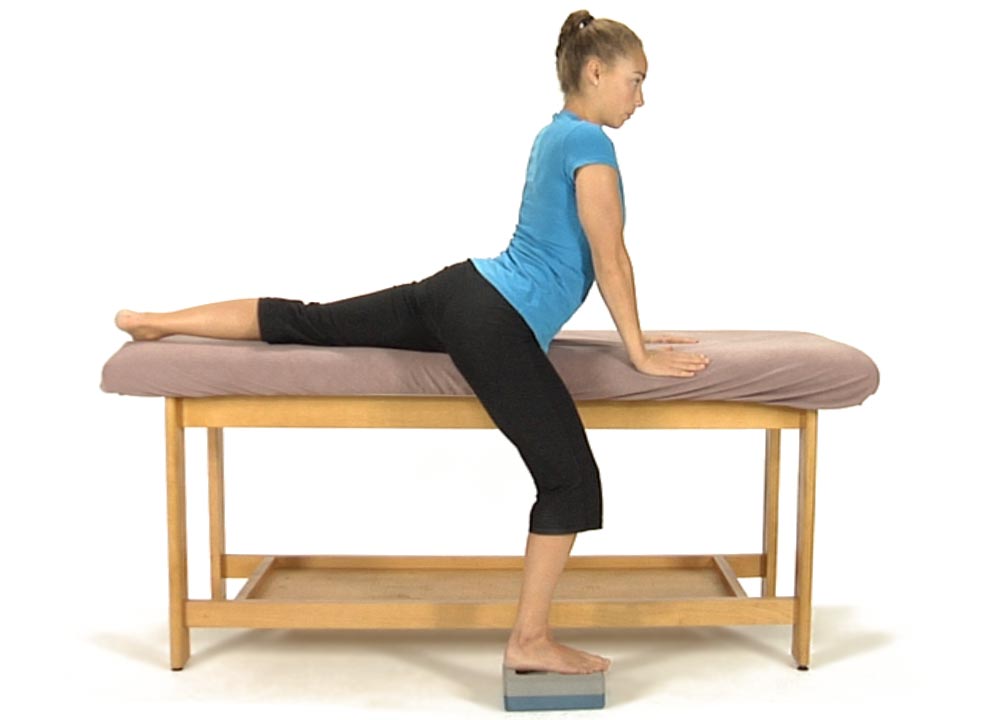
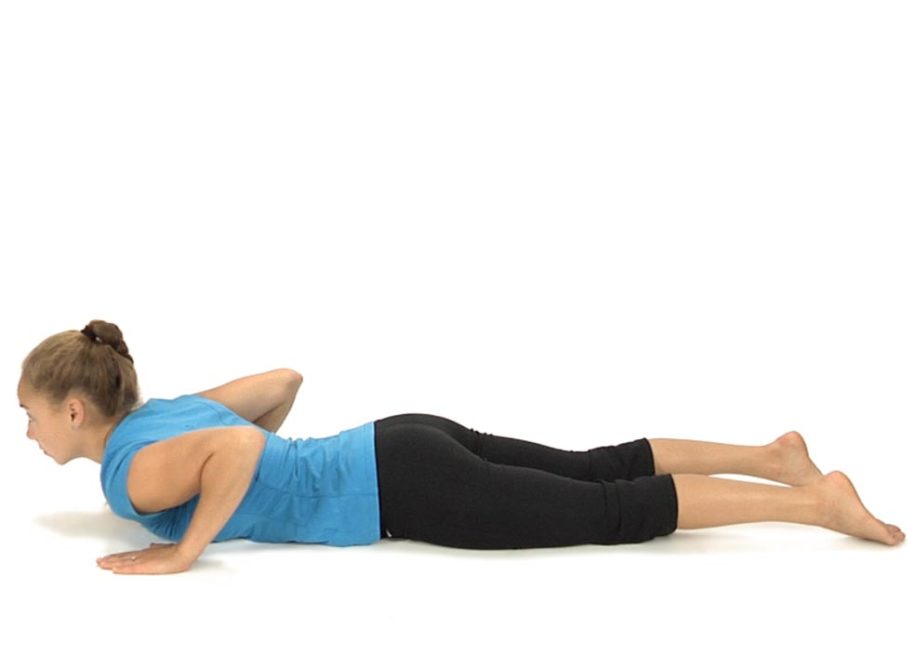
To mobilize the left sacral base for anterior nutation:
The patient is lying on their stomach with their right leg off the side placing their right foot flat on the floor.
Their left leg is turned out (externally rotated) so that the inside of their left foot is resting on the table.
With their hands placed under the shoulders they try to straighten their elbows and press up as far as possible.
Instruct them to hold this position momentarily and repeat 8 to 10 times.
For Restricted Anterior Nutation of the R Sacral Base limiting Pelvic Rotation towards 3 o’clock the patient performs the above exercise with the L foot on the floor and the R leg on the table and externally rotated.
For Restricted Anterior Nutation of the L Sacral Base limiting Pelvic Rotation towards 9 o’clock
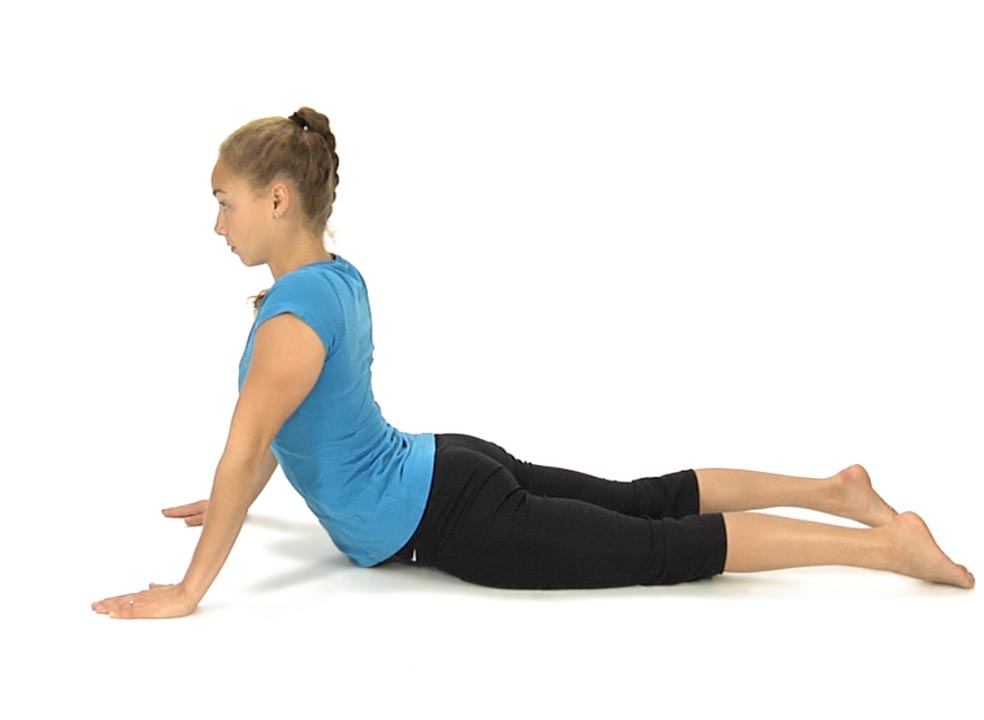
To mobilize an FRS dysfunction and increase lumbar extension:
The patient is lying on their stomach with their hands placed under their shoulders. The patient is instructed to attempt to press up using only their arms and not their back muscles.
They try to keep their hips resting on the table as they straighten their elbows as far as possible. Instruct them to bring their shoulders down and back as they press up.
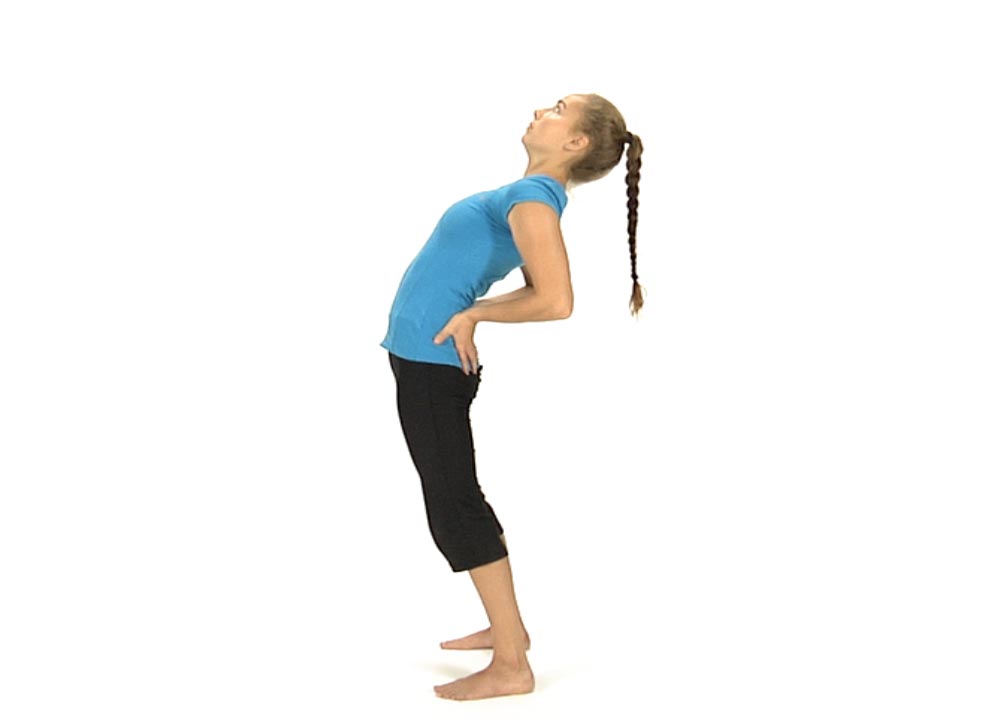
The patient is standing facing the wall with the feet approximately three feet away from the wall. Instruct the patient to shift their hips to the right and hold this shift as they drop their hips straight forward towards the wall on and off 10 times.
Make sure that the patient introduces the side shift first before extending their spine and that they maintain this shift throughout the exercise.
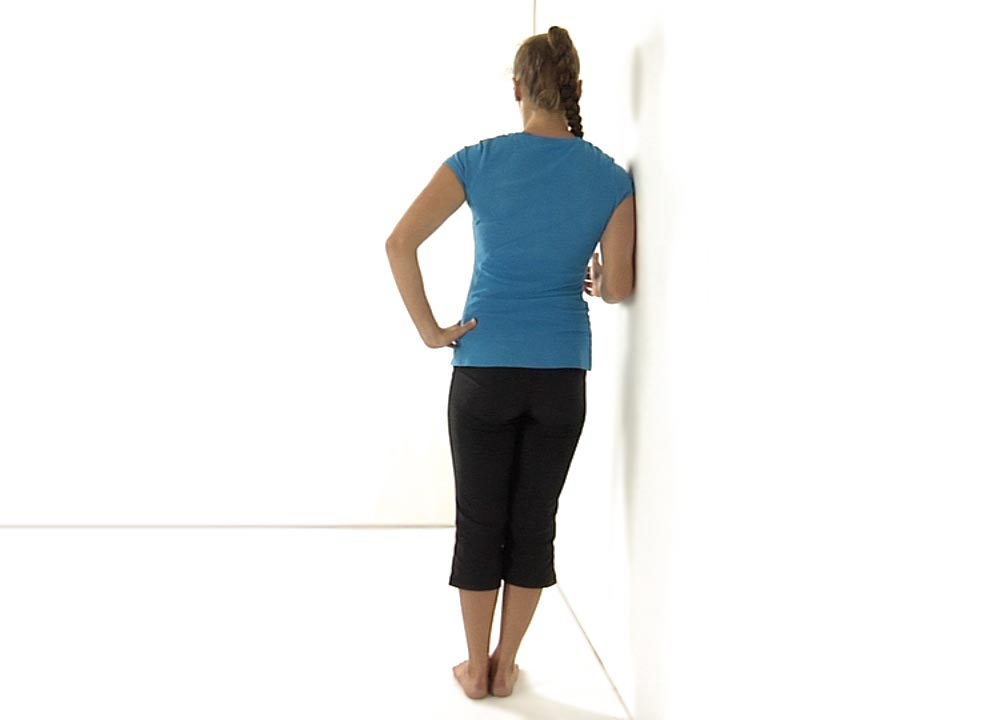
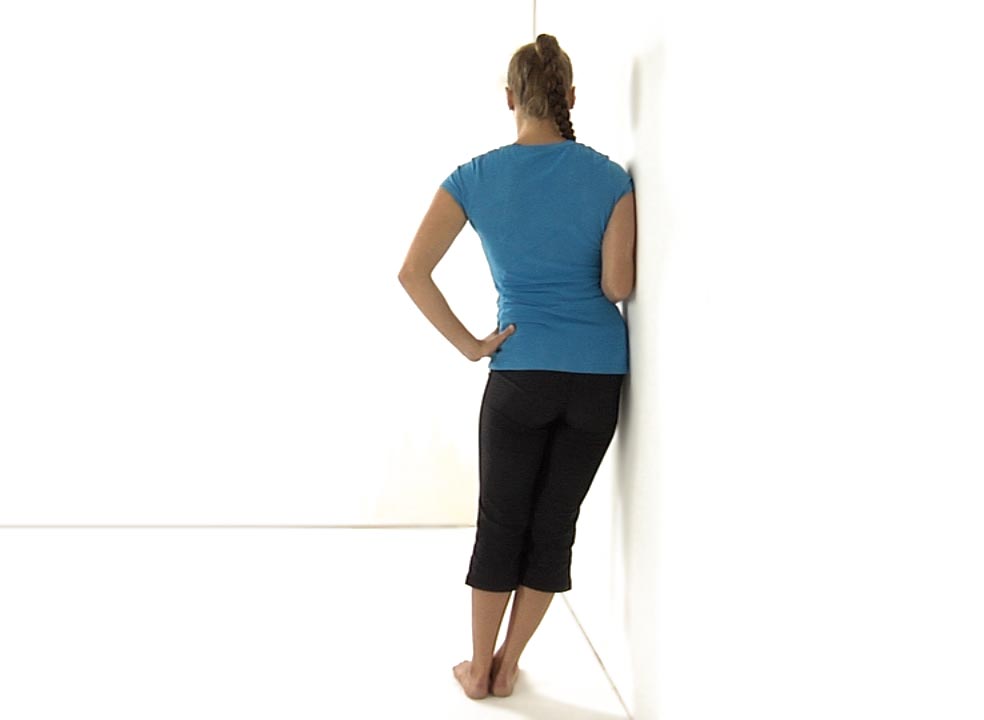
Have the patient place their feet 2 to 3 feet away from the wall with their right shoulder and forearm resting against the wall. Make sure that their forearm blocks the rib cage.
Instruct them to place their left hand on their left hip and push their hips towards the wall as far as they can. Have them hold for 5 seconds then release.
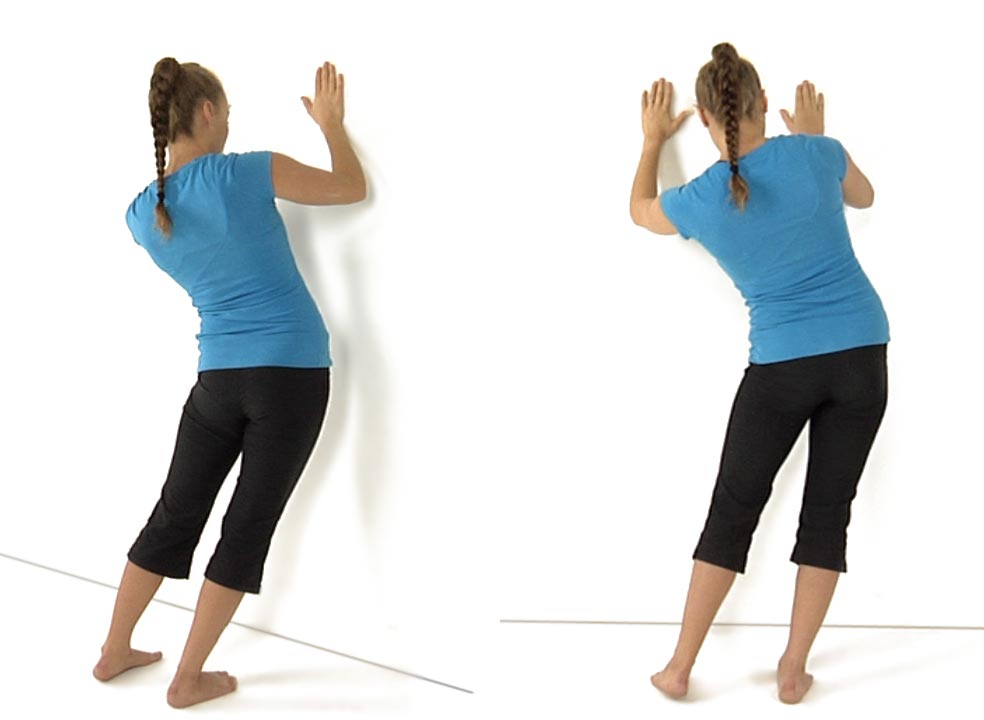
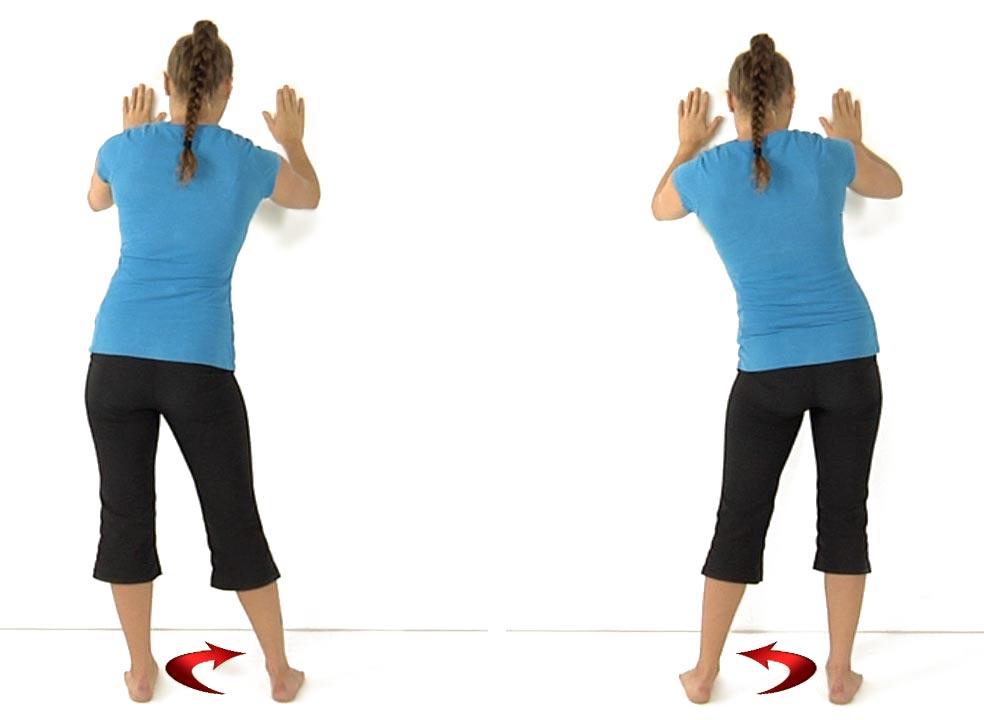
The patient is standing facing a wall with their hands on the wall at about shoulder height and their feet hip width apart. Instruct the patient to imagine that they are standing on a clock on the floor such that when dropping the hips towards the wall they are moving towards 12 o’clock. Moving the hips forward and to the right is movement towards 1-2 o’clock and moving the hips forward and to the left is movement towards 10-11 o’clock.
They are instructed to drop their hips toward the wall then circle around from 12 to 3 and from 12 to 9.
They move in both a clockwise and counterclockwise direction, maintaining extension of their spine. They can focus on movement towards 1-2 o’clock to self mobilize for an FRS R or towards 10-11 o’clock to self mobilize for an FRS L.
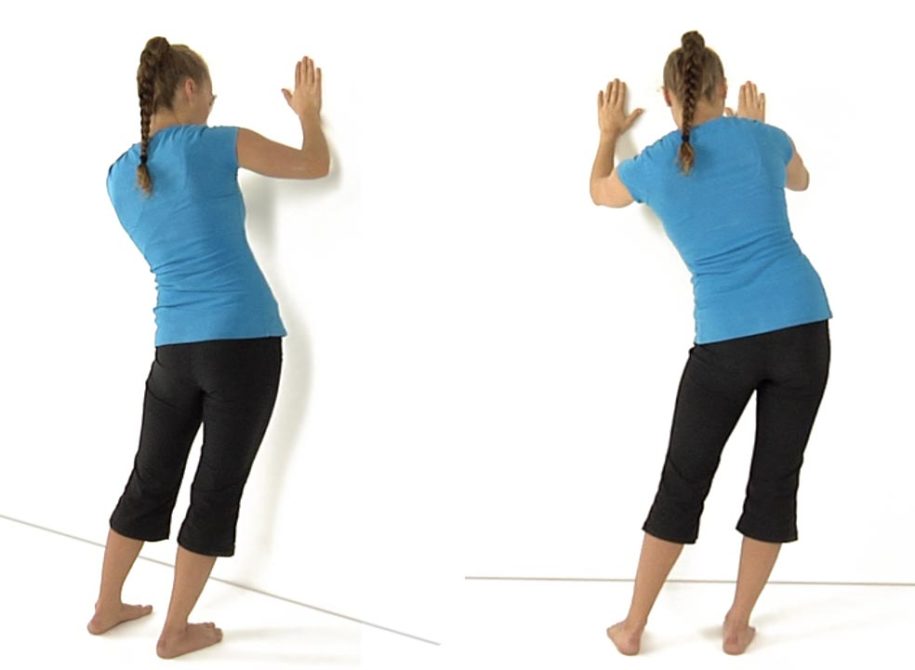
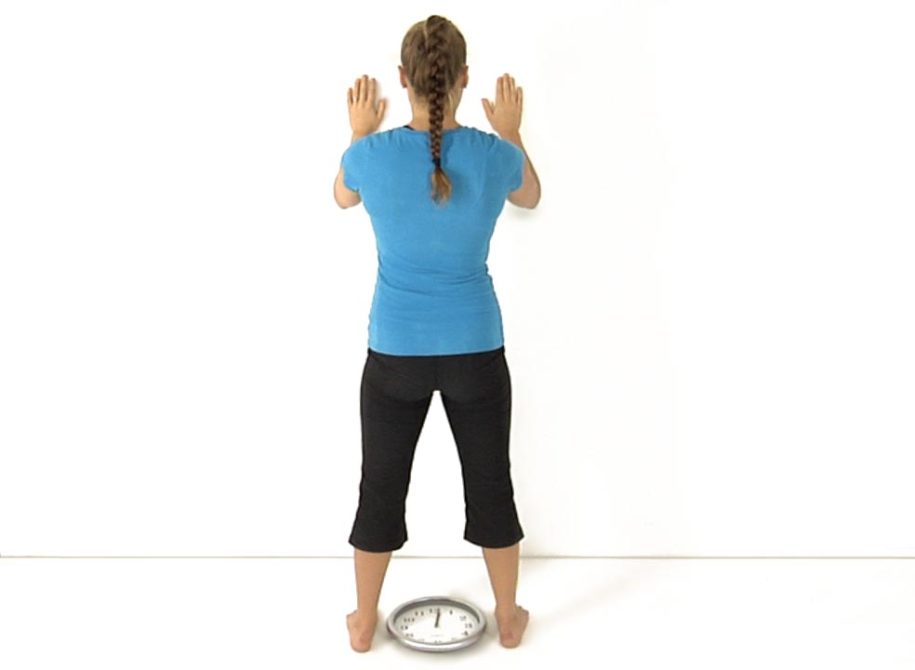
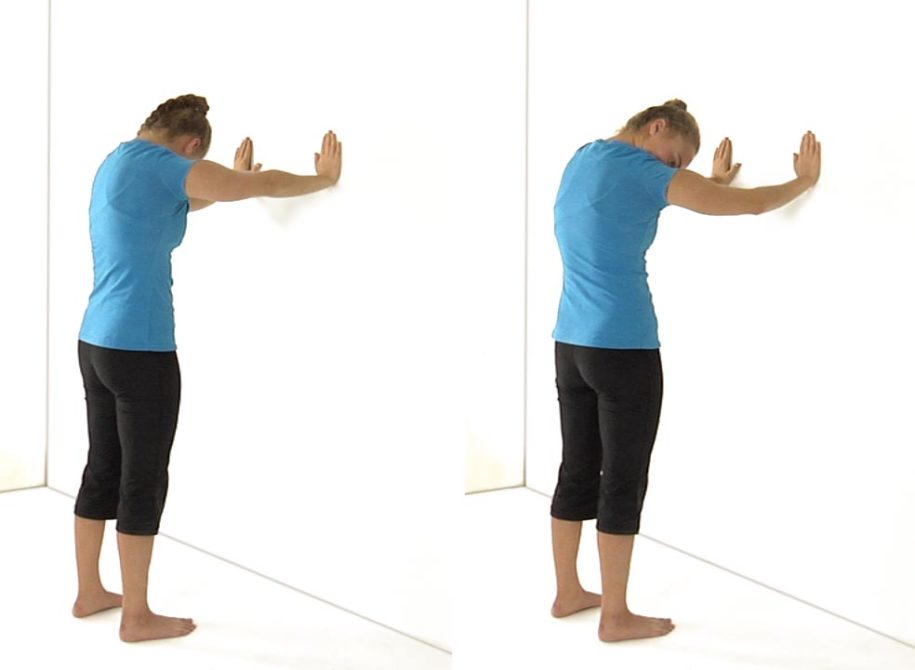
Have the patient standing approximately three feet from a wall with their hands on the wall at shoulder height.
Instruct the patient to drop their head down and straighten their elbows by pushing their arms against the wall and rounding their upper, but not their lower back. Make sure that the apex for spinal flexion is in the upper thoracic spine and not lower down the spine.
The patient should feel a stretch between the shoulder blades.
When their arms are extended fully the patient can rotate their head to the R to place an emphasis on the L serratus or rotate their head to the L to place an emphasis on engaging their R serratus.
Have them hold the stretch for 5-10 seconds.
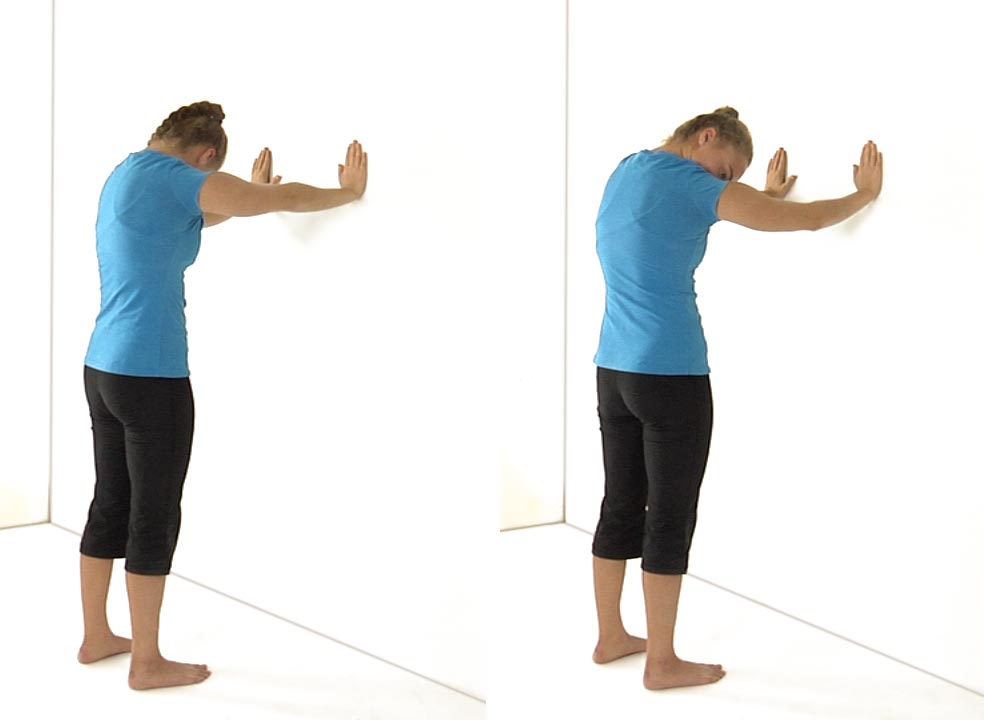
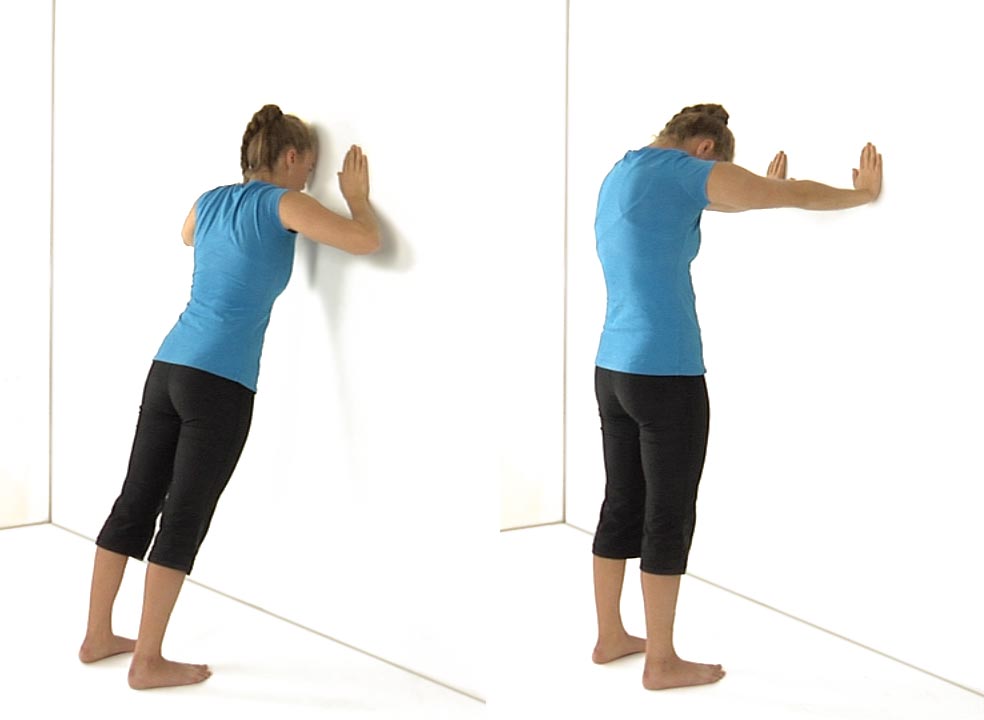
Then ask the patient to stand up straight and lean into the wall maintaining a neutral low back. Have them try to touch the wall with their forehead.
The shoulder blades should draw close together as they move towards the wall.
They hold this position for 5-10 seconds then repeat the whole sequence 3 -5 times.
The patient needs to relearn that the spine normally moves into flexion and that the scapulae abduct during shoulder protraction and the spine moves towards extension and the scapulae adduct with shoulder retraction.
Ludewig et al., 2004 found that the standard push-up is an optimal exercise to recruit the serratus anterior while keeping the activation of the upper trapezius low. However, for patient’s early in their rehabilitation the wall push-up with a plus is an ideal exercise to begin with before progressing to kneeling push-ups and eventually prone push-ups.
Self Mobilization for Adverse Neural Tension in the Cervical Spine
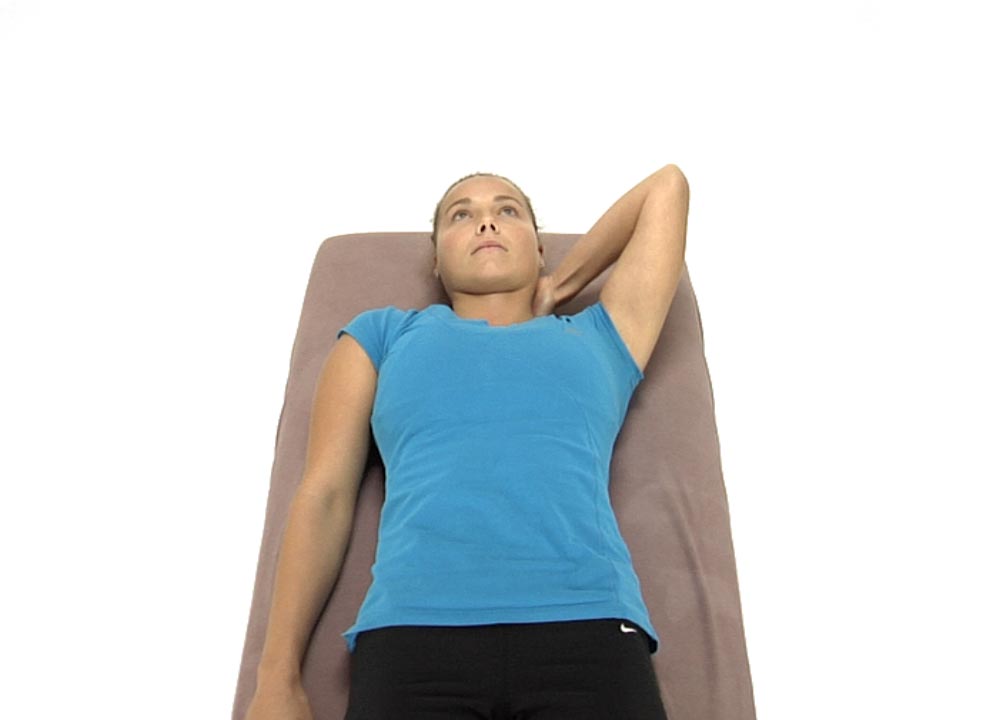
To treat the right side of the neck:
The patient is lying on their back and places their left hand under the neck with their fingers wrapping around to the right side of the neck. The therapist instructs the patient as to the specific location for the patient to place their finger contact.
Tell the patient to gently pull their neck to the left using their left hand and hold this position.
The patient’s R arm is down at their side with the palm facing the ceiling.
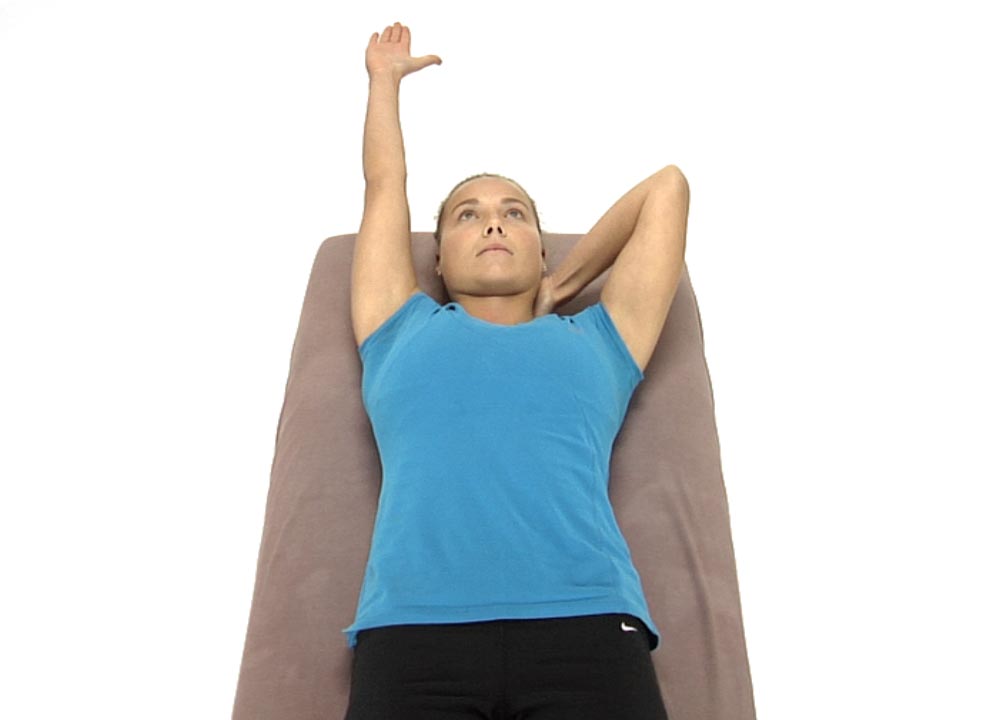
Have the patient slowly abduct their arm as far as they can without allowing the cervical spine to translate back to the R.
The patient returns the R arm back down to the side and is instructed to take up any slack that they feel for additional R to L translation and repeat again.
The patient repeats the movement 8-10 times holding their neck still and translated to the L as they try to abduct their R arm higher with each successive repetition.
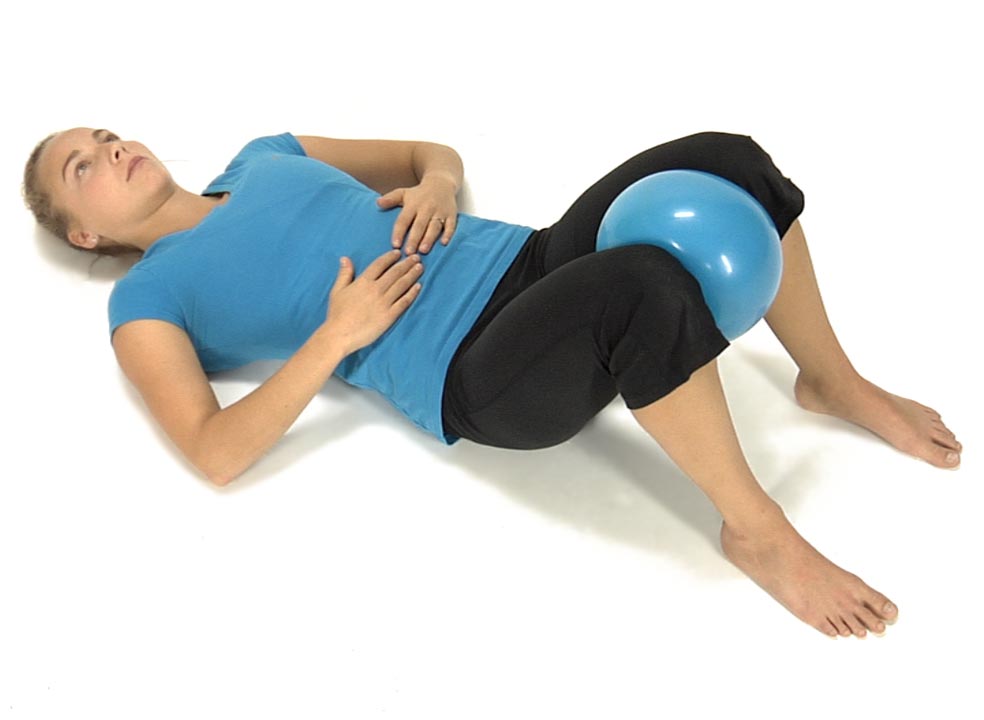
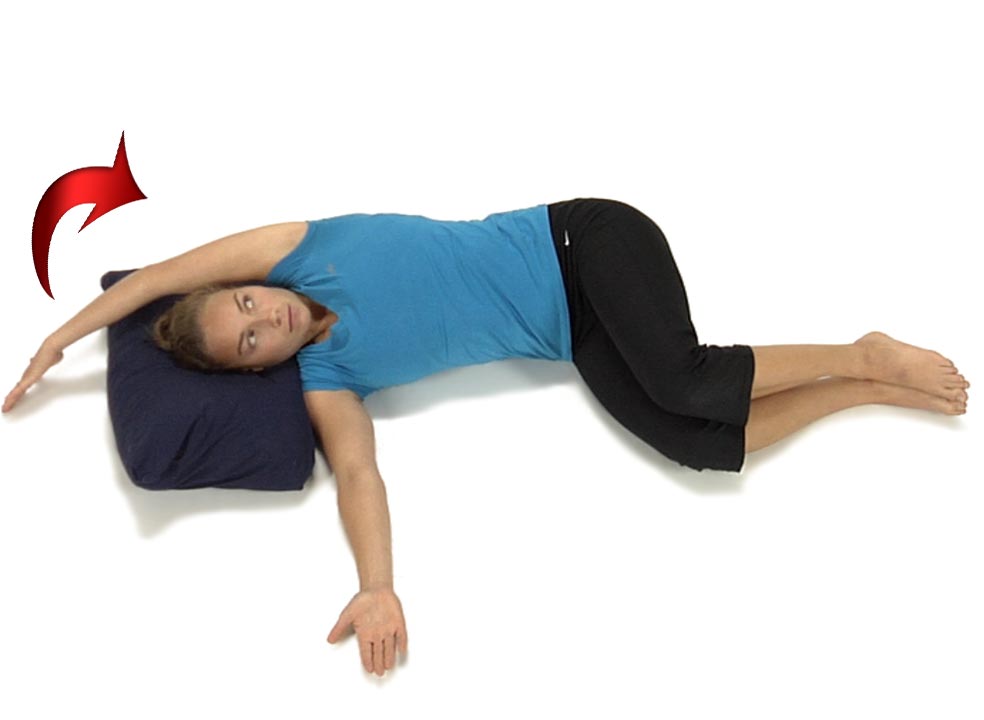
The patient is lying on their right side with their hips flexed between 45-60º and their hands out in front of them.
Instruct the patient to take their left arm and sweep their hand up over the head with the hand remaining in contact with the floor and the elbow straight.
The patient is encouraged to rotate their trunk and rib cage back as they circle around, but keep the knees together. They only circle around as far as they can while keeping the hand touching the floor.
Instruct the patient to follow their hand with their eyes as they circle around with an emphasis on opening the chest.
If the hand comes off the floor the patient is instructed to reverse directions and circle around the opposite way.
Have the patient repeat the exercise 5-6 times in a clockwise and counterclockwise direction on each side.