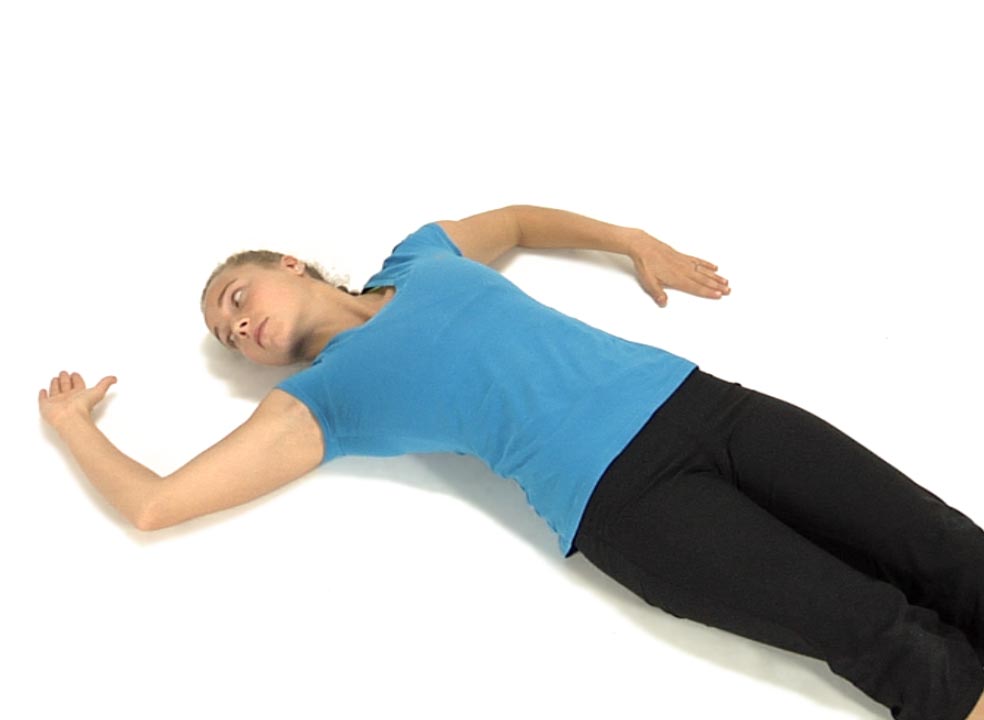
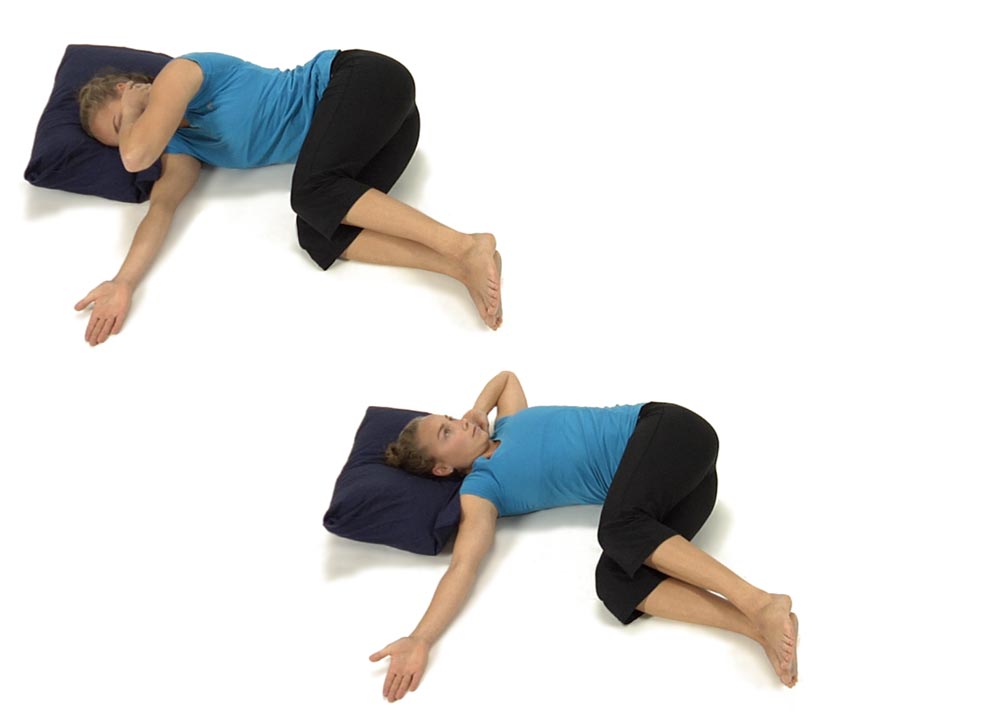
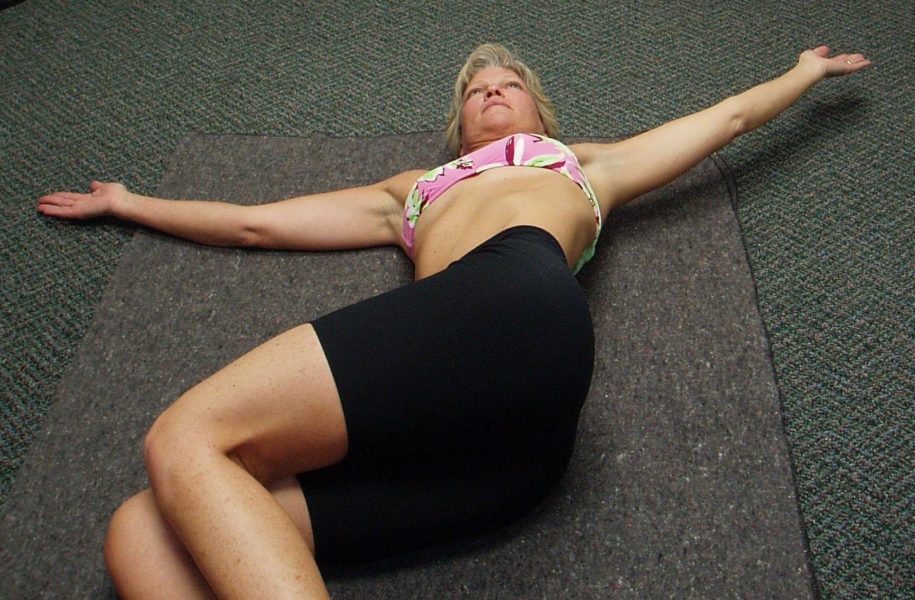
The patient is lying on their back with their legs straight and their arms straight out to the sides with their elbows bent to a right angle.
Instruct the patient to bring the palm of one hand towards the floor while the back of the other hand reaches back to touch the floor. As the arms are rotating tell the patient to turn their head to face the palm that is facing up toward the ceiling.
Instruct the patient to reverse directions with their arms and head rotation so that their eyes always look towards the palm that is turned up facing the ceiling.
The patient repeats this alternating rotation of their arms and head 8 to 10 times.
Tell the patient not to force their neck to turn any further than is comfortable, but that they can push further rotation thru their arms to increase the rotation of the neck.
Make sure that the patient maintains 90 degrees of shoulder abduction and 90 degrees of elbow flexion throughout the exercise.
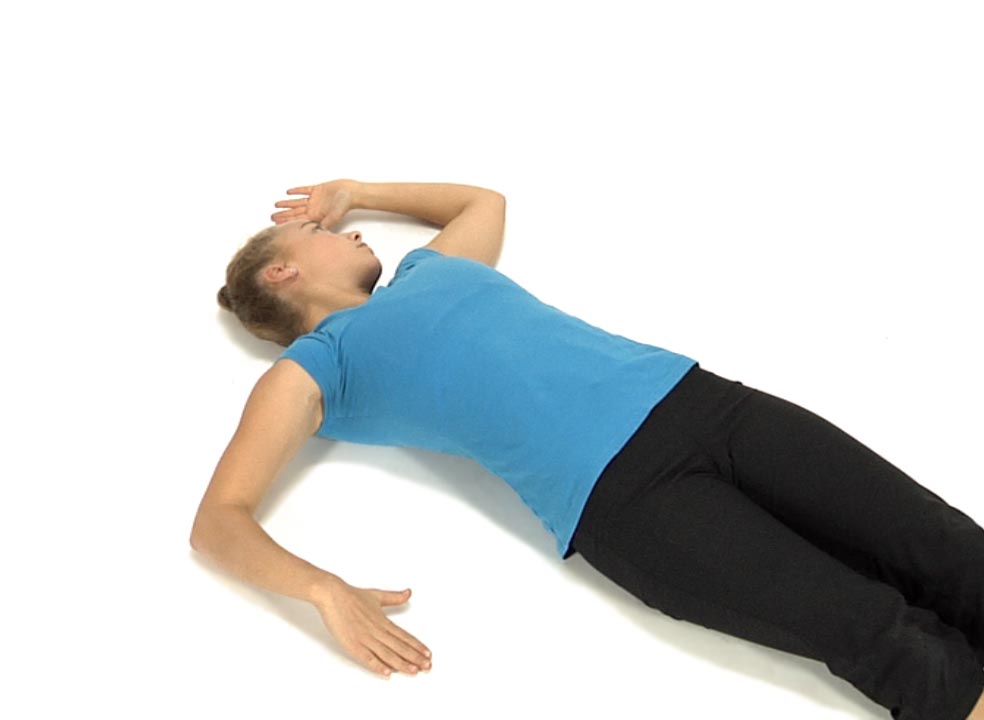
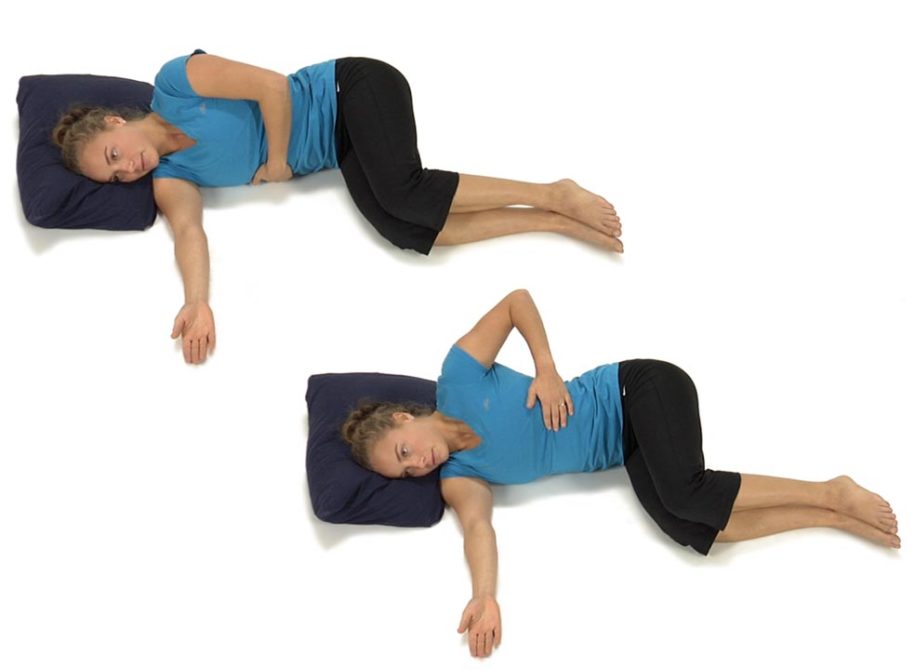
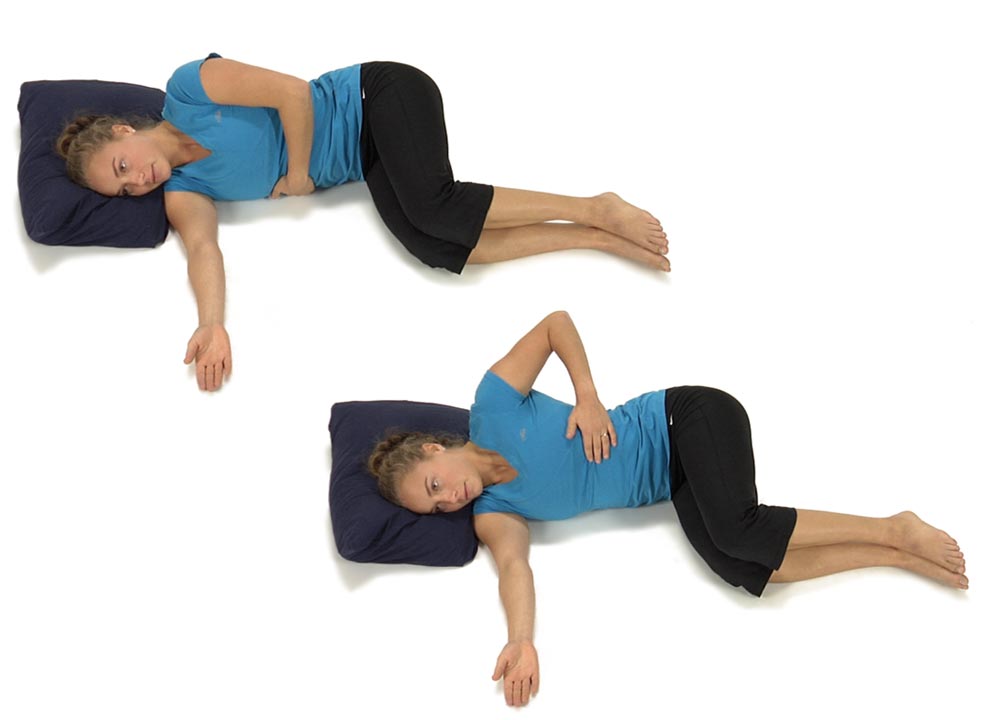
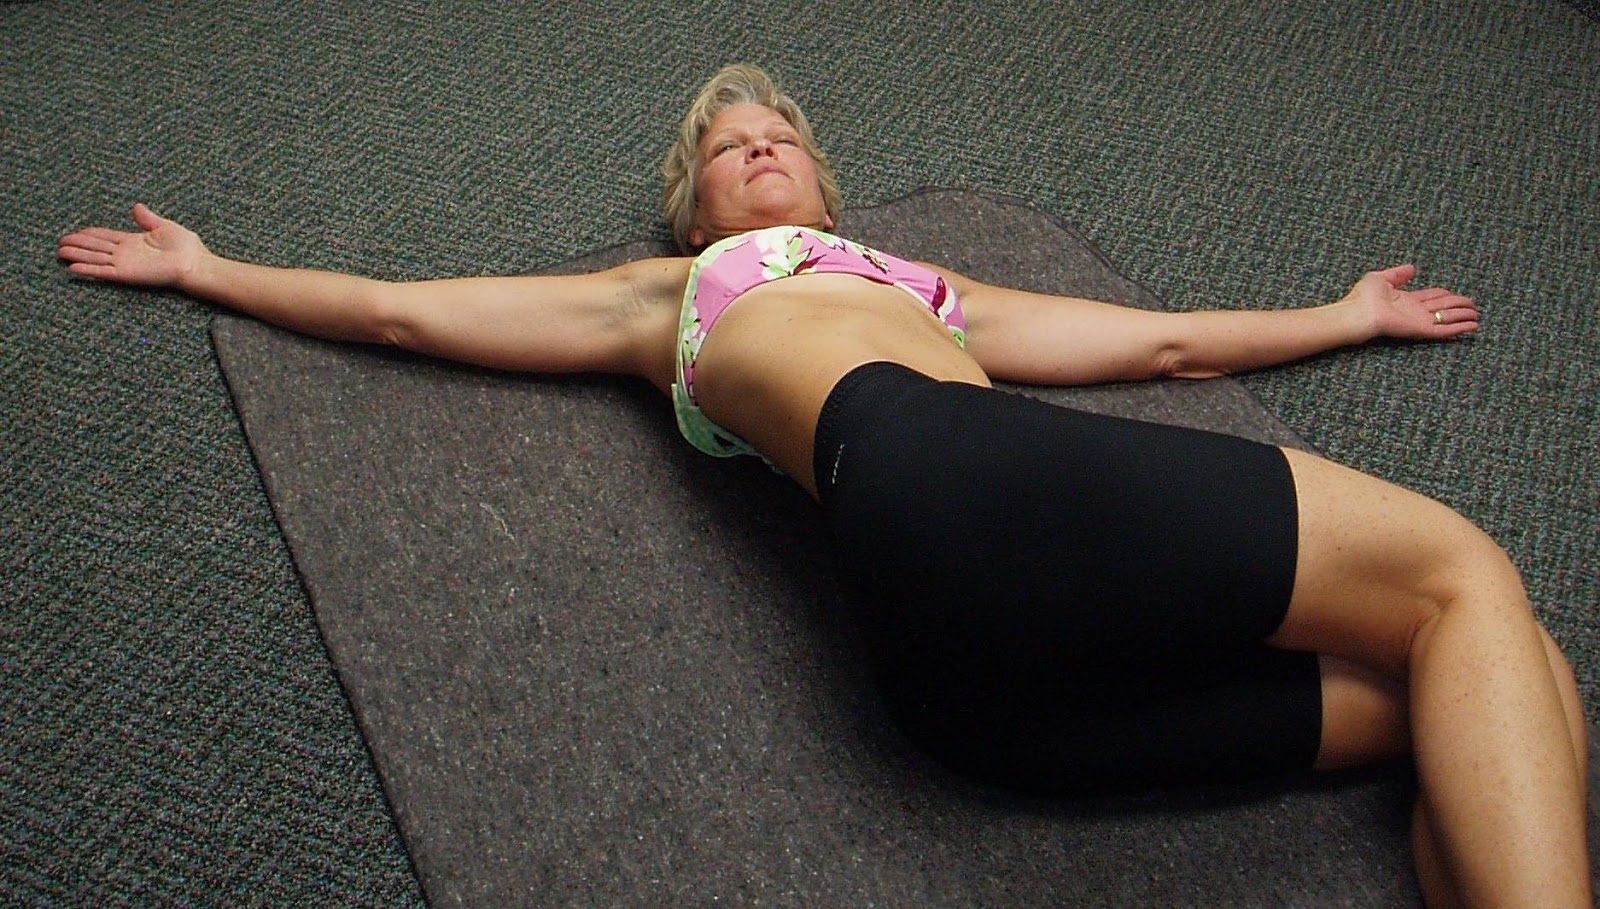
The patient is lying on their right side with both hands out in front of them at arms length.
Ask the patient to reach forward with their left hand past their right hand and turn the thumb down to internally rotate the arm.
Instruct the patient to initiate the movement from the shoulder then shoulder blade, upper ribs, segmentally down to the lower ribs and finally move the left hip and knee forward.
To reverse this movement ask the patient to rotate back from below up so that the hip and knee move back first, then they bring the lower ribs back segmentally to the upper ribs and finally the shoulder blade and arm until the left elbow touches the floor behind them.
The goal is for the patient to be able to extend their elbow and lie the back of their hand on the floor with the palm of the hand facing the ceiling. If the patient is unable to fully extend their elbow initially they can just touch the elbow to the floor then reverse direction.
Instruct the patient to repeat the whole sequence 5-6 times then switch and repeat lying on their L side.
Self mobs to restore thoracic rotation to the left:
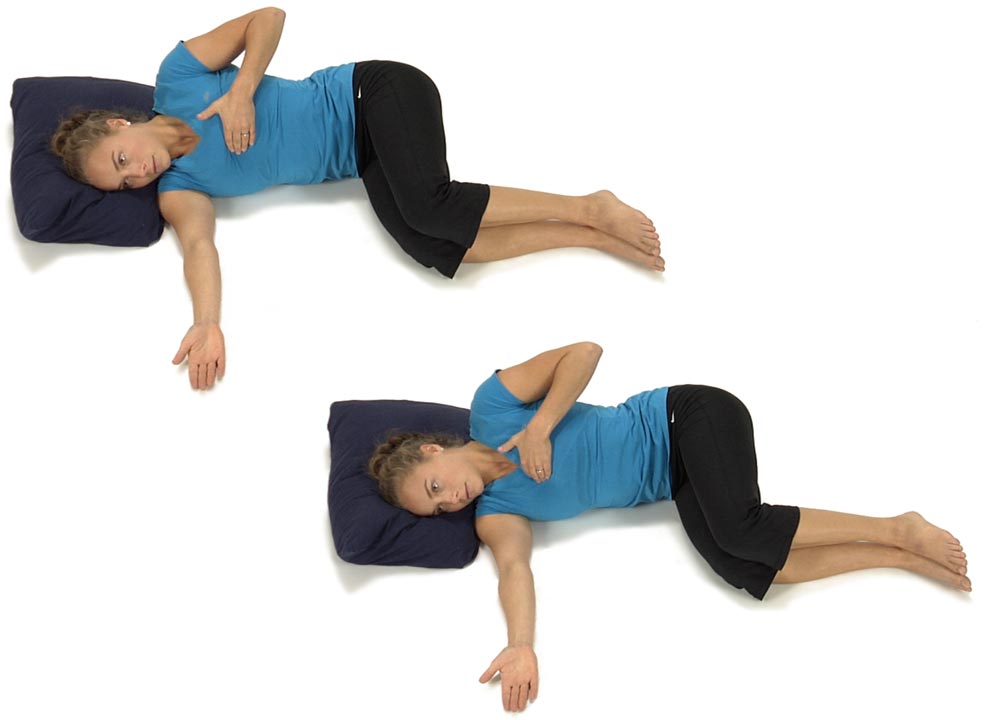
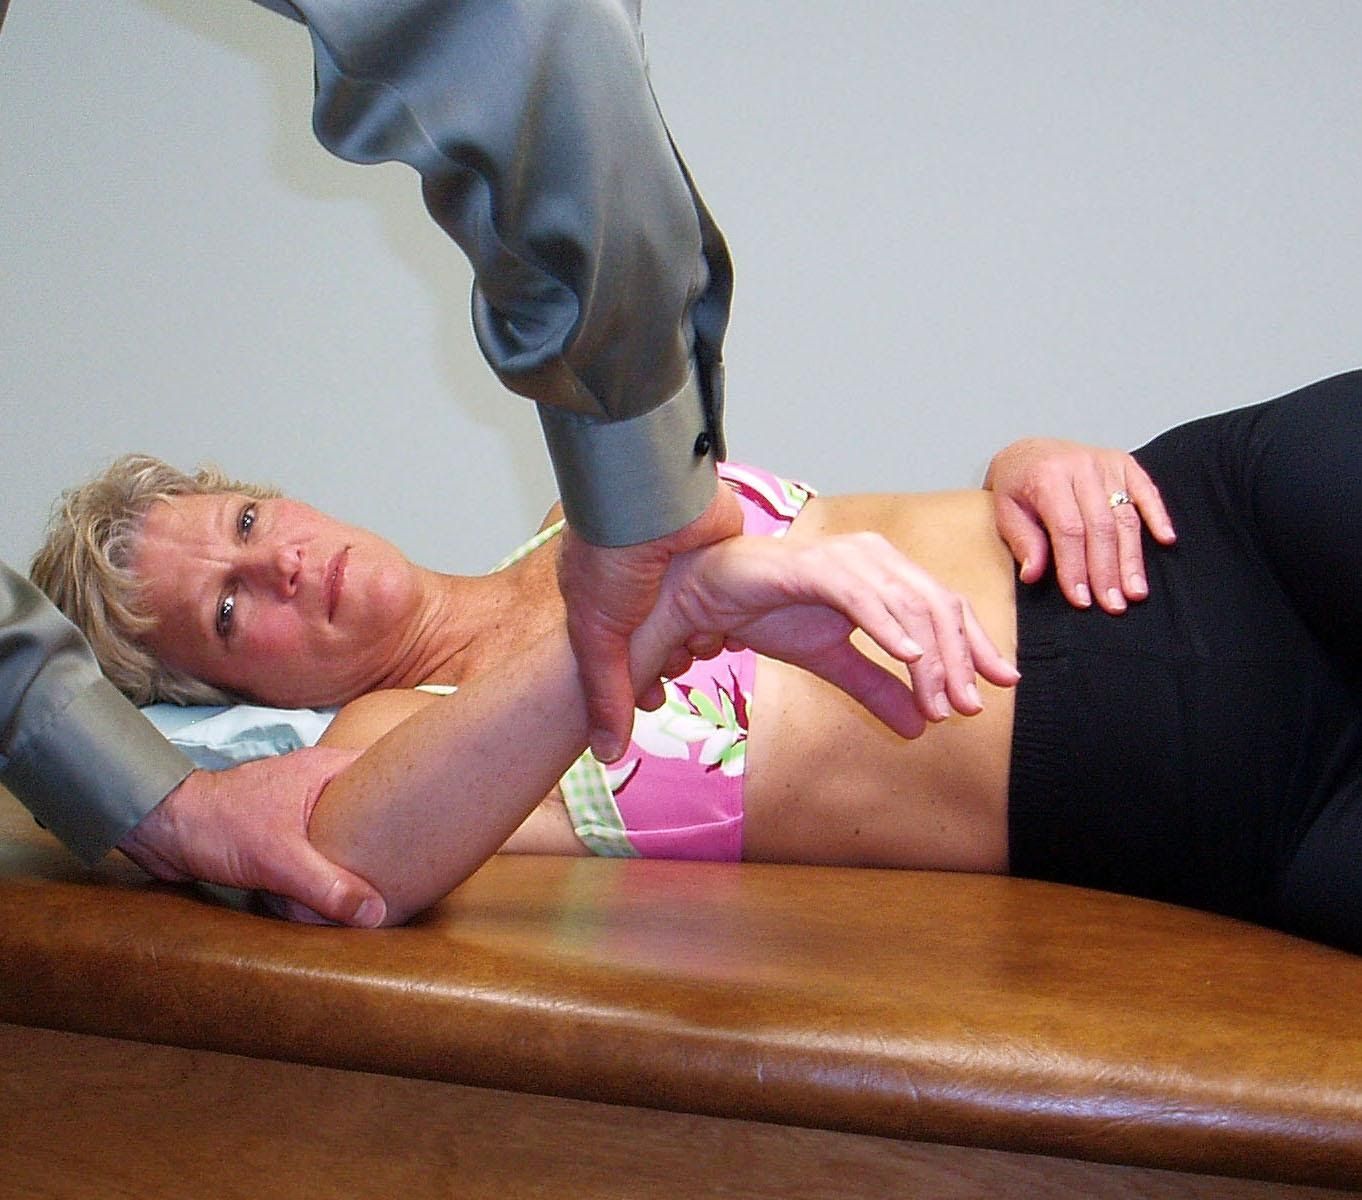
The patient is lying on their right side with the hips flexed to between 45-60º with their left hand placed underneath the lower right side of the rib cage.
Instruct the patient to roll back to the left and with your left hand pull the right lower rib cage into left rotation. They repeat 3-4 times moving their hand slightly superior with each rotation.
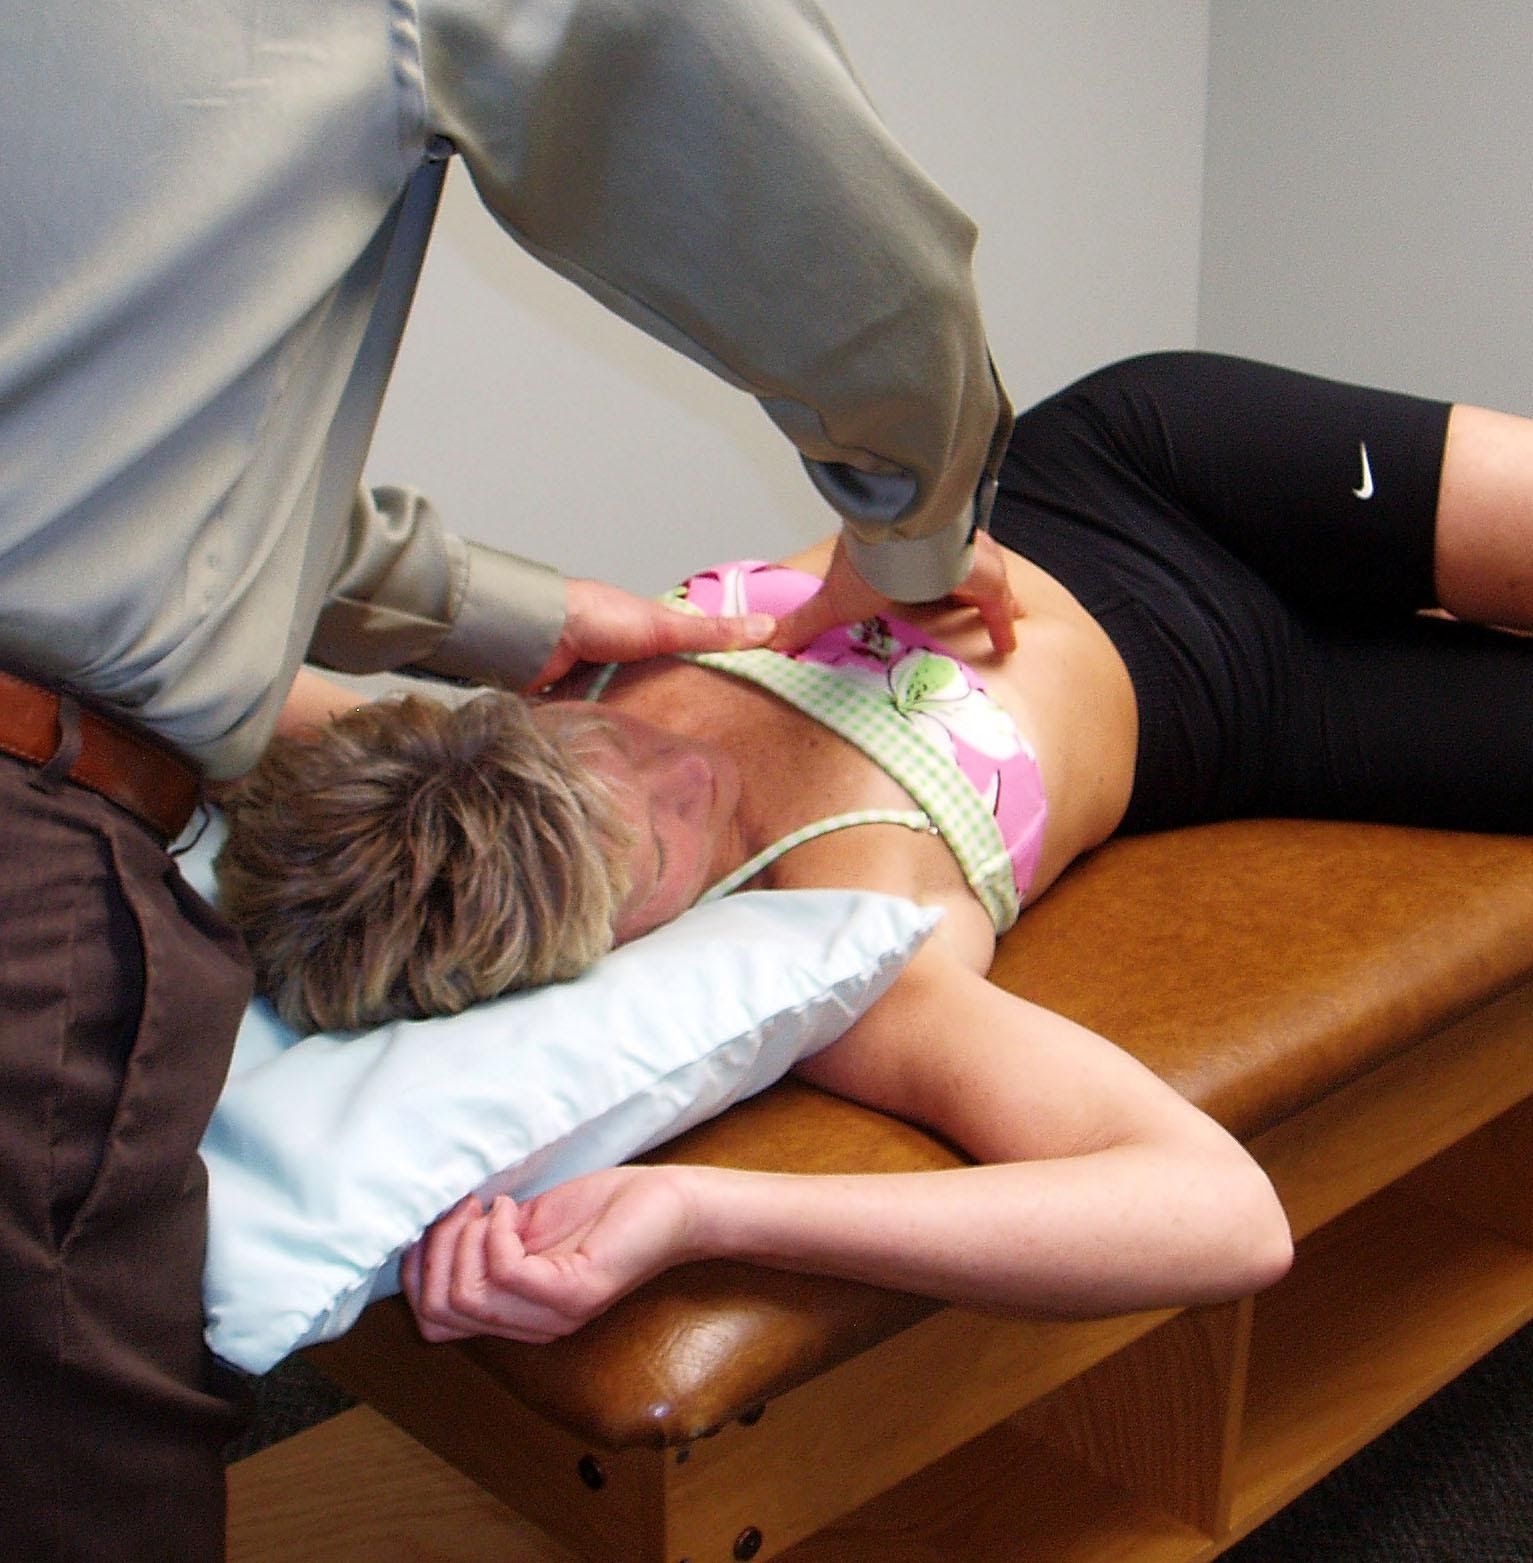
Moving up to the xiphoid process have the patient place the fingertips of their left hand on the left side of the rib cage, just off the sternum and lateral to the xiphoid process.
Instruct the patient to rotate back to the left and use their left hand to pull the ribs back towards the floor.
After the patient returns to the midline they move their fingers up to the next rib and they repeat the rotation drawing the next rib back to the floor.
The patient should always start from below, approximately the 7th or 8th rib, and work their way up until they reach the collarbone.
The patient is instructed to rotate back approximately 7 times moving their hand up approximately 1 inch each time to draw back a new rib. To enhance the stretch, the patient takes a deep breath in, then exhales as they draw the rib back further.
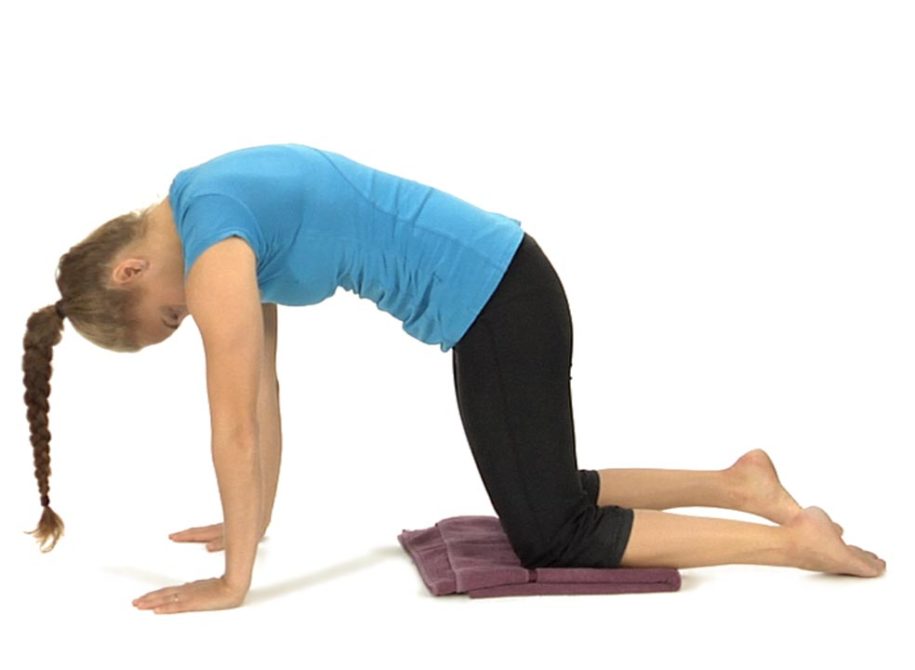
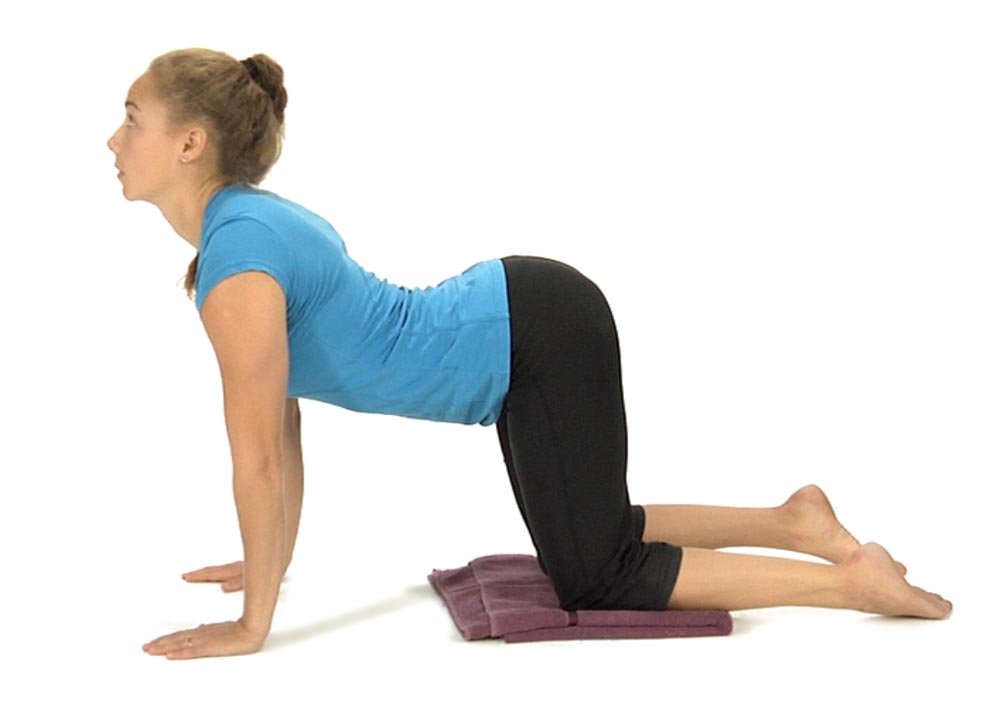
Segmental Cat Backs – Self-Mobilization for Thoracic Extension
The patient is in the hands and knees position with the hands directly beneath the shoulders and knees directly under the hips.
The patient is instructed to drop the head down and segmentally lift their spine towards the ceiling progressing segmentally from the neck then thorax and finally the lumbar spine, finishing by tucking the pelvis under with a posterior tilt.
From this fully flexed position the patient has the option to reverse their spine from the bottom up or from the top down.
If reversing from the bottom up the patient is instructed to anteriorly tilt the pelvis and drop the lumbar spine into lordosis, segmentally progressing up into the thoracic spine with the shoulder blades approximating as the chest drops forward and the neck and head are extended. The therapist observes the motion to make sure that the patient does not skip over a portion of the spine, but moves segmentally as much as possible.
If reversing from above down from the fully flexed position the patient is instructed to lift up their head, extend the neck and drop their chest towards the table with the scapula approximating as the mid-thoracic spine extends. As the motion approaches the lumbar spine the patient drops their belly and anteriorly rotates the pelvis, lifting the tailbone up.
The therapist evaluates in which direction that the patient appears to have better control, from the bottom up or from the top down, and instructs the patient to always initially start the exercise moving in the direction that they have the best control.
The patient repeats the movements 5 to 6 times alternating the initiation of movement from the head and from the tailbone.
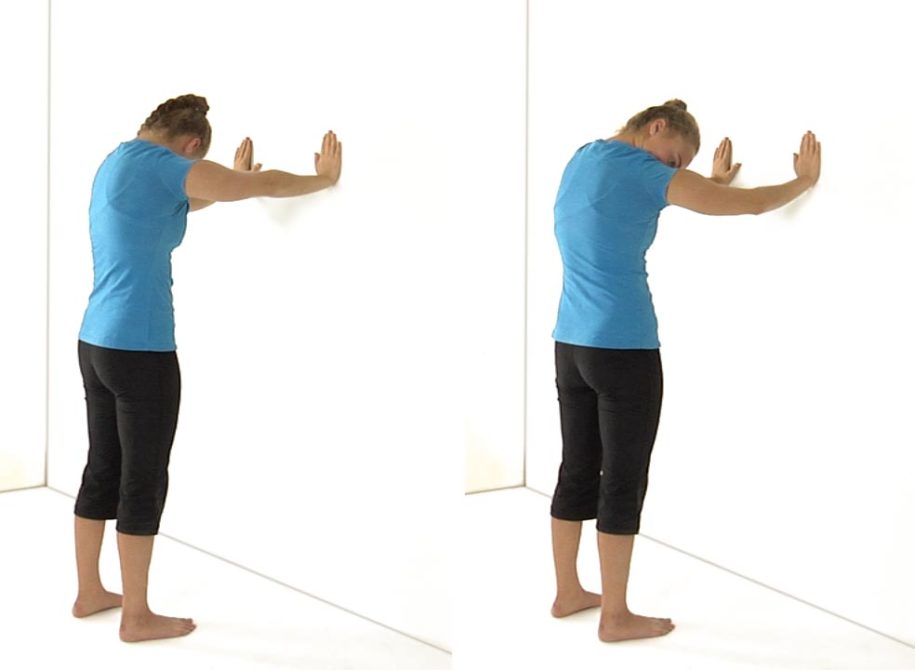
To Self-Mobilize ERS Dysfunctions in the Upper TS:
The patient is standing approximately three feet from a wall and places their hands on the wall at shoulder height.
Instruct the patient to drop their head down and push their arms against the wall fully extending their elbows and rounding their upper back. They should feel a stretch in their upper back.
Make sure that the apex of spinal flexion occurs in the upper and not the middle or lower back when they extend their arms.
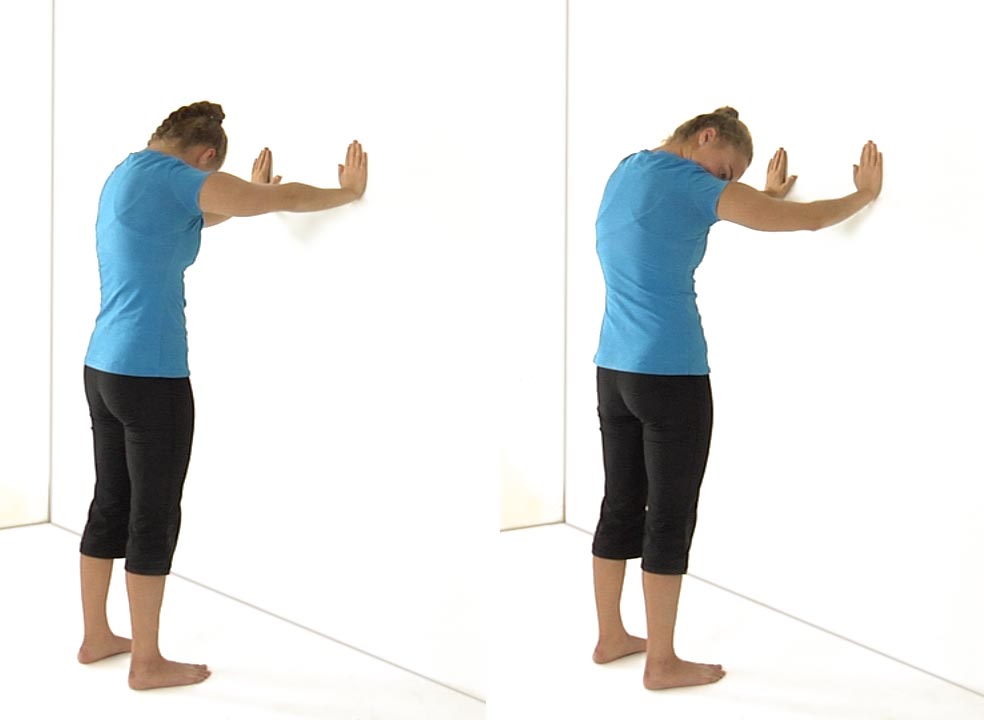
Instruct the patient to rotate their head to the R to stretch L sided ERS dysfunctions or rotate their head to the L to stretch R sided ERS dysfunctions as they extend their arms fully.
Ask the patient to hold for 5-10 seconds.
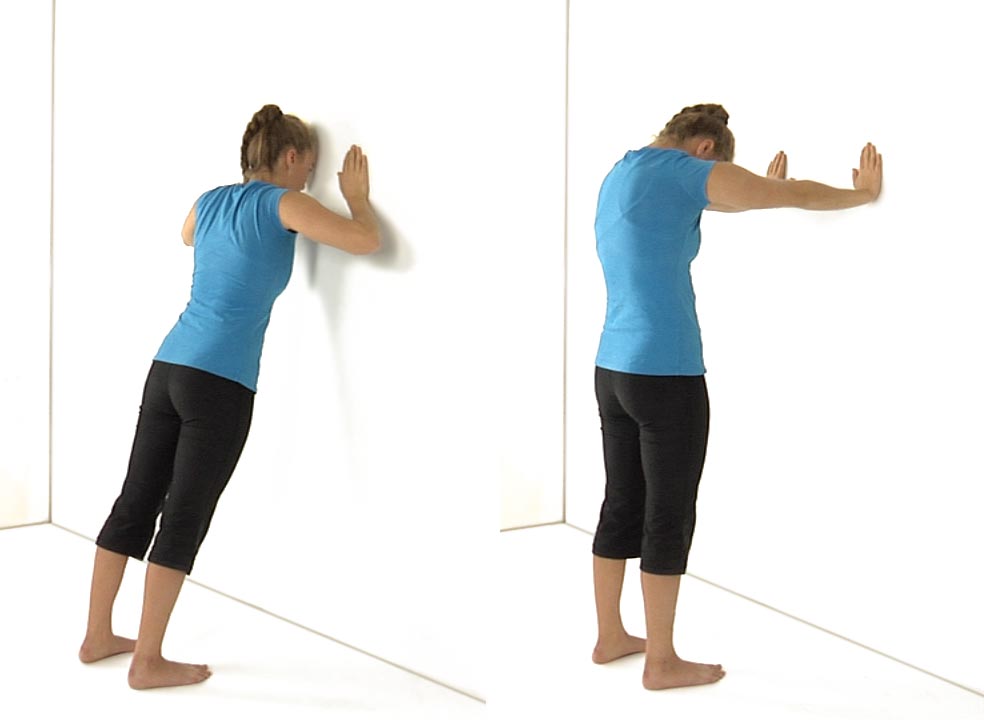
Then have the patient stand up straight and lean into the wall maintaining a neutral low back. Ask the patient to try to touch the wall with their forehead.
The shoulder blades should draw close together as they drop into the wall.
Instruct the patient to hold this position for 5-10 seconds and repeat the entire exercise 3-5 times.
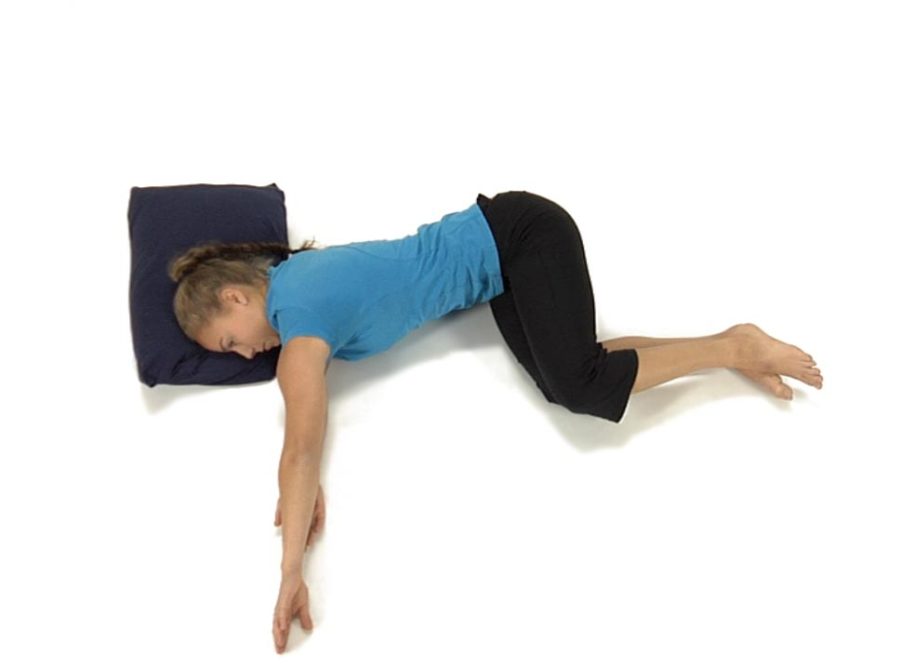
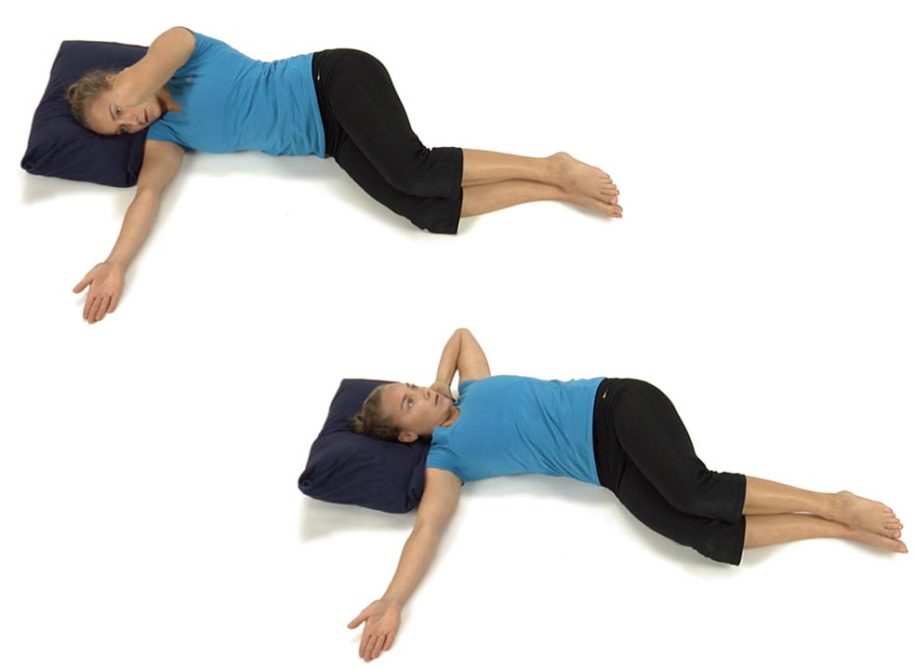
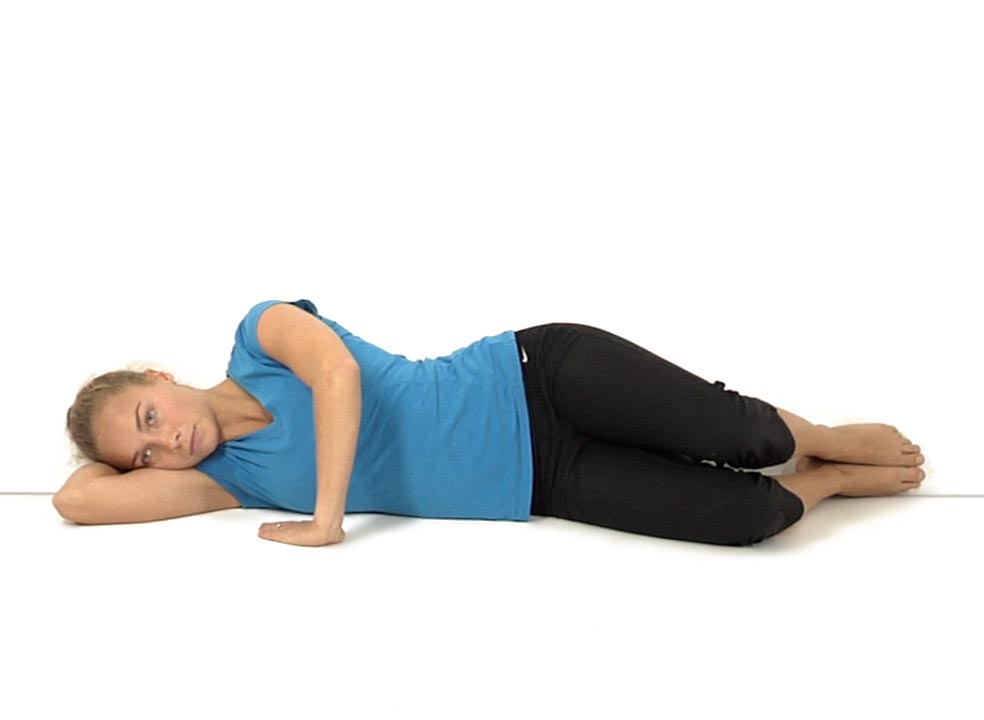
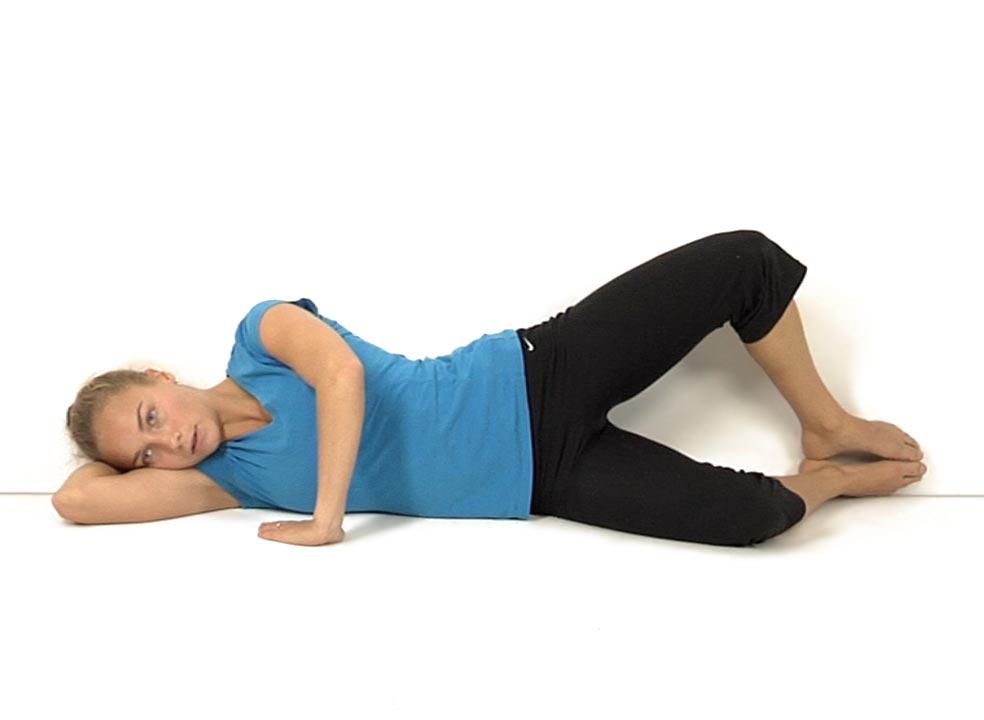
The patient is side lying with the hips and knees flexed to approximately 60 degrees and the arms straight out in front.
The top arm is taken around in a circle overhead keeping the elbow straight and the hand in contact with the floor.
The patient is instructed to keep the knees together, but is encouraged to rotate through the thoracic spine and rib cage.
Interpretation and the most common dysfunctional patterns seen Normally the patient should be able to keep the hand in contact with the floor with the elbow straight as they circle the hand around a full 360 degrees.
Notice in the patient above, the restriction for the left versus the right shoulder circle. This restriction is indicative of a loss of thoracic and rib cage mobility for left rotation and limits ER of the left shoulder.
Note: This patient presents with a loss of IR of the R shoulder and ER of the left shoulder secondary to a loss of left rotation of the thoracic spine and rib cage!
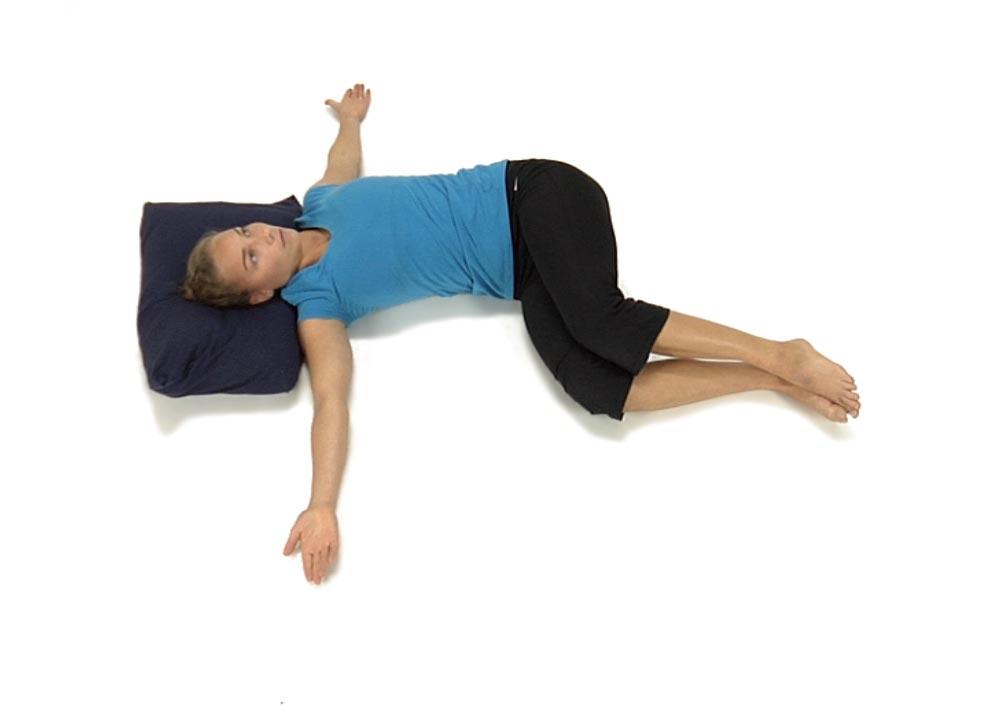
The patient is lying on their R side with their shoulders, hips and feet touching against a wall. The shoulders and hips are perpendicular to the table or floor and the hips and knees are flexed to 45-60 degrees.
Instruct the patient to draw in the abdomen using the transversus abdominis without holding their breath.
Ask the patient to lift the left knee toward the ceiling, keeping the feet in contact.
The instruction to the patient is to attempt to lift the leg up to touch the wall and then hold for 10 seconds.
The patient repeats the movement 3-5 times initially, then increases the number of repetitions as their strength improves.